ONE LAMP, CLOSE TO THE FACE
Lamp Light Portraits at Home: 4-Step Setup
A four-step setup for warm night-in portraits at home: overhead light off, lamp at face height, turn toward the glow and tap the face to expose.
Try the idea on your own photo with Stunna.


Free to download. Pro options available.
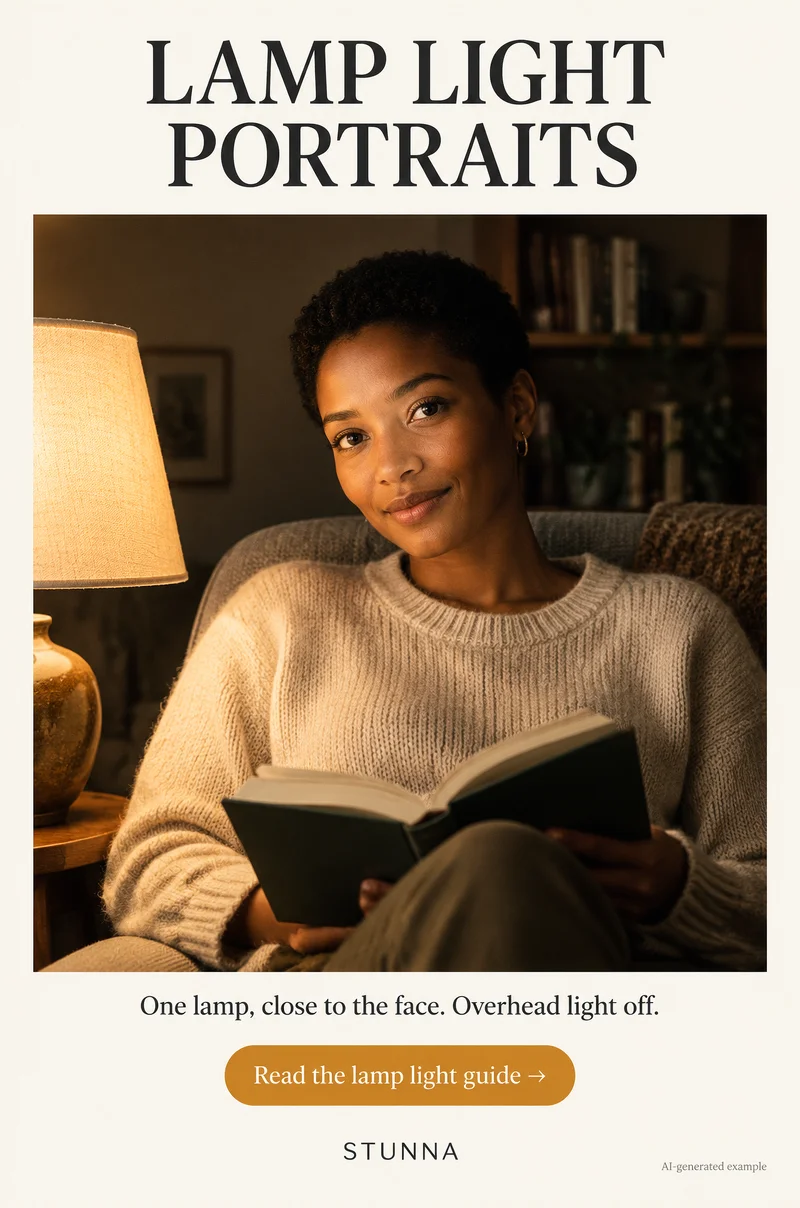
Some of the coziest winter portraits come from the simplest setup: one lamp close to the face, the overhead light off, and the rest of the room falling into soft shadow. This guide covers the four-step setup, where to place the lamp, how to expose so skin stays natural, and the mistakes that make lamp photos look muddy or orange. The illustrations on this page are AI-generated examples, not actual Stunna results.
Why one lamp beats the ceiling light
Ceiling lights hit the face from above, which puts shadows under the eyes and nose and lights the whole room evenly, so nothing stands out. A single lamp beside the face does the opposite: it lights one side, lets the other side fall off gently and leaves the background darker. That falloff is what makes a lamp portrait feel intimate.
The closer the lamp is to the face, the softer and more flattering its light becomes relative to the person, and the faster it fades on the wall behind. That is why the approach is one lamp close to the face, overhead light off.
The 4-step cozy lamp portrait setup
Work through these in order. Each step builds on the one before.
- 01 Overhead light off: switch off ceiling lights and other lamps so only one source shapes the face. Mixed lights create uneven color and double shadows.
- 02 Lamp at face height: put the lamp on a side table or shelf so the bulb or shade sits roughly level with the face, about an arm's length away. Too low and the light shines up the chin; too high and it acts like a ceiling light again.
- 03 Turn toward the glow: have the person turn their face slightly toward the lamp until both eyes catch some light and you can see a small reflection in them.
- 04 Tap the face to expose: tap the lit side of the face, then lower exposure a little if the cheek looks shiny or the lampshade blows out. Keep the shadows dark rather than lifting the whole room.
Lamp placement and props
A lampshade softens the bulb, and a fabric or paper shade gives the gentlest light. A bare bulb is harsher and can show in the frame as a bright spot. Placing the lamp slightly in front of the person, rather than directly beside, lights more of the face and avoids a half-black profile.
Give the person something to hold: a book, a mug, a blanket corner. It relaxes the hands and adds to the night-in story. Including the lamp in the frame can work as a visual anchor, but keep it at the edge so its brightness does not pull the eye away from the face.
Exposure, steadiness and color
Lamp light is dim compared with daylight, so your phone may slow the shutter or switch to night mode. Brace the phone against a shelf or your knees and ask the person to stay still for a moment. On iPhone, Apple's [camera tools guide](https://support.apple.com/guide/iphone/use-camera-tools-iph3dc593597/ios) shows how to adjust and lock focus and exposure so it does not change between frames.
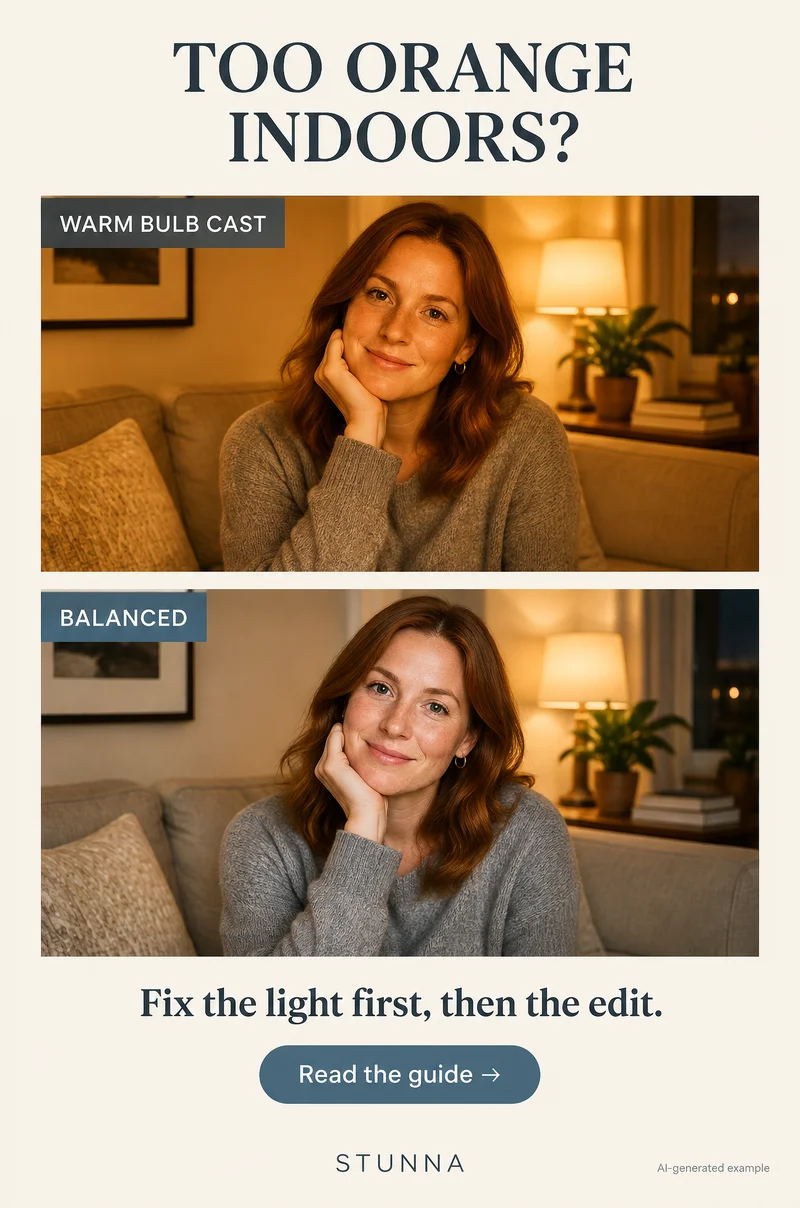
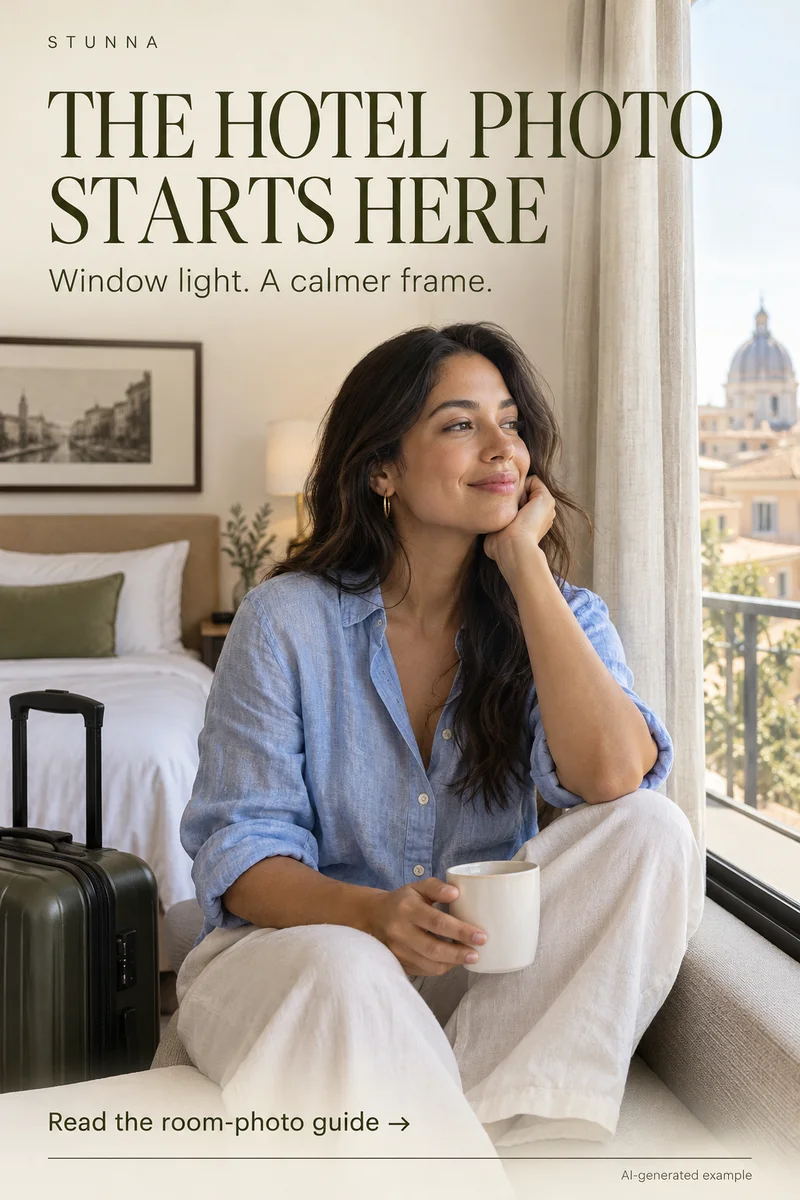
Warm bulbs make photos orange, which is part of the mood, but skin should still look like skin. In your editor, pull warmth back slightly until the face looks natural while the lamp still glows. Judge by the skin, not by the wall. Our guide on how to fix orange indoor light covers the correction step by step. If you prefer daytime softness, our window light photo guide covers the same ideas with daylight.
Framing and self-portraits by lamp light
Shoot from the shadow side, with the lamp on the far side of the face from the camera. That way the lit cheek faces you, the shadow falls toward the back of the frame and the face gets gentle shape. Shooting from the lamp side tends to flatten the face and puts the bright shade in your eyeline.
For a self-portrait, prop the phone on a shelf or stack of books at eye level, set the timer and sit in the same spot each round. Use the rear camera if you can for better quality, and check the first frame to make sure the lamp is not cropped into a distracting bright corner. Small changes between rounds, such as looking down at a book, glancing at the lamp or holding a mug near the chin, give you a set rather than one pose.
- Camera on the shadow side, lamp on the far side of the face.
- Phone at eye level, not looking up from a low table.
- Leave some dark space around the person; it is part of the mood.
- Take several frames, changing only one thing each time.
Common mistakes
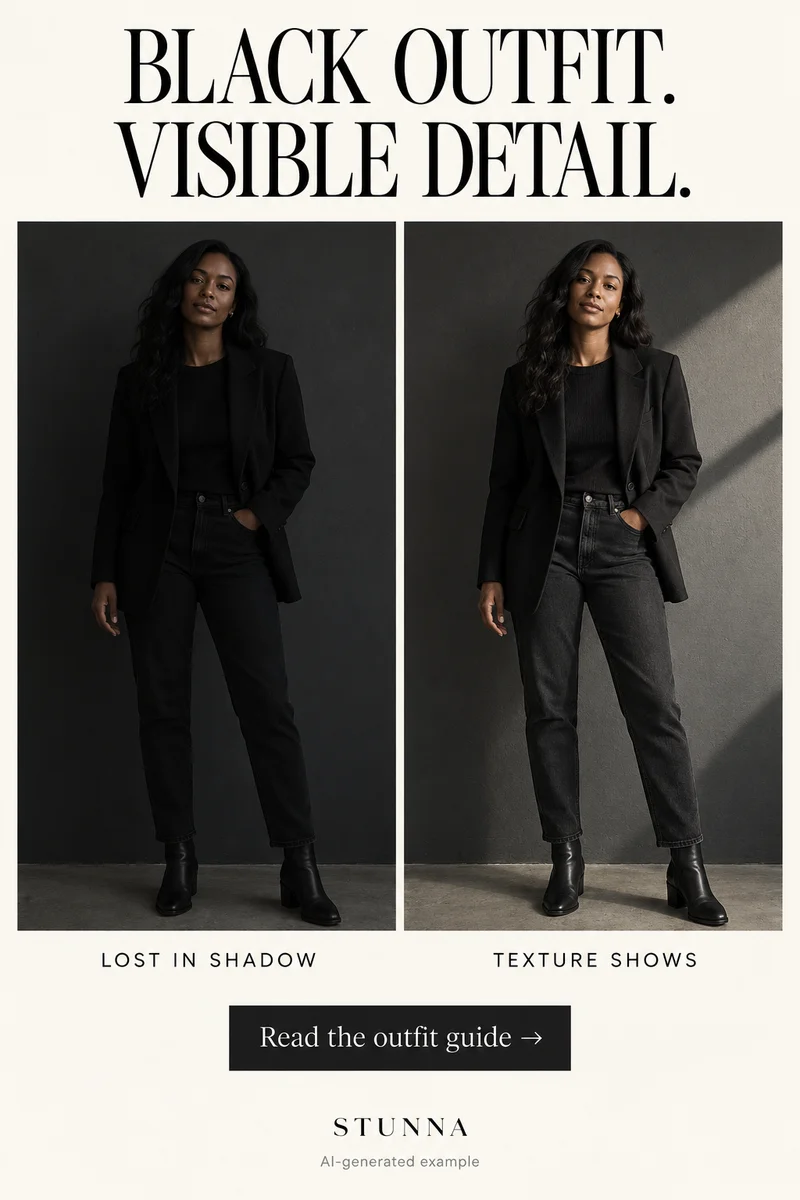
Leaving the ceiling light on is the most common: it flattens the scene and fights the lamp's color. Others include putting the lamp behind the person so the face goes dark, standing so far away that the lamp is just a bright dot, and brightening the whole photo in the editor until the cozy shadows turn grey and noisy.
If you like warm light from many small sources instead of one lamp, try our string light photo guide.
A few useful answers
What kind of lamp works best for portraits?+
A table or floor lamp with a fabric or paper shade, which softens the bulb. Place it about an arm's length from the face at roughly face height.
Why do my lamp photos look orange?+
Warm bulbs give a strong orange cast, especially when mixed with other lights. Turn off other lights, then reduce warmth slightly in your editor until skin looks natural.
Should I use flash or night mode for lamp portraits?+
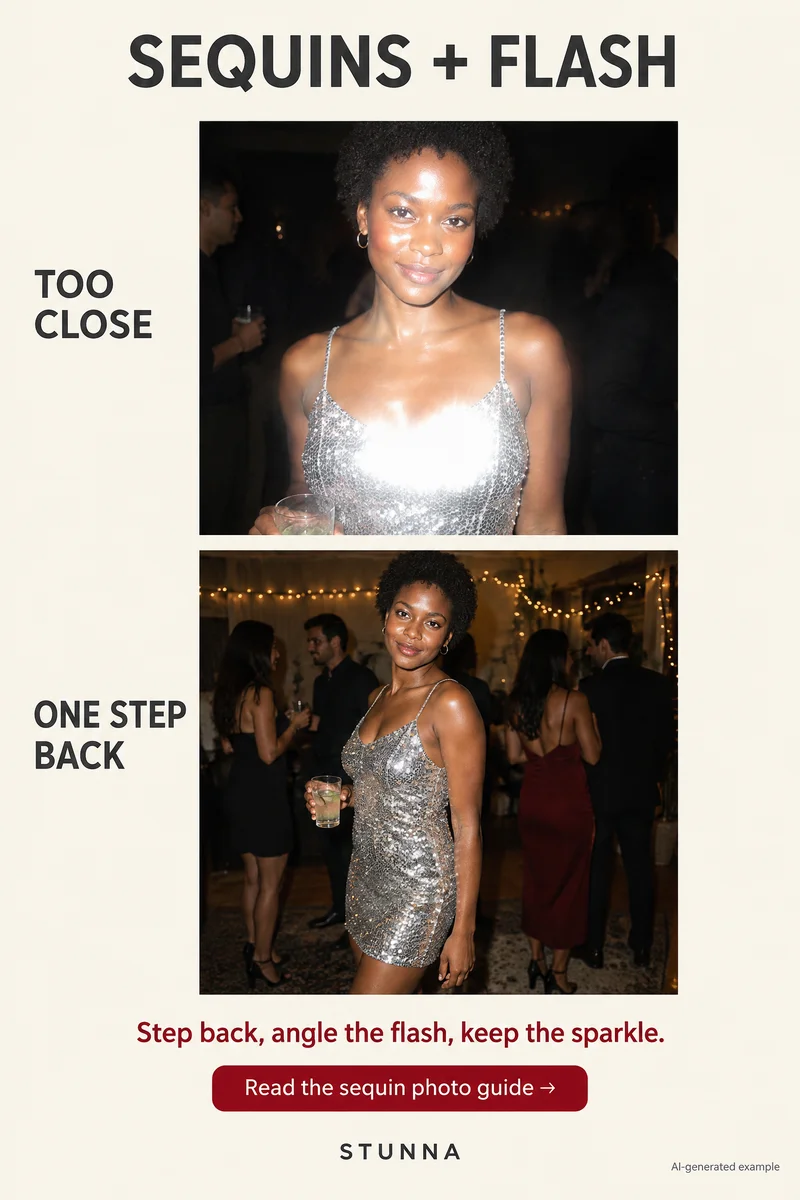
Skip flash, which overpowers the lamp and flattens the mood. Night mode can help in very dim rooms, but hold the phone steady and ask the person to stay still.