THE STRING-LIGHT PORTRAIT GUIDE
String Light Portraits: How to Photograph Fairy Lights
Give the face enough light, keep the sparkle behind you, and use four quick checks before choosing the portrait.
Try the idea on your own photo with Stunna.


Free to download. Pro options available.
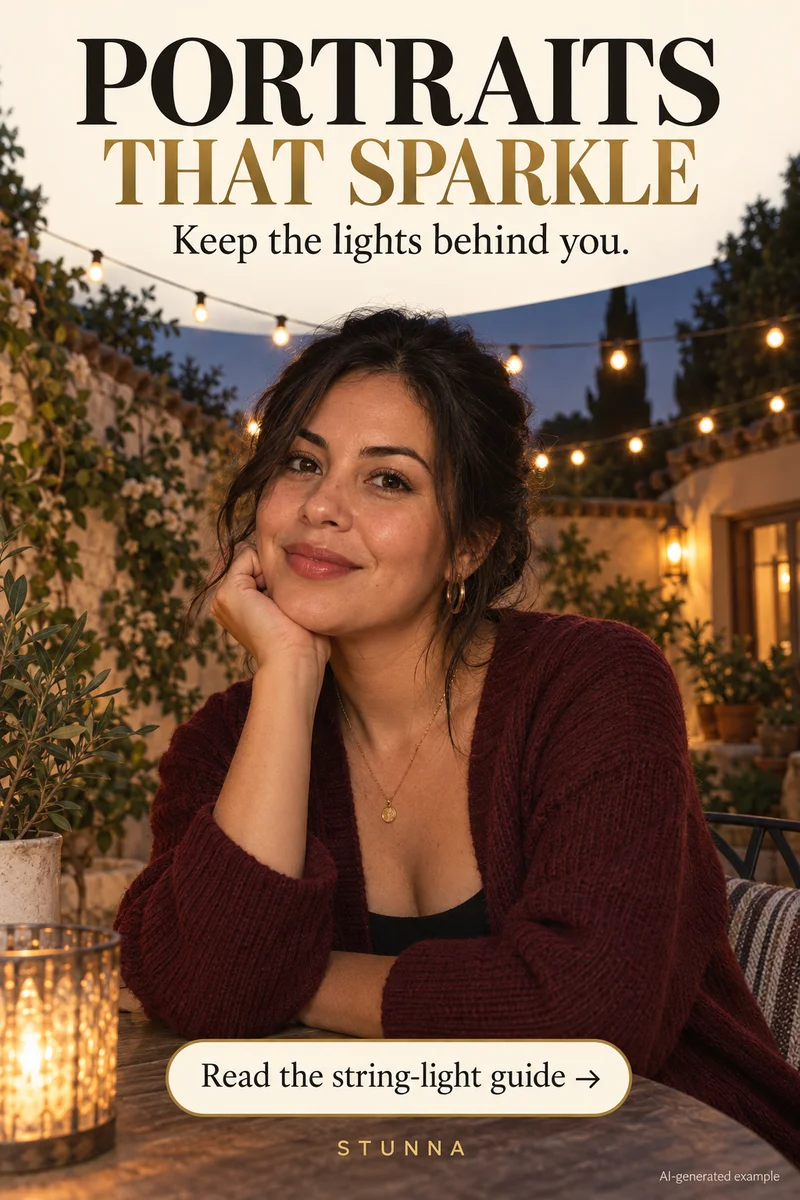
String lights can make an evening portrait feel warm and festive, but a glowing background does not automatically illuminate the person. Start by finding light for the face, then position the decorative lights behind it. A clear expression matters more than turning every bulb into a bright effect. The campaign portrait is an illustrative AI concept, not an actual Stunna output. Use this plan at a terrace, cafe, party, or decorated street with the light you find there; it also suits the holiday sets in our Christmas photo ideas.
Find soft light for the face first
Look for a nearby window, shaded lamp, or softly lit doorway. Turn toward that source and check that both eyes are readable. Take a test. If the face stays dark, move closer to useful light or change angle before increasing overall brightness.
Leave some distance between the subject and decorative lights. Check that a bright bulb does not cross the face. A step sideways can keep the atmosphere while giving the person a cleaner outline. Choose a quiet part of the scene. Shooting at dusk keeps some sky color in the frame; see our blue hour photography guide.
Run these four checks before taking the set
Keep the first setup simple. Use your phone's main camera as a starting point and review one picture before asking for several poses.
- Face toward soft light: turn until the eyes and expression are visible. If a lamp makes a hard shadow across the face, change position and test again.
- Lights behind you: leave space between the person and decorations. Check that bright bulbs frame the subject rather than covering important details.
- Check face brightness: tap to focus where supported and adjust exposure if available. Judge skin and clothing, rather than lowering brightness only to preserve every bulb.
- Keep the phone steady: hold it securely and pause for a still frame. If your camera uses a longer night capture, let it finish before moving.
Compare ambient light with one flash test
Take an ambient-light portrait first, with the subject still and the camera at a comfortable distance. Then test the rear-camera flash if available. Flash may brighten the face while changing how much background light the camera records. Review the two pictures instead of assuming either option is always better. Our flash photography tips cover direct flash in more detail.
If the flash makes the face too bright, change distance or exposure where your phone allows it. Watch pale clothing and reflective accessories too. Capture a waist-up portrait, a wider frame that shows the setting, and a small detail of the decorations. Keep one still portrait even if you also want movement or a playful candid. For a free on-device flash look instead, our G7X filter app brightens the subject against a darker background.
Keep the warmth while editing
For a manual edit, balance the face before styling the background. Raise brightness gradually and keep some dark areas so the lights still have depth. Compare skin with a familiar neutral object, such as a shirt or wall, before adding more warmth. Yellow bulbs do not require the whole face to become orange. If you want a colored glow as a deliberate style, our red light filter is a separate option.
Inspect hair edges, glasses, and bright clothing at full size. Ease sharpening or contrast if it creates halos. The lights' appearance depends on the source, framing, focus, and camera processing, so choose by the picture you captured. On a wet evening, reflections add another layer; see our guide to rainy night photography.
Choose a Stunna look by the evening mood
Night Flash is Stunna's direction for a sharp subject against a darker background. Soft Flash is a gentler direct-flash interpretation with softer shadow falloff. Blue Hour aims for dusk sky and ambient city glow. Choose the closest mood for your photo; there is no special string-light preset to select.
Generated light can change bulbs, shadows, face details, or the scene itself. Compare the result with the original at the same crop. Check identity, hands, clothing, and whether the face light agrees with the setting. Keep the original as its own file and save the interpretation you prefer separately.
A few useful answers
Why is my face dark when the string lights look bright?+
The lights behind you may provide little illumination for your face. Turn toward a nearby window or lamp, or test flash. Check the actual portrait after changing position.
Should I always use night mode?+
Compare a normal still photo, night mode if available, and a flash test. Night captures may need both the phone and subject to stay still; choose by the expression and light you prefer.
Do I need every background bulb perfectly sharp?+
No. Make the face the focus and keep enough background detail to explain the setting. The appearance of the lights is a composition choice, not a requirement for one exact blur effect.