THE HOLIDAY WINDOW GUIDE
Holiday Window Photos: Night Portrait Tips
Use lit holiday shop windows as free portrait lighting: go just after dark, stand close to the glass, flash off, tap your face to expose and shoot at an angle to lose the reflection. Plus poses and phone settings.
Try the idea on your own photo with Stunna.


Free to download. Pro options available.
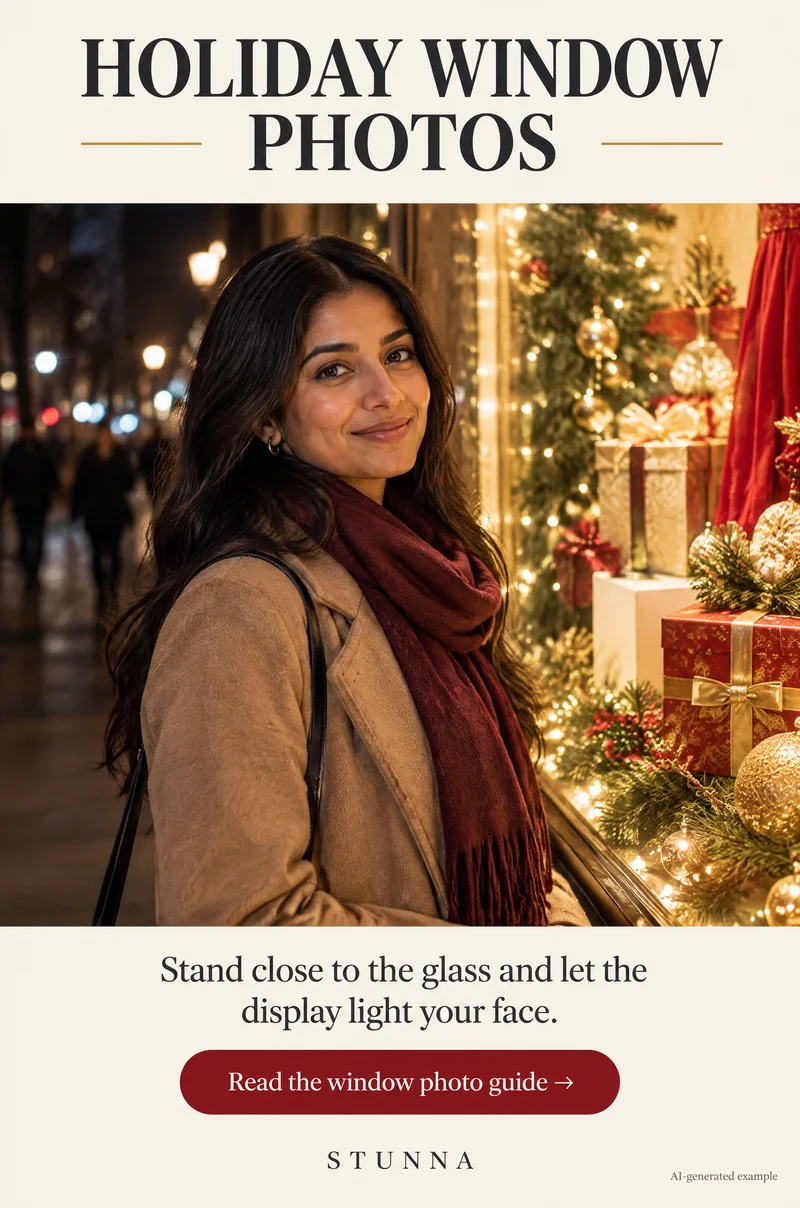
In December, every lit shop window on the high street is a big, soft, warm light that someone else has already set up. Stand right beside the glass, turn your face toward the display and it lights you the way a photographer's softbox would, with the decorations glowing behind or beside you. Most window photos go wrong for two reasons: the photographer stands straight in front of the glass, so their own reflection and the street lights land on it, and the person stands too far away, so their face stays dark. Below is the five-step checklist in full, the reflection fix, when to go, five easy poses and the phone settings that help. The illustrations are AI-generated examples, not actual Stunna results.
Why a lit shop window makes good portrait light
A display window is a large, bright area of light at roughly face height. Large light sources make soft light: the shadows on your face fade gently instead of ending in a hard line. The light is usually warm, which suits skin on a cold night, and it comes from the side when you stand beside the glass, which gives your face shape. That is the same recipe as a classic window-light portrait at home, turned inside out.
The catch is that window light falls off quickly. A step away from the glass and your face is noticeably darker; two steps and the window is mostly background. Closeness is the whole trick. Our lamp light portrait guide explains the same idea with a single lamp indoors.
Shop window photo tips: the 5 steps
These are the five steps from the checklist Pin. Save them for your next city walk; together they take about a minute to set up.
- Go just after dark: arrive around sunset and shoot through the first half hour or so of darkness. The sky turns deep blue instead of black, the windows glow against it and there is still a little ambient light to show the street. The timing section below has more detail.
- Stand close to the glass: stand right beside the window, close enough to touch it, and turn your face toward the display. The light should fall across your face from the side. If your face looks dim on the screen, move closer before changing any setting.
- Flash off: a phone flash pointed at glass bounces straight back as a bright white spot, and it flattens the warm window light on your face. Turn it off and let the display do the work.
- Tap your face to expose: tap on your face in the camera app so the phone sets focus and brightness for your skin rather than the bright display. If the window still looks blown out, drag the brightness slider down a little until the lights keep their color.
- Angle to dodge reflections: the photographer stands off to the side and shoots along the window at an angle, rather than facing the glass. Your own reflection and the street lights then drop out of the frame. The next section shows how.
Straight on vs close and angled: the reflection fix
The most common holiday window photo is taken straight on: the person stands in front of the glass, the photographer stands facing them across the pavement, and the window acts like a mirror. The photo shows the photographer, the street lamps, passing cars and a dim face in the middle of it all.
The fix takes a few seconds. Move the person to stand right beside the window, side-on to the glass, with their face turned toward the display. The photographer then moves along the pavement until they are shooting at roughly a 45-degree angle to the window. From that angle, the glass reflects the shop next door or the empty street at the side rather than the camera, and the display shows through clearly.
If you still see reflections, try these small changes: move a step further along the window to increase the angle, lower the phone slightly, or ask the photographer to stand somewhere darker, since bright clothes and lit shopfronts behind them reflect most. When you want to shoot through the glass to show the display itself, put the lens very close to the glass; the closer the lens, the less room there is for a reflection.
When to go: blue hour timing in December
Blue hour is the stretch after sunset when the sky is deep blue rather than black. In early December it arrives early in the evening across much of Europe and North America, often before many people have finished work, so the timing is easier than in summer. Check your weather app for the sunset time, arrive a little before it and plan to shoot during roughly the half hour after sunset. How long the blue lasts depends on where you live and the weather.
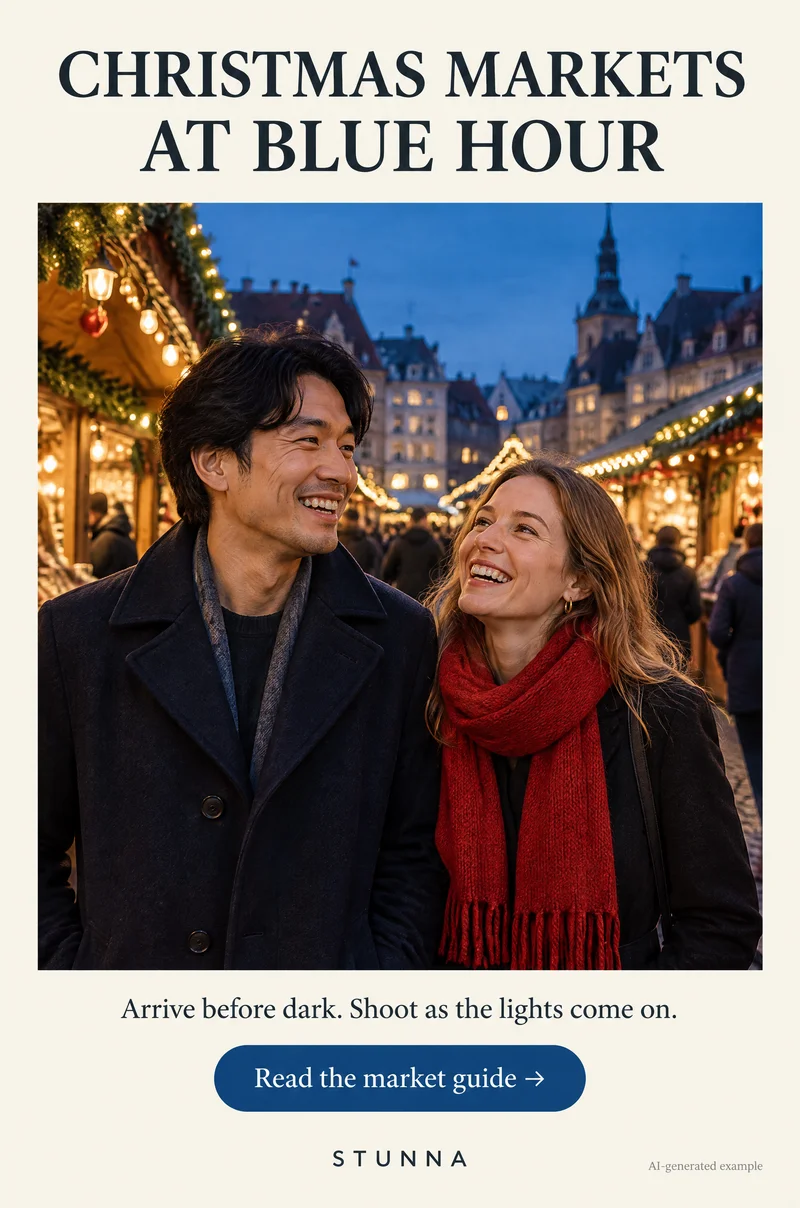
During blue hour, the windows are bright enough to light a face but the sky still holds color, so the photo shows the street and the season rather than a black background with a few bright rectangles. Later in the evening the windows work just as well for lighting faces; the background simply turns darker and the photo feels more like night. Weekday evenings are usually quieter than weekend afternoons in busy shopping streets. Our blue hour photo guide covers the dusk light in more detail.
Five poses for holiday window photos
Window poses work best when they give you a reason to be near the glass. Each of these keeps your face turned toward the light, which is the part that matters most.
- The shoulder lean: stand side-on to the window with one shoulder close to the glass, turn your face toward the display and look into it or just past the camera. It is the pose in the hero photo and the easiest one to get right.
- Looking in: face the window at a slight angle, as if you are reading a price tag or admiring the decorations, and let the photographer catch your profile lit by the display. A small smile reads as genuine delight.
- The coffee pause: hold a warm cup near your chest with both hands, stand beside the glass and turn toward the camera. The cup gives your hands a job and adds a cozy detail.
- The scarf adjust: tug at a scarf or coat collar as you look toward the light. Movement in the hands relaxes the shoulders, and our winter coat photo poses have more ideas like it.
- Walking past: walk slowly along the window, glance toward the display and let the photographer take a burst as you pass the brightest part. Pick the frame where your face is closest to the glass.
Phone settings that help
Window light is bright enough that you rarely need anything special, but a few settings make the difference between a sharp, warm photo and a noisy, orange one.
- Use the main 1x camera or 2x: the main lens handles low light best. The 2x crop gives a flattering portrait distance if you have the space to step back along the pavement.
- Tap and lock exposure on the face: on iPhone, press and hold on the face to lock focus and exposure; on most Android phones, tap the face and adjust the brightness slider.
- Watch night mode: if the phone switches to night mode, it may ask you to hold still for a second or more. Brace your elbows against your body, ask the subject to stay still, or turn it off and rely on the window light if you get blur.
- Leave the warmth, mostly: shop windows are warm, and some warmth looks right in December. If skin looks too orange, cool the white balance slightly in the editor rather than removing all the warmth.
- Portrait mode with care: it can blur the street nicely, but check the edges around hair, scarves and fairy lights, which sometimes come out smudged.
- Clean the lens: a smudged lens turns every bright window into a haze. Wipe it before you start.
Window photo etiquette and common mistakes
Be a considerate guest on someone else's shopfront. Keep entrances clear, step aside when people want to look at the display, avoid photographing staff or shoppers inside, and be quick when the street is busy. If a shop has asked people not to take photos, respect it; there is usually another lit window a few doors down. In a crowded market or high street, our Christmas market photo guide has tips for keeping strangers out of the frame.
- Shooting straight at the glass: move to an angle so the reflection drops out.
- Standing too far from the window: move close enough to touch it.
- Flash on: turn it off; it bounces back off the glass.
- Letting the phone expose for the display: tap your face so the skin is bright enough.
- Facing away from the light: turn your face toward the display so the light falls across it.
- Waiting until late: the deep blue sky just after sunset gives the photo more color than full darkness.
A few useful answers
How do I take photos in front of holiday shop windows?+
Go just after dark, stand right beside the glass with your face turned toward the display, switch the flash off, tap your face to set exposure and have the photographer shoot from an angle.
How do I avoid reflections in window photos?+
Do not shoot straight at the glass. Stand beside the window and shoot along it at roughly 45 degrees, and keep the photographer away from bright lights. To shoot through the glass, put the lens close to it.
Should I use flash for shop window photos?+
No. A phone flash bounces off the glass as a bright white spot and flattens the warm window light on the face. The display is bright enough to light you if you stand close.
What time is best for holiday window photos?+
During roughly the half hour after sunset, when the sky is deep blue and the windows glow. In early December that is early evening in much of Europe and North America; check your local sunset time.
Why is my face dark in window photos?+
Usually you are too far from the glass or facing away from it. Stand close enough to touch the window, turn toward the display and tap your face on the screen so the phone exposes for your skin.