THE NIGHT-OUT PHOTO GUIDE
Flash Photography Tips: How to Get the G7X Flash Look on Your Phone
A practical phone-photo guide to a crisp subject, a darker background, and that compact-camera night-out mood.
Try the idea on your own photo with Stunna.


Free to download. Pro options available.
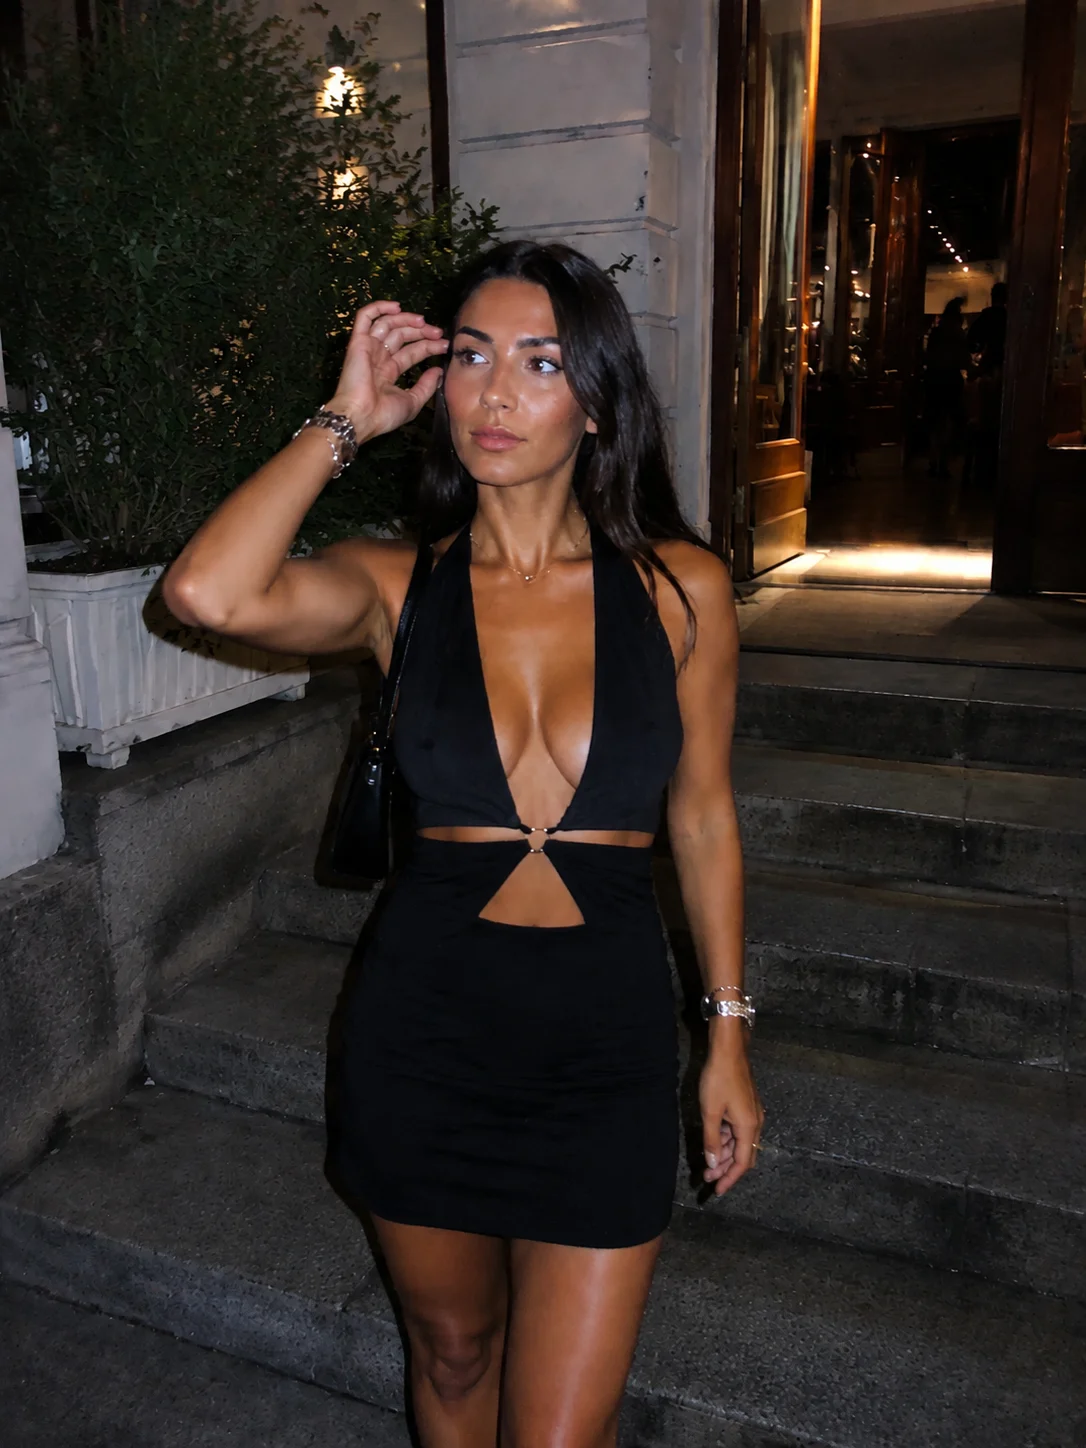
The G7X-inspired look starts with a simple contrast: a person who feels bright and close, against a background that feels darker and farther away. A phone can give you material to work with if you pay attention to distance, light, and framing. This guide is about that visual mood, rather than an exact reproduction of a particular camera. Stunna is independent of Canon. AI-generated visual examples illustrate the look; they are not measured Stunna outputs.
Set up the contrast before you edit
Choose a dim setting that still has something interesting in the background: a doorway, warm lamps, or a street with a few lights. Put some space between you and the wall behind you. A nearby wall can catch the flash and become almost as bright as your face, making the picture feel flatter. For seasonal versions of this setup, see our Halloween photo ideas and Christmas photo ideas.
Start with your phone’s main camera and move the photographer to frame the shot. Avoid a very close ultra-wide portrait if you want a more natural face shape. Clean the lens, then take a test picture. Phone flash behavior varies, so judge the actual image rather than copying someone else’s exposure settings.
Try this six-shot sequence
Use the first two pictures to get the light right. After that, change one small thing per shot so you have choices without turning the moment into a long photo session.
- Frame a waist-up portrait with a little space around the head and hands. Keep the phone roughly level and tap the face to focus if your camera allows it.
- Turn on the rear-camera flash and take one test. If the face is washed out, step farther from the camera or adjust the exposure control if available. If it is too dark, move closer and test again.
- Turn your shoulders slightly, keep your head comfortable, and look toward the lens. Let your hands rest on a bag strap, jacket, or pocket. If you are shooting alone, our mirror selfie poses use a similar turn.
- Keep the same position and look just beside the photographer. This gives you a quieter alternative to the straight-to-camera shot.
- Make one small movement: a step, a laugh, or a glance back. Ask the photographer to capture the beginning and end of the movement.
- Take a wider frame that includes the setting. You now have a close portrait, a candid option, and a photo that explains the night.
Fix the three things that usually spoil the shot
A white face with no detail means the light is too strong for that setup. Adjust the distance and take another picture while you are there. Pulling brightness down later cannot recreate detail that was never captured.
A bright, busy background competes with the subject. Try a different angle or move the person away from the wall. Glasses glare may improve when the subject turns their face slightly, but keep the pose comfortable. For motion blur, stop moving for one frame and ask the photographer to hold the phone steady. You can keep a blurred frame for the photo dump and still have a sharp portrait. If you want lights in the background to glow rather than compete, see our guide to string light portraits.
Choose an edit by the mood you want
For a manual edit, start by checking skin brightness, then deepen the background gradually. Add contrast only until the subject separates clearly. Keep texture in skin and light clothing; a crisp photo does not need an aggressively sharpened face. Zoom in before exporting to catch halos around hair and bright edges. If you would rather start from a preset, our free G7X filter app and flash filter run in your browser and export without a watermark.
Stunna’s Night Flash is designed for a paparazzi flash look with a dark background and sharp subject. Pocket Cam is the compact-camera flash option, while Soft Flash aims for gentler shadow falloff. Those are different starting points for different pictures. For a quick browser version of the compact-camera finish, try the free digicam filter. Pick the one closest to your intention, then inspect the result against the original.
Save a before-and-after that tells the truth
Keep the same crop and image size when comparing an original and an edit. Look at the face first, then the hands, clothes, and background details. A more dramatic result is only useful if you still like the photograph. Save the original separately so you can return to it later.
A few useful answers
Do I need a Canon G7X to follow this guide?+
No. You can practice the lighting and framing with a phone. The result is G7X-inspired, with no promise of matching a particular Canon camera, lens, or processing pipeline.
Should I use flash or night mode?+
Test your phone’s flash for a bright subject against a dimmer setting. Night mode often aims to preserve more ambient light. The better option depends on whether you want that direct-flash contrast or a more evenly lit scene.
Can an edit fix an out-of-focus face?+
An edit may change how sharp the picture appears, but it cannot reliably restore the exact detail of a face that was never captured clearly. Choose a focused original whenever possible.