THE 2016 PHOTO GUIDE
2016 Tumblr Photo Aesthetic: Shots and Edit Steps
The 2016 Tumblr-inspired look: flash on at night, warm tones, lifted blacks, a pushed sunset and a soft vignette. Plus a four-shot list and the edit order.
Try the idea on your own photo with Stunna.


Free to download. Pro options available.
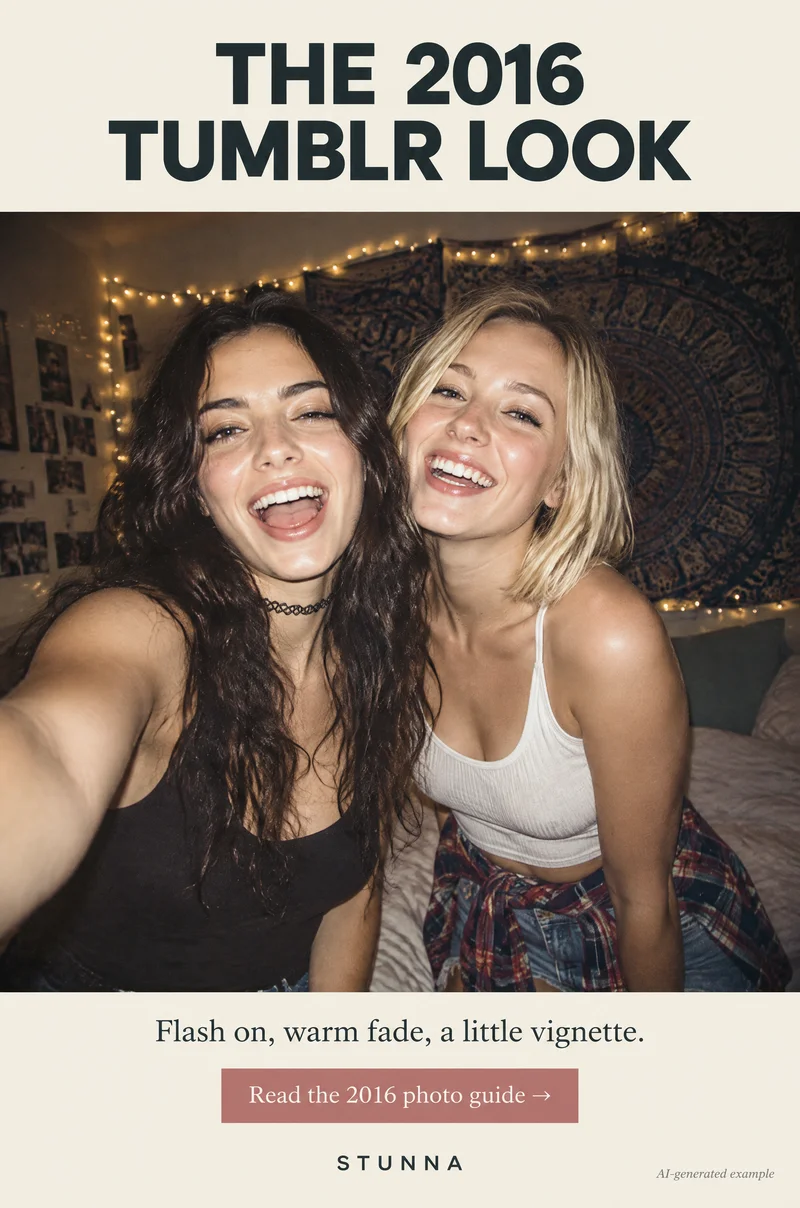
Around 2016, a certain kind of phone photo filled moodboards and dashboards: a bedroom lit by direct flash and fairy lights, a sunset pushed to pink and orange, warm faded color with milky shadows and a soft dark edge around the frame. It looked casual, a little imperfect and very warm. You can recreate this 2016 Tumblr-inspired look with any phone. It starts with how you shoot, flash on at night and sunsets at the right moment, then comes down to five edits in a set order. Below are the five steps, a four-shot list and the edit order. The illustrations are AI-generated examples, not actual Stunna results.
What made the 2016 look
The look came from a mix of phone cameras of the time and the edits people put on top. Night photos used the phone's direct flash, which lit faces brightly and let the room fall darker, with fairy lights glowing in the background. Daytime photos leaned warm and faded: blacks lifted to a soft grey, so nothing in the shadows was truly black, and highlights warm rather than white. Sunsets were pushed further than they looked in person, and a soft vignette darkened the corners.
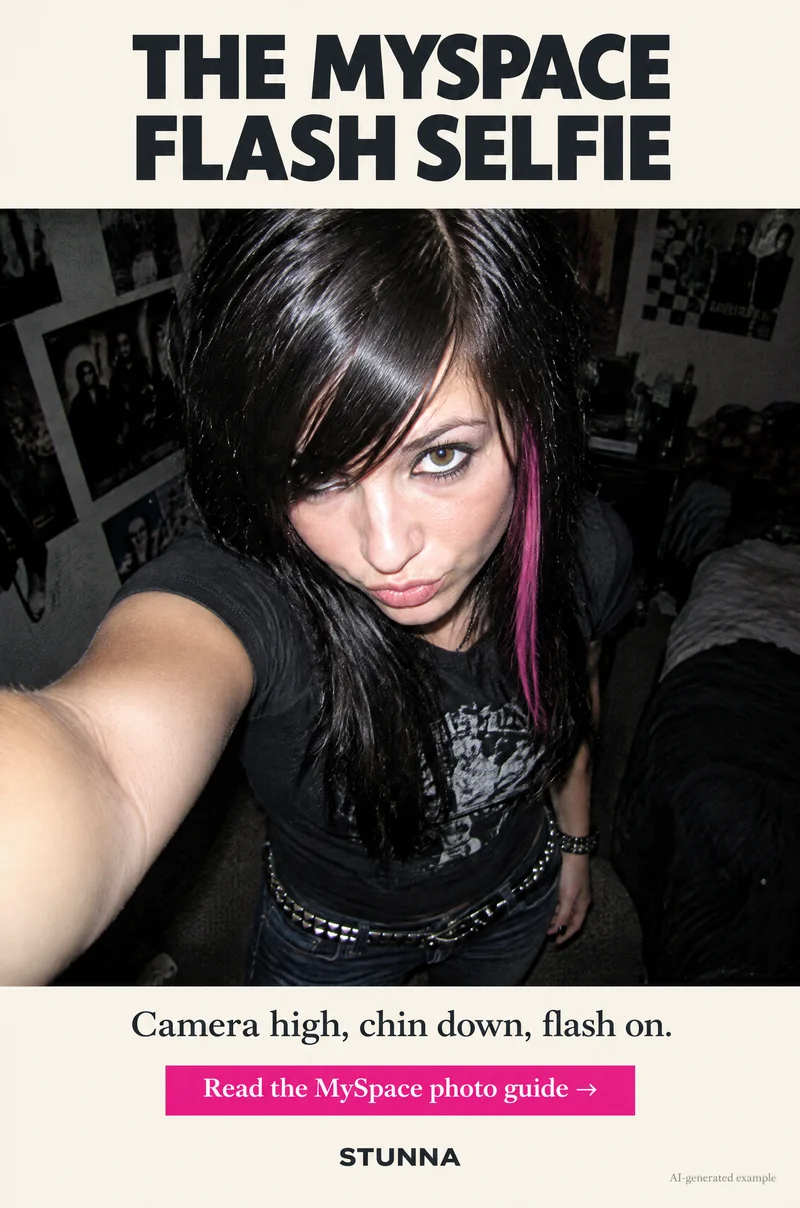
The subjects mattered as much as the color. Mirror selfies, rooftops, coffee in hand on a walk, a bed covered in printed photos and posters on the wall. It was everyday life, slightly styled. That is useful to remember, because the look falls apart if the photo itself is too polished. If you want the harder, earlier flash era that came before it, our MySpace flash photo guide covers the 2007 high-angle selfie and its edit order.
The 2016 photo look: 5 steps
Save these five steps for your next edit. The first happens when you shoot; the other four happen in your editing app, in this order.
- 01 Flash on at night: set the flash to on, not auto, for indoor and night photos, and stand a step or two from your subject.
- 02 Warm the tones: push the temperature or warmth slider toward yellow so whites turn creamy and skin looks sunlit.
- 03 Lift the blacks: raise the black point with a fade slider or by dragging the bottom-left point of the curve up, so shadows turn soft grey.
- 04 Push the sunset color: on sunset photos, raise saturation on oranges, pinks and purples rather than the whole image.
- 05 Add a soft vignette: darken the corners gently so the eye goes to the middle of the frame.
Shoot with the flash on at night
Direct flash is what makes the night shots feel like 2016 rather than a modern night-mode photo. Night mode brightens the whole room evenly; flash lights the people and lets the background drop away, with fairy lights and lamps glowing behind them. Turn the flash to on, not auto, so it fires every time.
Stand a step or two from the person. Phone flash only reaches a few steps, so anyone further back will be dark, and anyone very close may look washed out. Keep everyone at a similar distance so they are lit evenly. Ask for real movement, a laugh, a hug, someone turning toward the camera, and take several frames. Flash freezes it, which is part of the charm.
For mirror selfies with flash, stand at a slight angle to the mirror rather than straight on, so the flash bounces away instead of turning into a white blob over your face. For more on that setup, see our mirror selfie guide. Our G7X-inspired flash photo guide covers a cooler, crisper flash look if you want to compare the two.
2016 photo ideas: the 4-shot list
These four shots recreate the old feed. Take them over a day or a weekend and edit them as a set so they match.
- Flash mirror selfie: a bedroom or hallway mirror with fairy lights in the reflection, flash on, phone held at chest height and body angled. Wear something casual, such as an oversized sweater or a band-style tee.
- Rooftop sunset: a rooftop, balcony, car hood or hill at sunset, shot with the sky behind you. Expose for the sky so it keeps its color, and let your face sit slightly in shadow or turn toward the light. You push the color later.
- Iced coffee walk: walking along a sunny street holding an iced coffee, shot from a little ahead of you. Mid-step, looking down or to the side, coffee at chest height. Our walking photo poses cover where the photographer should stand.
- Bed and prints: lying on a bed among printed photos, polaroids or postcards, shot from above while standing safely beside the bed. Soft window light from the side works best, and keep the prints sharp so the frame has detail.
The edit order
Order matters because each step changes how the next one looks. Fading the blacks before fixing the exposure, for example, makes the photo look washed out and leads to overcorrecting. Work through these in sequence in any editing app with basic sliders. Slider names and ranges vary between apps, so treat the amounts as starting points and judge by eye.
- Crop and straighten: level the horizon or the mirror edge, and crop to a 4:5 or square frame if you want an old-feed feel.
- Exposure: set overall brightness first, so faces look natural and the sky still has color.
- Warmth: move the warmth or temperature slider a modest step toward yellow. Stop when white walls turn creamy, before skin turns orange.
- Lift the blacks: add a little fade, or raise the bottom-left point of the curve, until the darkest areas look soft grey. A small amount goes a long way.
- Push the sunset: on sunset shots only, raise the saturation of orange, pink and purple in a color or HSL panel. Leave skin tones alone.
- Vignette: add a soft, gentle vignette. If you can see a clear dark ring, it is too strong.
- Optional grain: a touch of fine grain adds texture. Our film grain photo guide explains how much is enough.
Keep skin believable
Warm and faded is flattering up to a point, then it turns skin orange and flat. After warming, check faces against something you know is neutral, like a white T-shirt or a wall, and pull the warmth back if skin looks orange rather than sunlit. If your app has a skin or orange-hue control, lowering orange saturation slightly can keep skin natural while the rest stays warm.
Flash adds shine on foreheads and noses. That is part of the look, but if it is distracting, lower the highlights a little rather than smoothing the skin. Faded photos already lose some contrast, so avoid smoothing tools that flatten texture even further.
Common 2016 look mistakes
Most failed attempts overdo one step. These are the usual ones.
- Fading too much: blacks should be soft grey, not milky. If the whole photo looks hazy, pull the fade back.
- Orange skin: warm the photo until whites turn creamy, then stop.
- Saturating everything: push only the sunset colors, not skin, clothes and walls.
- A heavy vignette: it should be felt rather than seen.
- Auto flash at night: set it to on so every night shot has the same look.
- Shots that are too polished: the look depends on everyday moments, not posed studio-style setups.
Make it a set
The 2016 look works best across several photos, because the warmth and fade tie them together. Edit your four shots in one session, copy the settings from the first to the rest if your app allows it, then adjust exposure for each one. The night flash shot and the sunset will never match exactly, and they do not need to.
For more on warm, faded color, see our warm film photo guide. Fairy lights are the backbone of the night shots; our string light photo guide shows how to light faces around them. For an earlier flash era with harder contrast, compare the Y2K digicam look, and when you post the set, our weekend photo dump guide helps with the order.
A few useful answers
What is the 2016 Tumblr photo aesthetic?+
A warm, faded phone-photo look: direct flash at night, fairy lights, lifted blacks, warm highlights, pushed sunset colors and a soft vignette, applied to everyday moments like mirror selfies and rooftop sunsets.
How do I edit photos to look like 2016?+
Crop, set exposure, warm the tones, lift the blacks with a fade or curve, push only the sunset colors and add a soft vignette, in that order. Treat slider amounts as starting points.
Should I use flash for the 2016 look?+
Yes, for night and indoor photos. Set the flash to on rather than auto and stand a step or two from your subject so faces are lit and the room falls darker.
What does lift the blacks mean?+
Raising the darkest tones so they turn soft grey instead of pure black, using a fade slider or by dragging the bottom-left point of the curve up. It gives photos a faded, matte feel.
What photos should I take for a 2016 feed?+
Try four: a flash mirror selfie with fairy lights, a rooftop sunset, an iced coffee walk and lying on a bed among your printed photos. Edit them together so they match.