THE MIRROR SELFIE GUIDE
Mirror Selfie Poses: How to Take a Better Mirror Selfie
A clean setup, five simple frames, and a reflection checklist for showing the outfit or expression you actually want.
Try the idea on your own photo with Stunna.


Free to download. Pro options available.
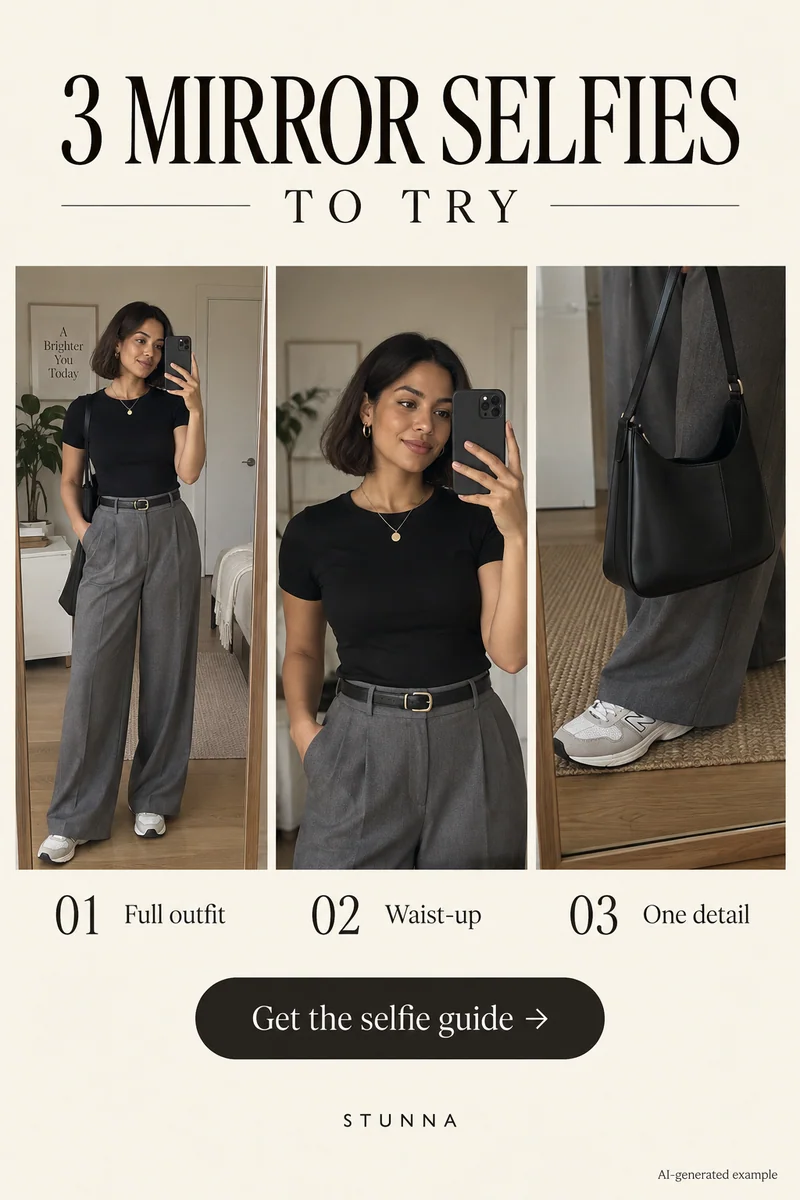
A good mirror selfie makes one thing easy to see: the outfit, the expression, or a detail you want to share. Decide which comes first, then arrange the light, phone, and background around it. A few small changes before shooting can do more than an elaborate pose. AI-generated visual examples illustrate the look; they are not measured Stunna outputs.
Prepare the reflection, not just the space beside you
Wipe the mirror and camera lens, then look through the phone at the entire reflection. Objects behind you may appear beside your head or feet even when they seem out of the way in the room. Move your own bags, bottles, or laundry if they distract from the subject. When no mirror is available, our guide to taking pictures of yourself covers timers and phone supports.
Choose light that reaches the front or side of you. A bright window directly behind you may make the reflection look dark. Turn slightly or try a different mirror position where practical. Take a plain test picture before changing the pose so you can see whether the light is working.
Try these five frames in one session
Leave room around the edges and keep each stance comfortable. Our outfit photo ideas cover a similar sequence without a mirror.
- The full outfit: hold the phone steadily, leave space around shoes and head, and keep the mirror’s vertical edges close to upright.
- The waist-up turn: make a closer frame, angle your shoulders a little, and keep the outfit visible. Rest the free hand on a pocket or bag strap.
- The face-visible frame: shift the phone sideways or lower it enough to show the expression. Check that the phone does not hide the detail you care about.
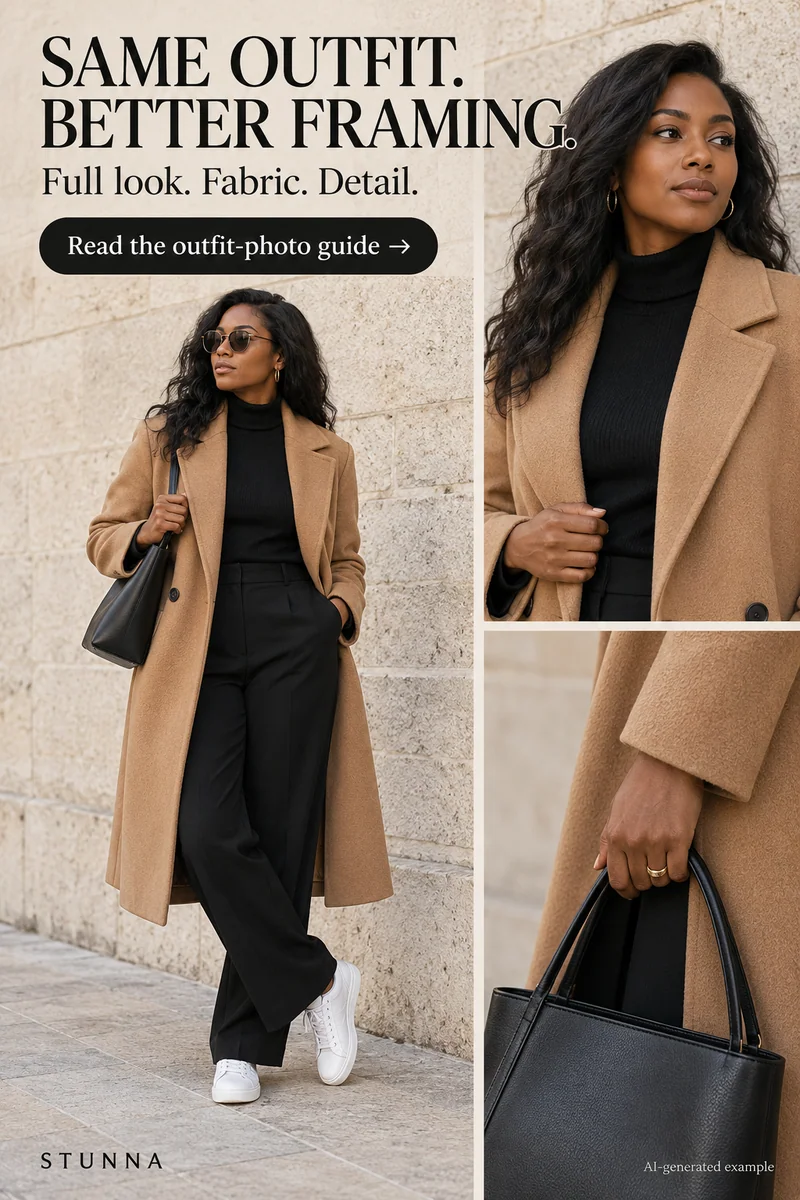
- The outfit detail: move the composition toward the jacket, jewelry, or bag. Make the intended subject obvious and avoid an accidental crop through it.
- The wider room frame: step back where space allows and include some setting. Keep it only if that context adds something to the picture.
Keep phone position and camera tilt separate
Raising or lowering the phone changes the viewpoint; tilting it changes the geometry. Try a level phone first, then make a small adjustment and compare. Strong tilt may stretch parts nearer the lens or make walls converge. That can be a style choice, but it may not show an outfit’s proportions the way you intended.
For a full-length frame, adjust your distance instead of forcing everything in with an extreme angle. For an expression-led selfie, give the face enough room and use a comfortable distance. Your free hand only needs one simple job. Our guide on how to pose for pictures has more simple starting points.
Check the whole reflection before sharing
Look for distracting reflections, signs, and items at the edges. Check whether a sleeve, hem, or shoe disappeared in the crop. Mirror text appears reversed, so decide whether that matters to your image rather than automatically flipping every picture.
If you try flash, inspect glare on the mirror and bright areas on clothing; our flash photography tips cover the look in more detail. A separate frame with available light gives you another option. Keep the picture where you can see the intended subject clearly, even if another has a stronger effect. For a flash-style look without mirror glare, you can run an available-light frame through our free flash filter.
Clean the scene without changing the outfit
A manual crop can remove an edge distraction while leaving the photograph intact. For an AI cleanup, Stunna’s Room Reset is designed for indoor clutter such as laundry, cables, and bottles. Declutter targets distracting scene objects. Compare the result carefully: mirrors contain repeated geometry and reflections, so inspect hands, phone shape, outfit seams, furniture, and reflected objects before saving. Keep your original separately. For a retro finish instead of a cleanup, our free camcorder filter runs in the browser and leaves the scene as it is.
A few useful answers
Where should I put the phone?+
Start with a steady, fairly level phone and enough distance for the crop. Move it aside when the face or an outfit detail needs to remain visible.
Do I need to show my face?+
No. An outfit-led image can keep the phone in front of the face. Decide what the photo is for and make that subject readable.
Will AI cleanup preserve every reflection?+
That is not guaranteed. Review reflected objects, hands, phone shape, and clothing against the original before keeping the result.