THE POSING GUIDE
How to Pose for Pictures: 5 Easy Photo Poses
Give your hands a job, use small movements, and build a set of natural portrait options without memorizing a model pose.
Try the idea on your own photo with Stunna.


Free to download. Pro options available.
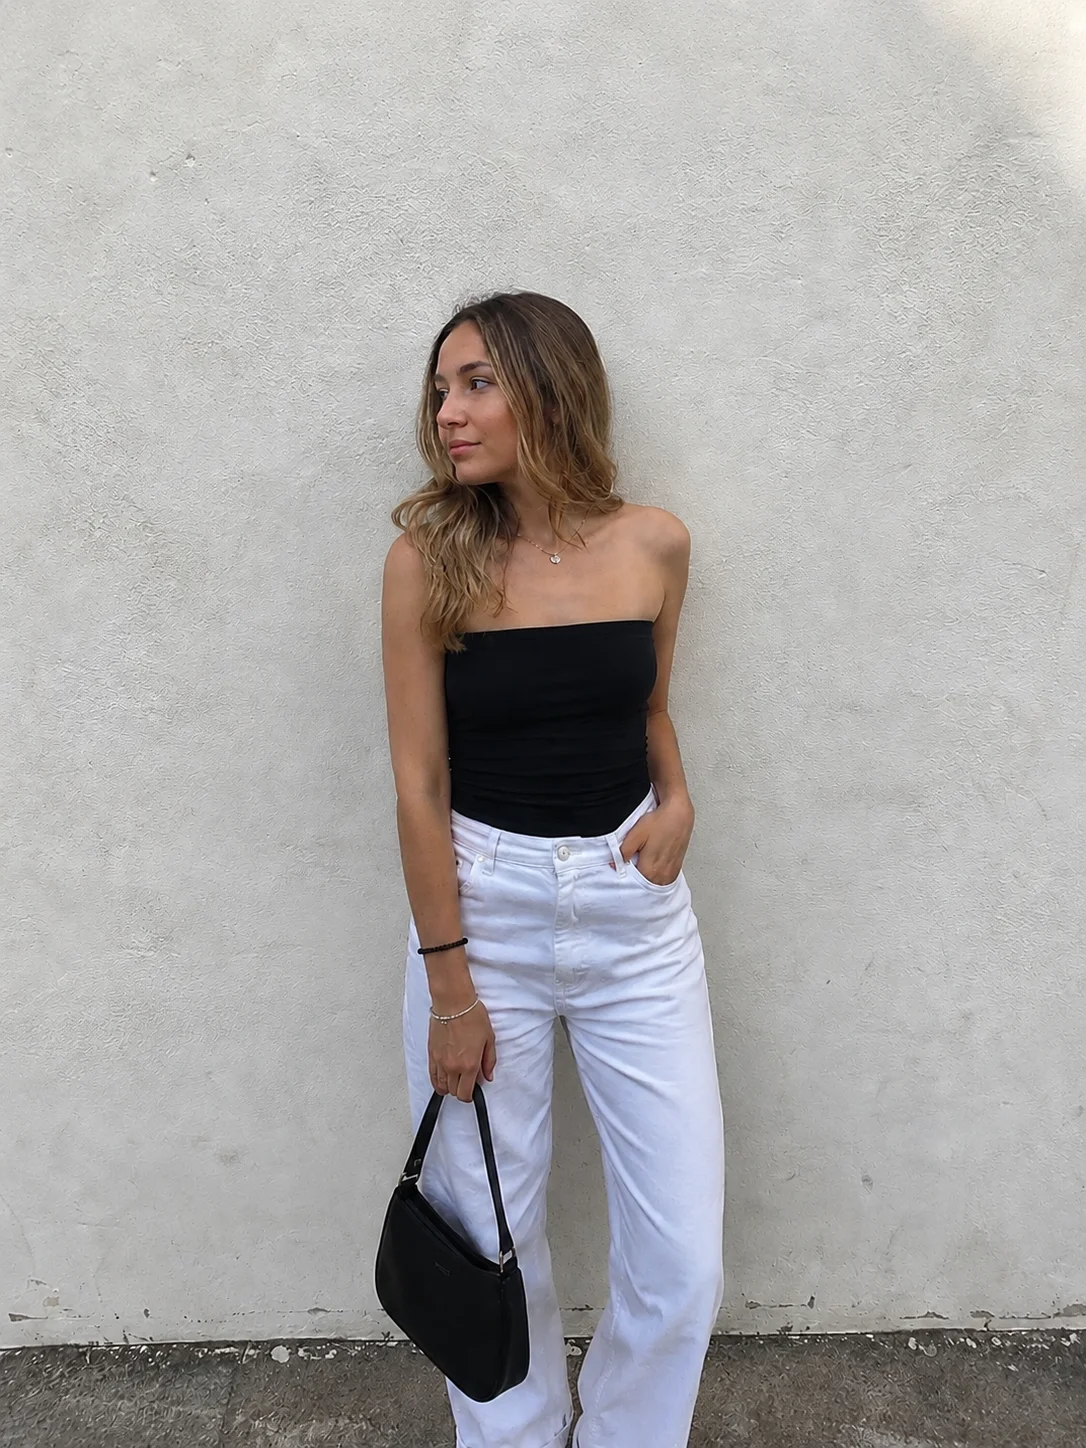
A useful pose gives you something small to do. You do not need to hold a complicated shape or change how your body looks. Start with a comfortable position, choose a hand placement, and move a little between frames. These five ideas work as a practice sequence for solo portraits, outfit photos, and travel pictures. Adapt every movement to your own comfort and mobility. AI-generated visual examples illustrate the look; they are not measured Stunna outputs.
Start with a frame that gives you room
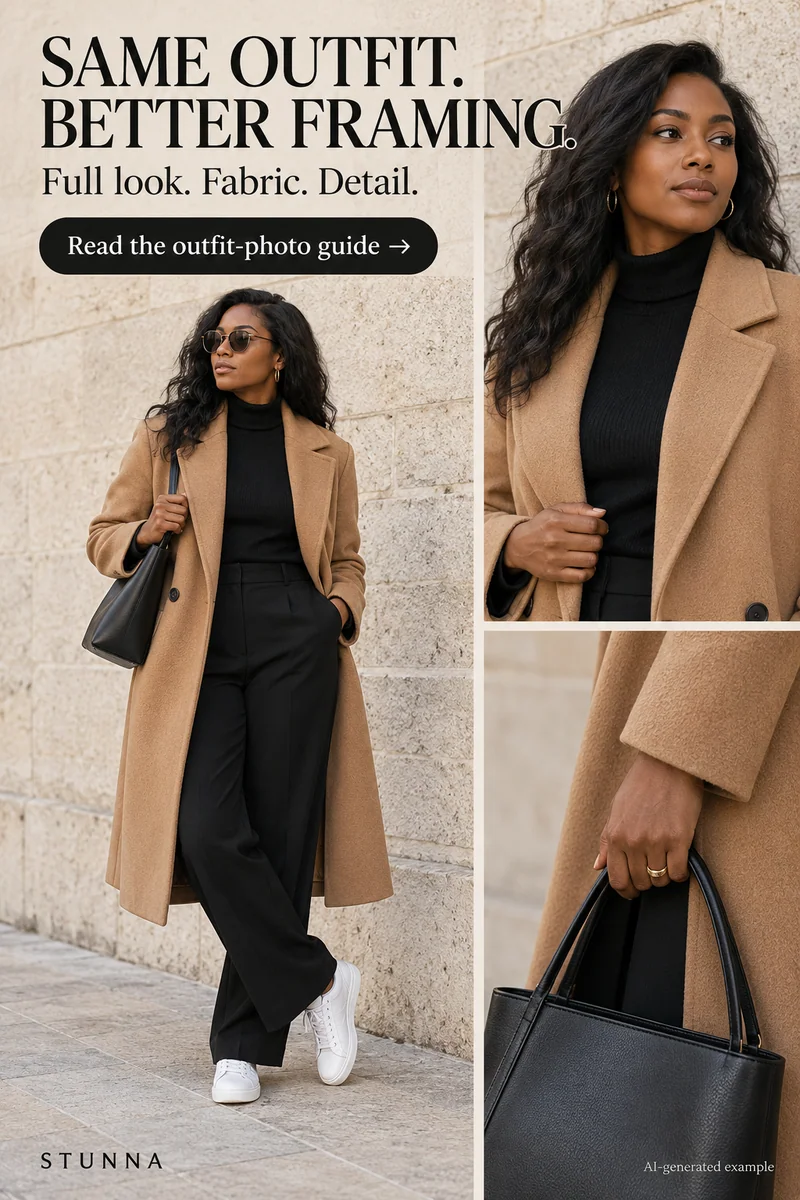
Ask the photographer to choose the composition before you pose. For a full-length picture, leave room around shoes, hands, and the top of your head so the final crop is a choice. For a closer portrait, keep the camera at a comfortable distance rather than pushing a wide lens close to your face.
Find soft light or open shade if squinting makes it hard to relax. Take one ordinary test picture. Check the background and horizon, then put the phone down for a moment so the session feels like a conversation. A good expression often arrives when you stop concentrating on every part of your body.
Try these five poses in order
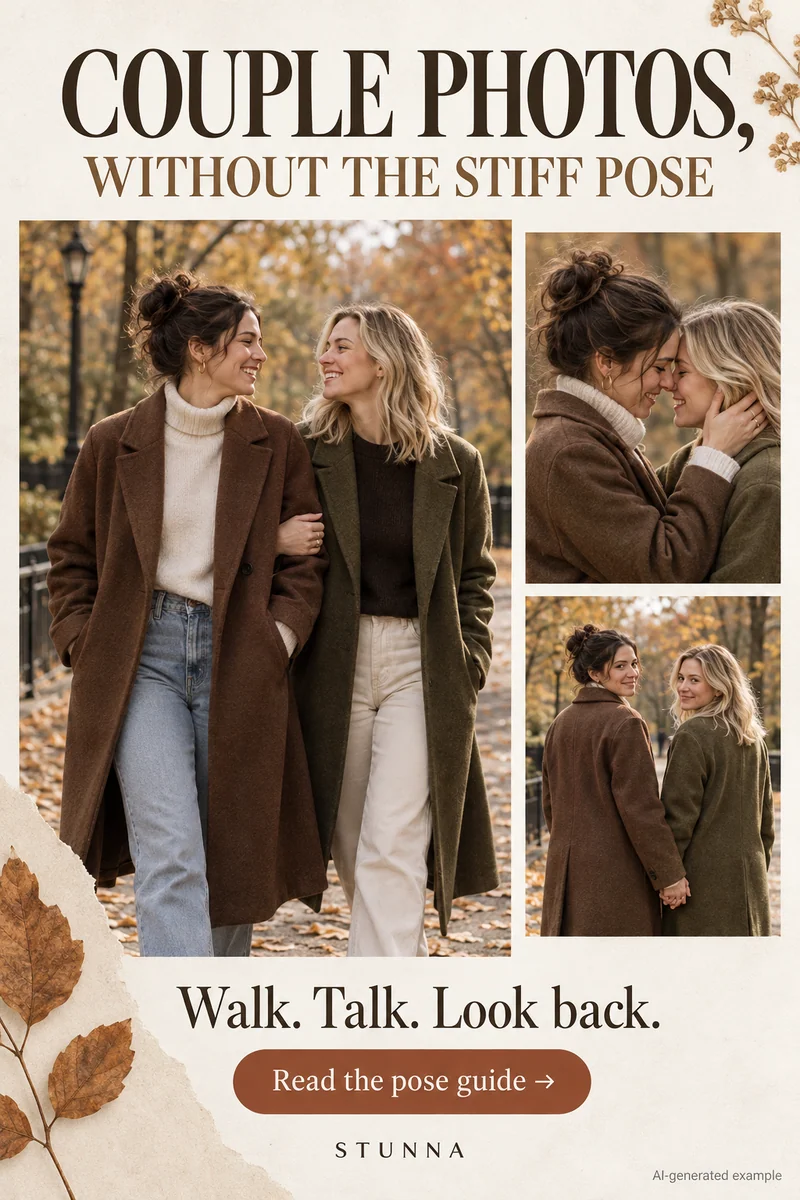
Keep the location and camera position the same. Each idea changes only a small part of the previous one, so you can move through the sequence without resetting everything. If you are posing with someone else, see our couple poses and group photo poses instead.
- The slight turn: stand or sit comfortably, turn your shoulders a little, and bring your eyes back to the camera. Let your arms rest rather than holding a rigid angle.
- The bag or pocket: keep the same stance and give one hand a familiar place to go. Hold a bag strap, touch a jacket edge, or rest the hand near a pocket. Keep the grip loose.
- The look-away: shift your gaze toward something just beside the photographer. Think of actually looking at it, rather than holding an empty stare into the distance.
- The small step: take one relaxed step while the photographer captures a few frames. If standing movement does not suit you, try a gentle seated turn or a change in hand position.
- The return: glance back toward the lens and exhale. Let the photographer capture that transition, then hold still for one frame so you have a sharp alternative.
What to do with your hands
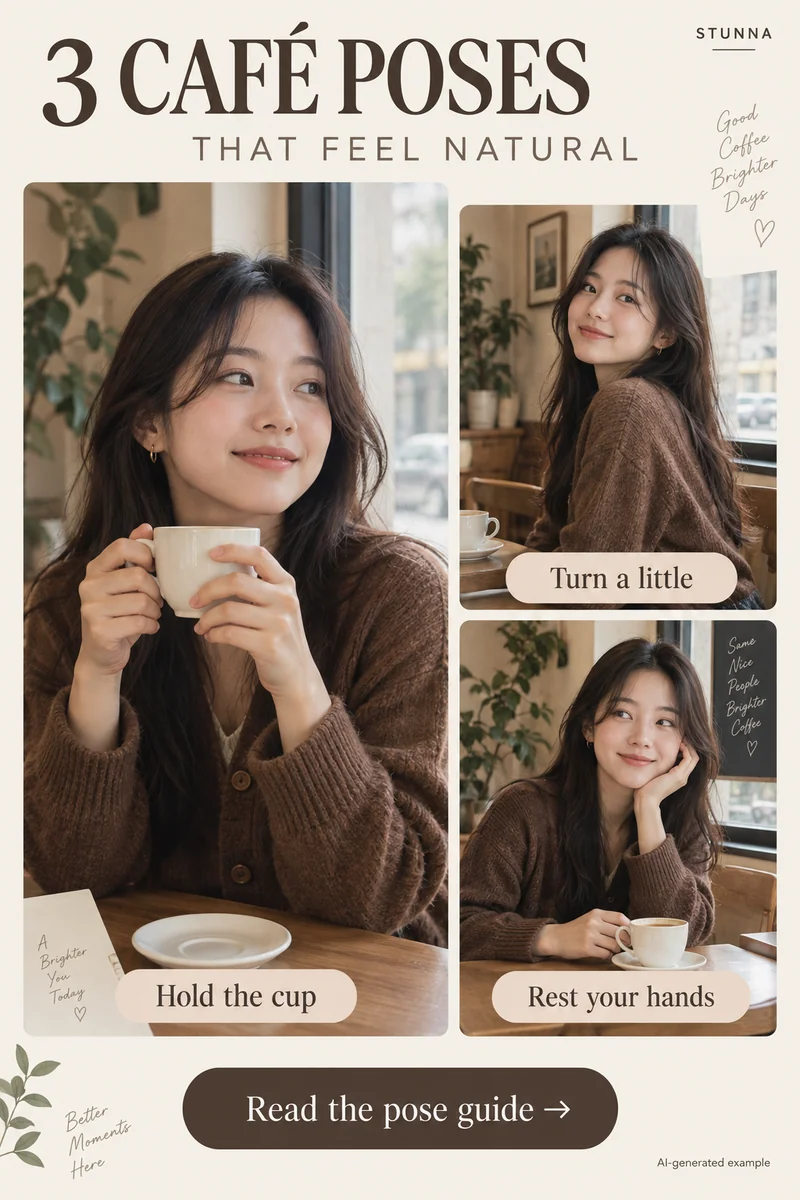
Choose an action you would naturally do in that setting. At a café, hold the cup without covering your face; our sitting poses guide has more café ideas. In an outfit photo, touch a sleeve or jacket. On a walk, carry the bag the way you normally would. The point is to create a believable reason for the placement.
Avoid making both hands busy at once. One simple action and one relaxed hand often reads more clearly. If your fingers look tense, shake them out between pictures. If the pose hides a detail you want to show, such as an outfit or jewelry, move the hand slightly and take another frame.
Practice alone in three rounds
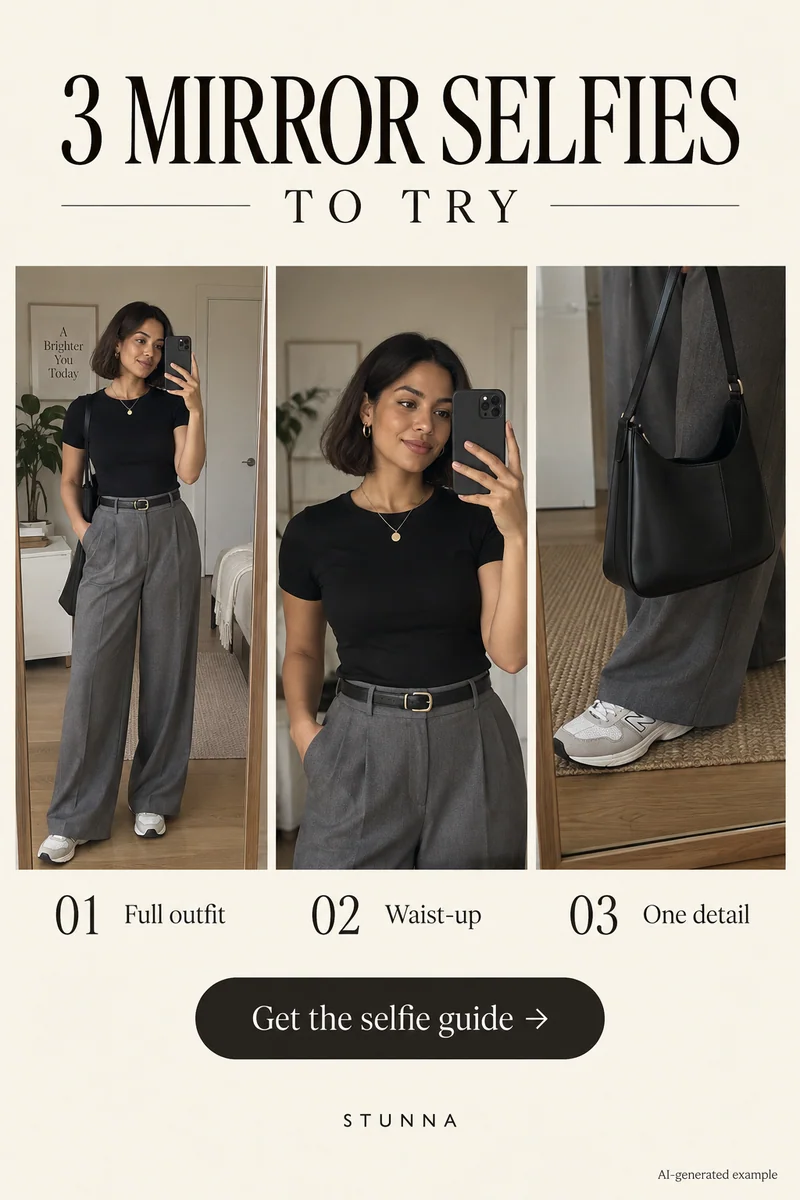
A timer gives you space to get comfortable without an audience. Put the phone on a stable support and check the frame before you step into it. Start with still pictures, then add movement once the composition works. The same approach helps with taking pictures of yourself while traveling, and if there is no stable support nearby, a mirror works too; see our mirror selfie poses.
- Round 1: take three frames with the slight turn. Change your gaze between camera, side, and down. Compare which expression feels natural to you.
- Round 2: repeat your favorite position with one hand action. Check that the hand and prop fit inside the frame and do not distract from the face.
- Round 3: add one small movement, then pause. Review the transition and the still frame. Save the useful idea so you can repeat it at another location. To turn your favorite frames into a four-cut layout, try our free Korean photo booth frames.
Use a guide as a starting point
Stunna’s Pose Guides include pose details and camera overlays to help you line up a shot. You can use a guide to remember a hand placement or silhouette, then adapt it to your own proportions and the space around you. The overlay is a reference while shooting; it is not a requirement to fit an exact outline.
When reviewing pictures, choose the frame for expression, light, and the story you want to tell. Leave room for an ordinary laugh or imperfect movement. You are building a collection of pictures you like, rather than a test of whether you can copy a pose perfectly. In a photo booth, the same small changes fit a four-frame strip; see our photo booth poses, or practice with the free online photo booth.
A few useful answers
How do I make a pose look less stiff?+
Use one small action at a time. Relax your hands, exhale, and let the photographer capture the transition between positions. A short pause gives you a sharper version of the same moment.
Do these ideas work sitting down?+
Yes. Use a comfortable seated position, a slight shoulder turn, one hand action, and a change of gaze. Replace the walking step with a small seated movement that works for you.
Will a Stunna pose overlay appear in my final photo?+
The pose guide is displayed over the camera preview as a reference. It helps with composition while you shoot; it is not part of the captured photo.