THE OUTFIT PHOTO GUIDE
Outfit Photo Ideas: How to Show the Details
Use a clear full-length frame, compare camera angles, and add the detail shots that make an outfit set useful.
Try the idea on your own photo with Stunna.


Free to download. Pro options available.
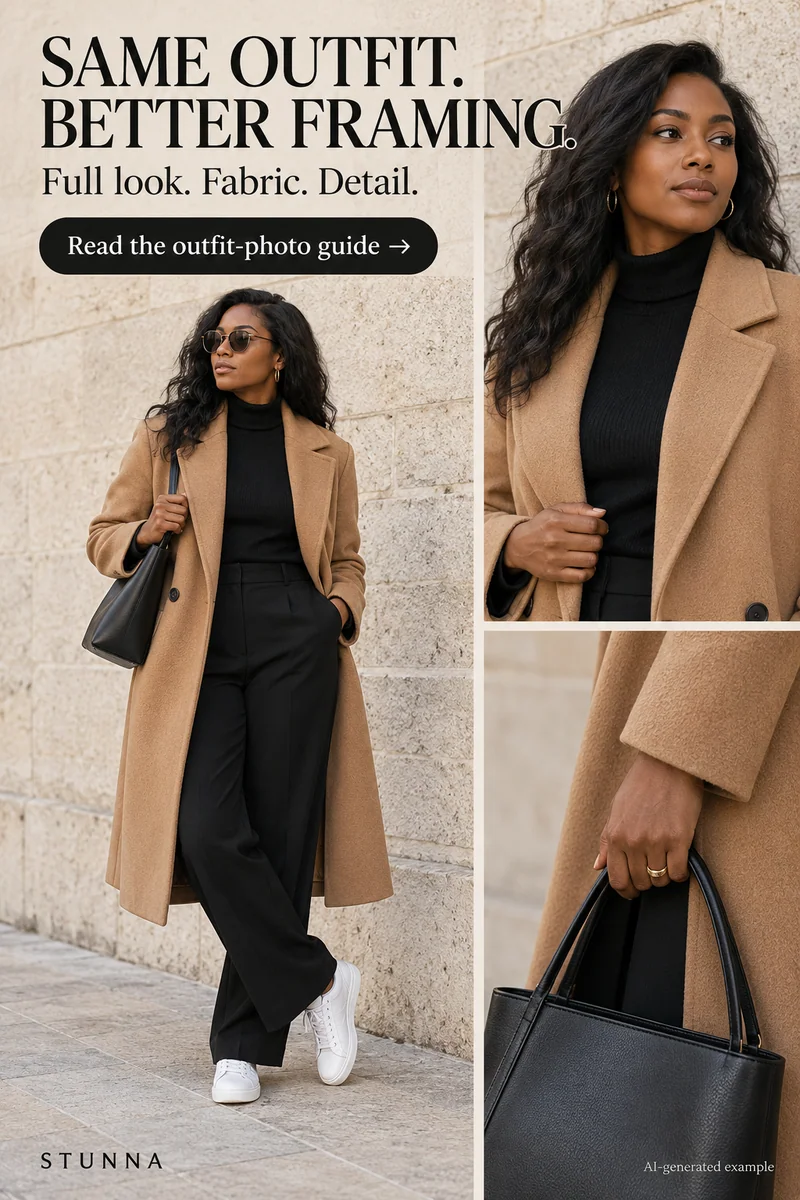
Show an outfit’s shape, color, layers, and chosen details. Start with a clear full-length image, then try another angle, a small movement, and closer detail frames. A useful set does not require a complicated pose. AI-generated visual examples illustrate the look; they are not measured Stunna outputs.
Pick a background that gives the clothes room
Look for a quieter wall, doorway, or section of street. If a dark outfit disappears against a dark background, change the angle or find a lighter surface. If a patterned outfit competes with a busy scene, simplify the framing. Check for poles, signs, and bright objects crossing the silhouette. Our guide to a clean photo background has more ways to simplify the scene, and autumn color can work too; see our fall photoshoot ideas.
Use light that lets you see texture and color. Open shade is a useful starting point when strong sun hides details in deep shadows; our guide to photos in harsh sunlight covers other fixes. Move your bag or hands if they cover the main part of the outfit. Take a plain test picture before adding a stronger pose.
Make this five-picture outfit set
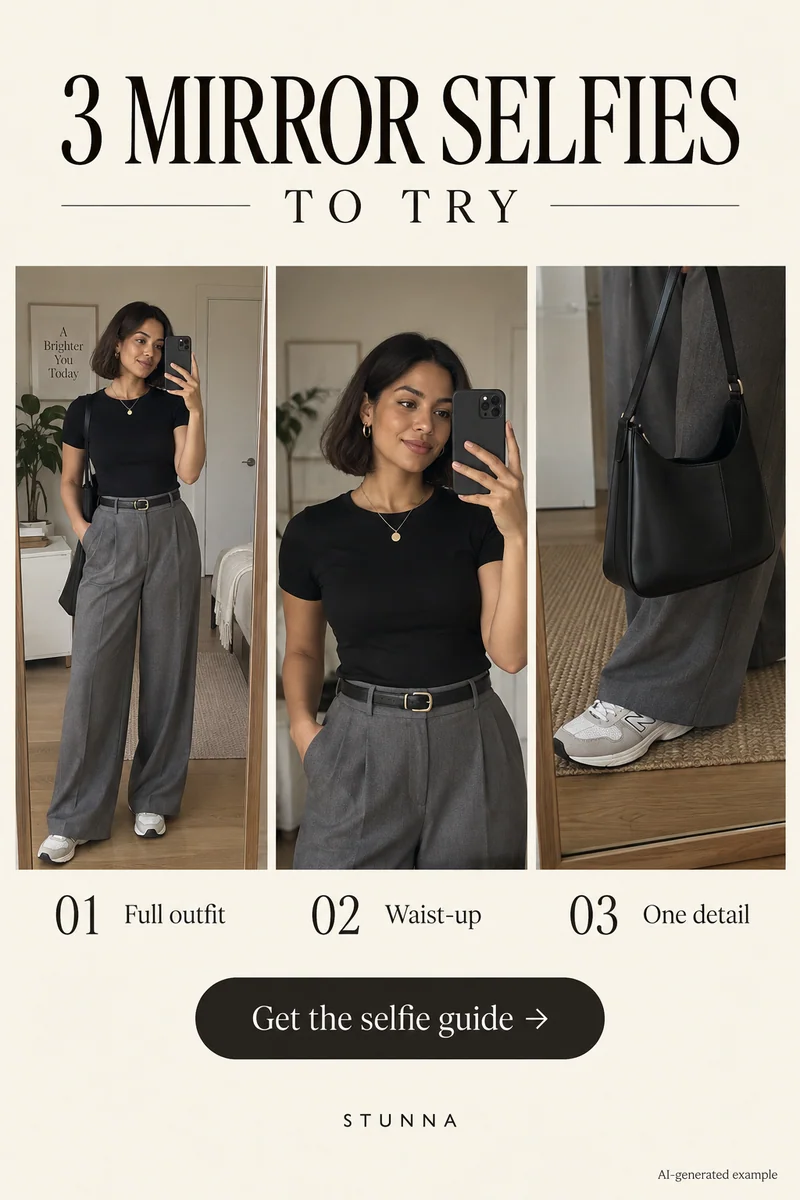
Keep the first image straightforward; use the others to show variation. Shooting alone? Our mirror selfie poses cover the same frames without a photographer.
- Full length: frame from above the head to below the shoes with a little extra space. Keep the phone fairly level and check that the whole outfit is visible.
- Slight turn: rotate the shoulders and hips a little so layers or the side shape are easier to see. Choose a comfortable stance and let one hand rest.
- Small movement: take one slow step or adjust a jacket. Capture the transition and a still pause so you have a clear alternative.
- Waist-up: show the top, neckline, bag, or jewelry. Keep hands from hiding the feature that matters.
- Detail: photograph the texture, shoes, fastening, or accessory separately. Give that detail enough room to be recognizable.
Compare camera height before choosing a style
Start with a level phone at a comfortable distance, then compare a lower viewpoint. Strong tilt changes apparent proportions and background lines. A close ultra-wide frame exaggerates things near the lens; that may distract from the garment’s actual shape.
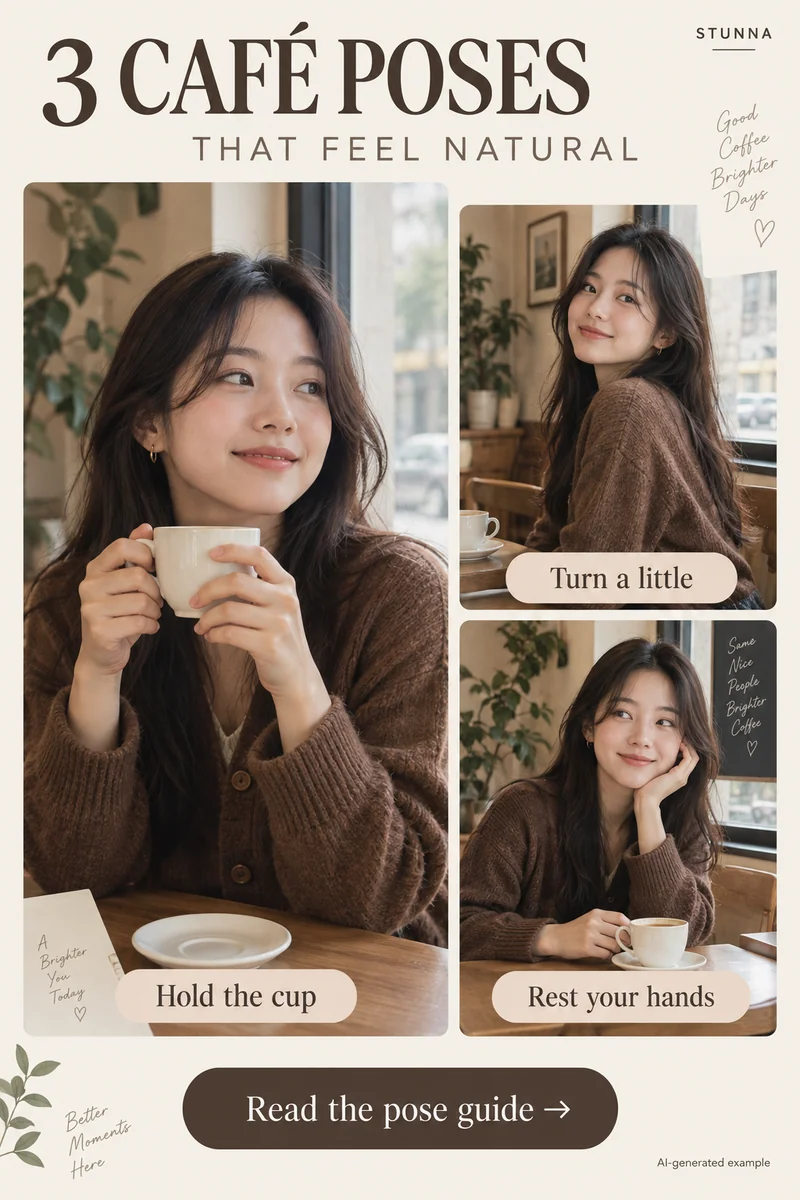
Ask the photographer to change distance and height separately so you can understand the difference. Keep a neutral frame when the outfit’s fit matters, then use a dramatic angle as an additional image. Neither angle is automatically better for every person or garment. For seated outfit frames, try these café sitting poses.
Make details readable at a small size
Use three framing checks: leave space around shoes, keep vertical lines upright unless deliberately tilting, and choose a simple background. Preview the image small. If accessories disappear, give them a close photograph instead of sharpening the wider frame heavily.
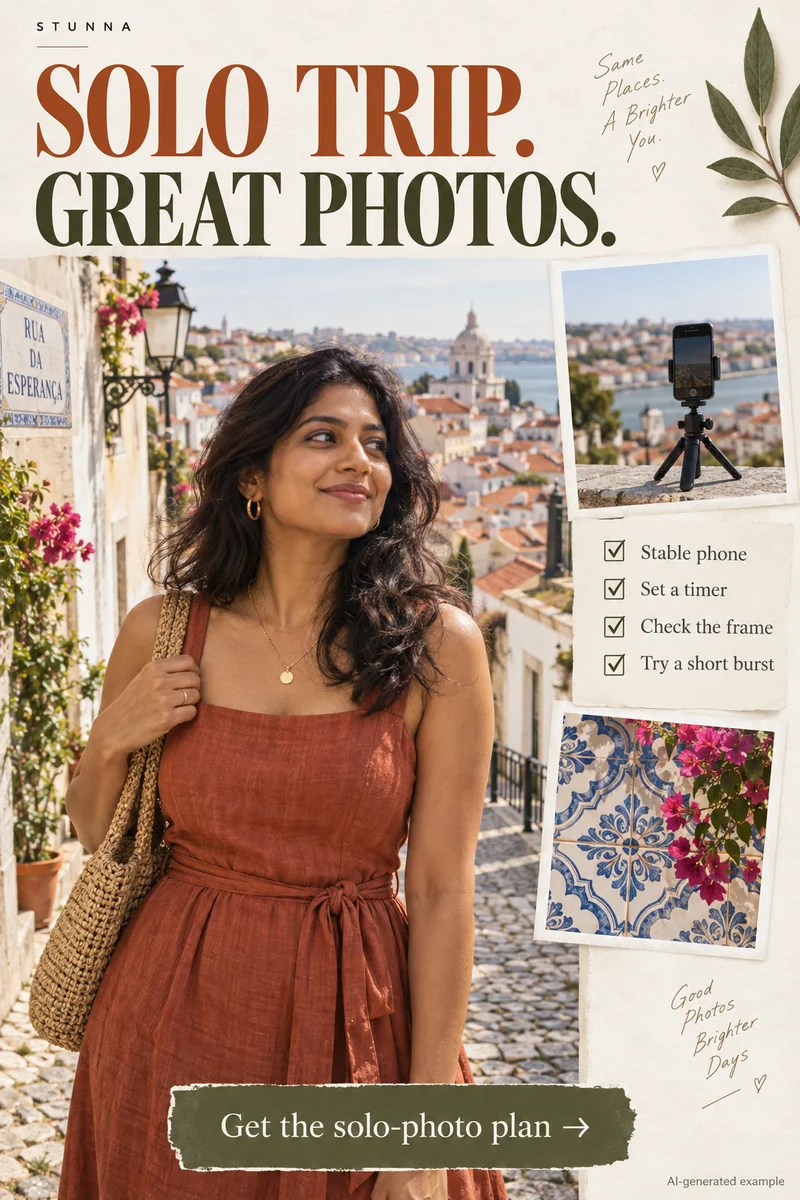
For a photo dump, lead with the clearest full-length frame, follow with movement or a turn, then show the detail. Avoid three almost identical poses unless each explains something different. Keep original files separate from the copies you crop for sharing. Our photo dump cover ideas help you choose the first frame, and our travel photo dump ideas show how to mix outfits with places.
Edit the mood while checking the garment
In a manual editor, adjust exposure and color gradually. Keep white and neutral garments believable, and avoid crushing dark fabric until seams disappear. If an accurate product color matters, compare with the real item rather than relying on a strong creative grade.
Stunna’s Editorial offers a magazine-inspired camera look, while Day Flash is designed for crisp daylight fashion contrast. Treat either as an interpretation. Compare outfit color, patterns, logos, jewelry, hands, and body position with the original before keeping a generated edit. A stronger mood is only useful when the details you care about remain right. For a simple retro finish, our free digicam filter and white border tool run in the browser and export with no watermark.
A few useful answers
Should outfit photos always be taken from below?+
No. Start with a clear, fairly level frame and compare a lower viewpoint. Strong tilt changes apparent proportions and may not show the clothing the way you want.
How do I show shoes and accessories?+
Leave room around shoes in the full-length frame, then make closer detail pictures for small accessories. Each image can serve a different purpose.
Will an AI edit keep the outfit exactly the same?+
That is not guaranteed. Inspect garment color, patterns, seams, text, and jewelry against the original before sharing or saving the result.