THE MIDDAY PHOTO GUIDE
Photos in Harsh Sunlight: Avoid Hard Shadows
Find open shade, prevent patchy shadows, and keep your face and sky readable when midday light is hard to work with.
Try the idea on your own photo with Stunna.


Free to download. Pro options available.

Bright midday sun can create deep eye shadows, strong highlights, and a lot of squinting. Your first tool is position: turn the subject, change the camera angle, or move into consistent shade. You can still make a useful portrait during the day without expecting an edit to repair every lighting problem. AI-generated visual examples illustrate the look; they are not measured Stunna outputs.
Start with three practical fixes
Fix the setup before editing. Check for sun patches from leaves or railings and move until the face has consistent light.
- Find open shade: start near the edge of a building’s shade with daylight reaching the face. Deep shade can make the person much darker than the background.
- Turn away from squinting: choose a comfortable gaze direction away from strong sun, then adjust the camera to keep the expression visible.
- Expose for skin: check face brightness and texture in a test image. Adjust exposure where supported, while reviewing what happens to the bright background.
Use this five-step midday setup
Make the person comfortable first, then decide how much sky belongs in the frame. The same checks apply to solo travel photos taken on a timer: review a test frame before posing.
- Place the subject in even shade or turn them so they are not looking directly toward strong sun. Choose a comfortable gaze direction.
- Frame with the main camera and tap the face to focus where supported. Take a test and check detail in skin and pale clothes.
- Move the camera if the bright background overwhelms the person. A wall or greenery may be easier to balance than a large patch of bright sky.
- Capture one still portrait, then a small turn. Keep hands relaxed and avoid asking the person to hold an uncomfortable expression.
- Review eyes, highlights, and background before moving on. Repeat the setup if the face is too dark or a sun patch crosses it. If sunglasses or lenses reflect the scene, see our tips on glasses glare in photos.
Use direct sun deliberately when shade is unavailable
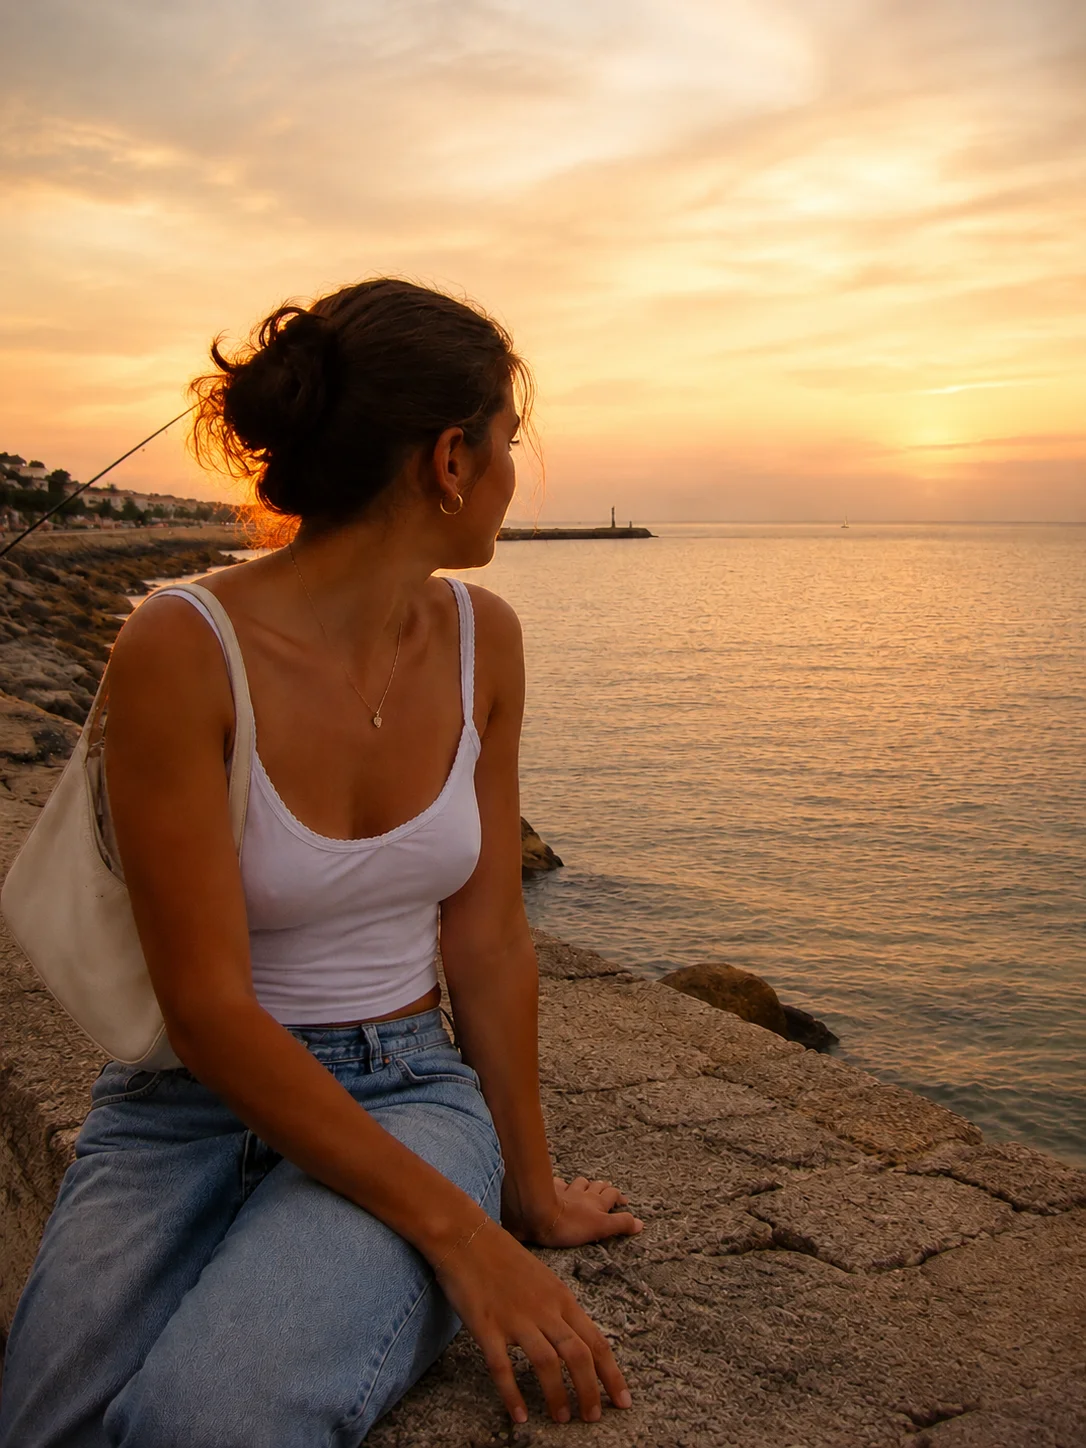
Try turning the person so the sun is beside or behind them, then check how much light reaches the face. Backlighting may give a bright edge around hair, but it can also leave the face dark. A different crop or nearby reflective surface may give you a more workable balance.
Strong shadows can suit an outfit or architectural photograph. Keep their edges intentional: a shadow across a wall may add shape, while one across the eyes may hide the expression. Take a wider scene and a simpler portrait so you have alternatives. Our outfit photo ideas include a five-picture set you can shoot in this light.
Know what an exposure adjustment can change
Lowering exposure can protect bright areas, but it may darken the face further. Raising it can brighten skin while losing sky detail. There is no universal slider position for every phone and scene. Check both subject and background in the actual test image.
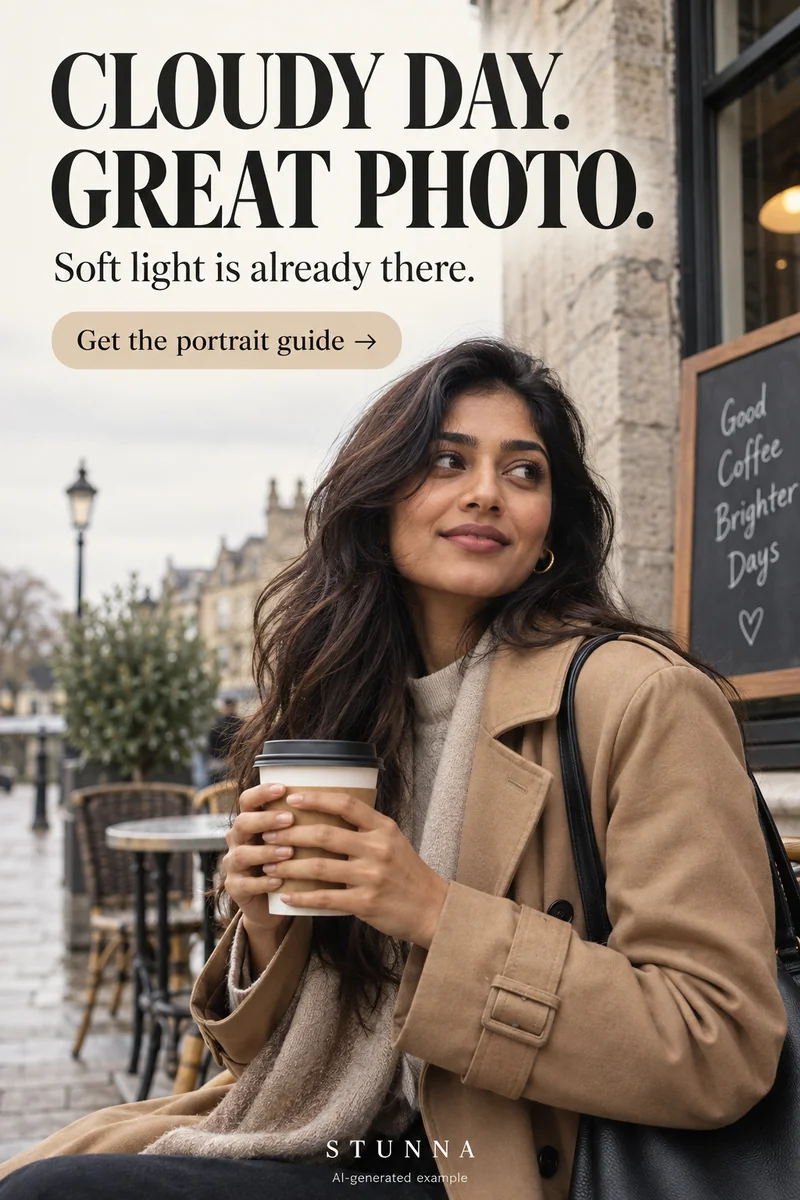
Editing cannot reliably restore original texture in an uncaptured white area or exact detail in an unfocused face. Change the setup while you can and keep a clearer frame. If your timing is flexible, golden hour photography or cloudy day photography gives you softer light to start with.
Choose a restrained lighting repair
For a manual edit, lift shadows carefully and keep enough contrast for the face to have shape. Stunna’s Midday Save is designed to soften harsh sun, lift eyes, and recover the sky as a creative AI treatment. Inspect the result for changes to expression, eye shape, skin texture, and cloud detail. Keep an untouched original and choose the edit only when it improves the photograph you wanted. If you edit with a chatbot instead, our ChatGPT photo editing prompts include one for warm golden-hour light.
A few useful answers
Where should I stand at noon?+
Start in consistent shade with open daylight in front of you. Check the face in a test picture and move away from patchy leaf shadows.
Can I keep the bright sky and a bright face?+
Sometimes, but the contrast may be too large for the camera. Change the angle, light, or amount of sky in the frame before relying on an edit.
Should I remove every shadow?+
No. Useful shadows give a photograph shape. Focus on distracting patches and unreadable eyes rather than flattening all the light.