THE BLACK-OUTFIT PHOTO GUIDE
All-Black Outfit Photos: Keep Fabric Detail Visible
Find soft side light, separate the outfit from its background, preserve fabric texture and check the darkest areas before you save.
Try the idea on your own photo with Stunna.


Free to download. Pro options available.
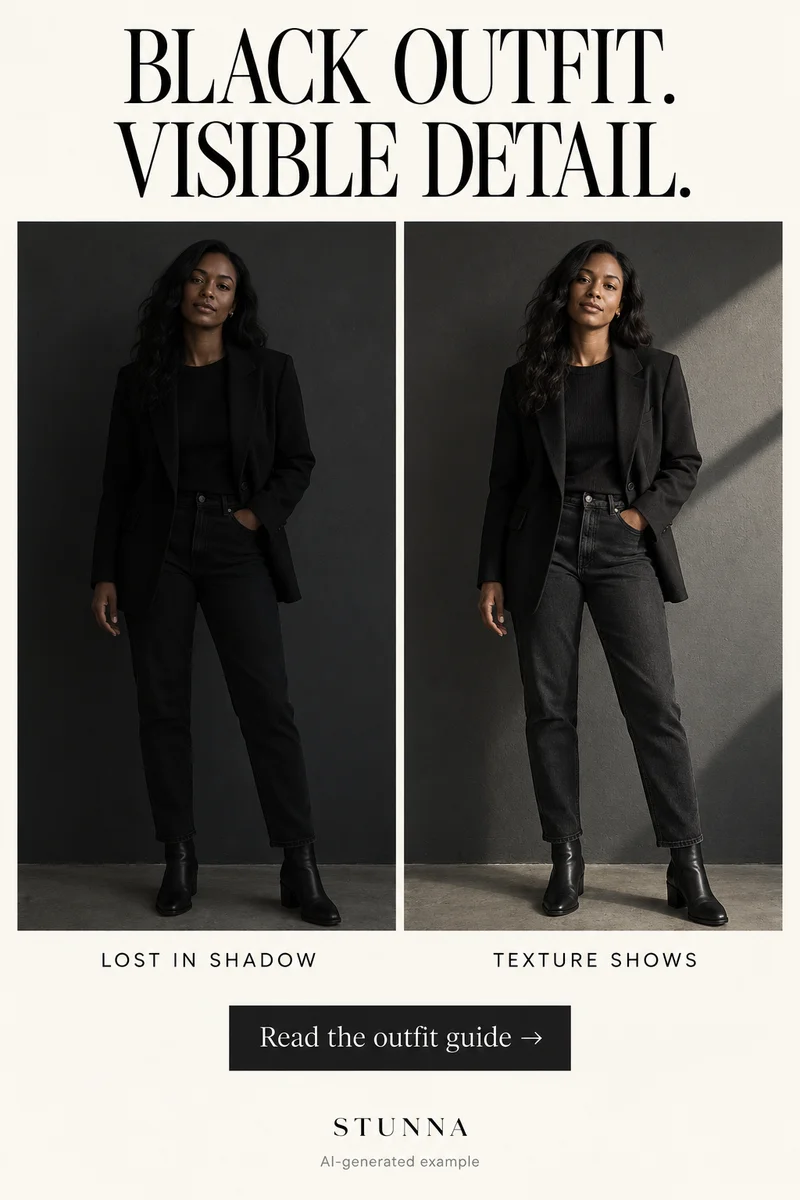
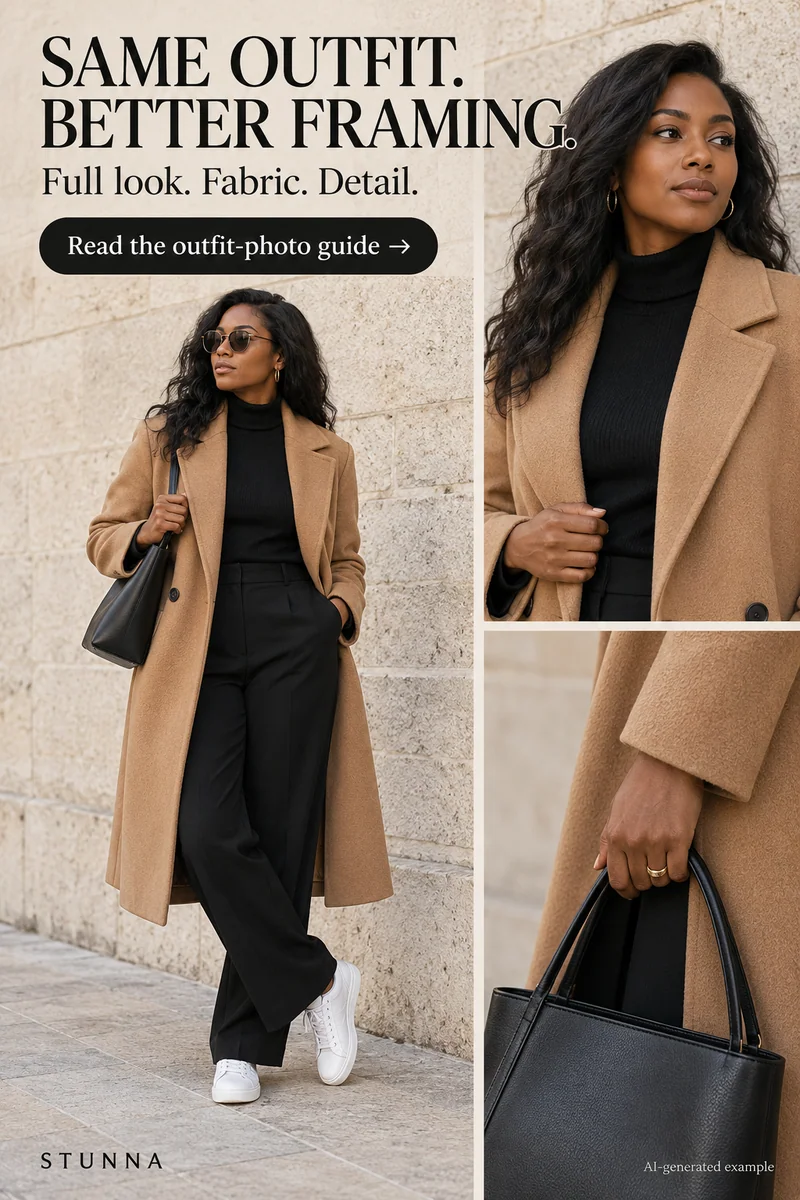
An all-black outfit can hold beautiful detail: a knit sleeve, satin edge or jacket seam. Those pieces can merge into one dark shape in a photo. Build around light, texture and background separation, then check deep shadows. The comparisons are AI-generated illustrations, not tested clothing recovery or actual Stunna results.
Give the outfit enough light to describe it
Black fabric needs visible differences in tone and texture if you want viewers to see the styling. [Canon's outdoor portrait guidance](https://www.usa.canon.com/learning/training-articles/training-articles-list/five-tips-for-better-outdoor-portraits) notes that black clothing can lose detail in natural-light portraits. You can keep the outfit you chose and make the capture more deliberate.
Start with daylight that reaches the clothing as well as the face. Stand beside a broad window or near the edge of open shade, then turn slightly while your photographer checks the folds. The useful position is the one where you can distinguish the sleeve from the torso and see the garment's shape without making the face too bright.
The black-outfit check: all four tips
Use these four checks in the preview and a captured test frame. Your phone's processing can change how dark fabric appears, so judge the saved picture.
- Find soft side light: turn the outfit gently toward a window or a broad patch of daylight. Look for a mild highlight along folds and seams rather than one small shiny patch.
- Separate from the background: use a lighter wall, a different texture or a little distance from the backdrop. Make sure shoulders and sleeves do not disappear into a dark doorway.
- Keep fabric texture: inspect the jacket, knit or trousers in a test frame. Adjust the light or brightness modestly if the pieces merge; keep black fabric looking black rather than lifting everything to gray.
- Check the darkest areas: zoom into the underarm, lower jacket and gaps between garments. If an important seam or fold is invisible, improve the capture before relying on an edit.
Choose a background that shows the silhouette
A warm wall, pale pavement or softly lit interior can help define the outfit's outline. You do not need a white backdrop; you need enough difference that the clothing is distinct. Take one frame against your first choice, then try a nearby background and compare the shoulders and shoes.
Keep the background calm around detailed styling. Glossy doors can compete with a satin jacket, and railing lines can cut through the silhouette. Shift the camera or person before changing the pose.
Frame the outfit and one detail
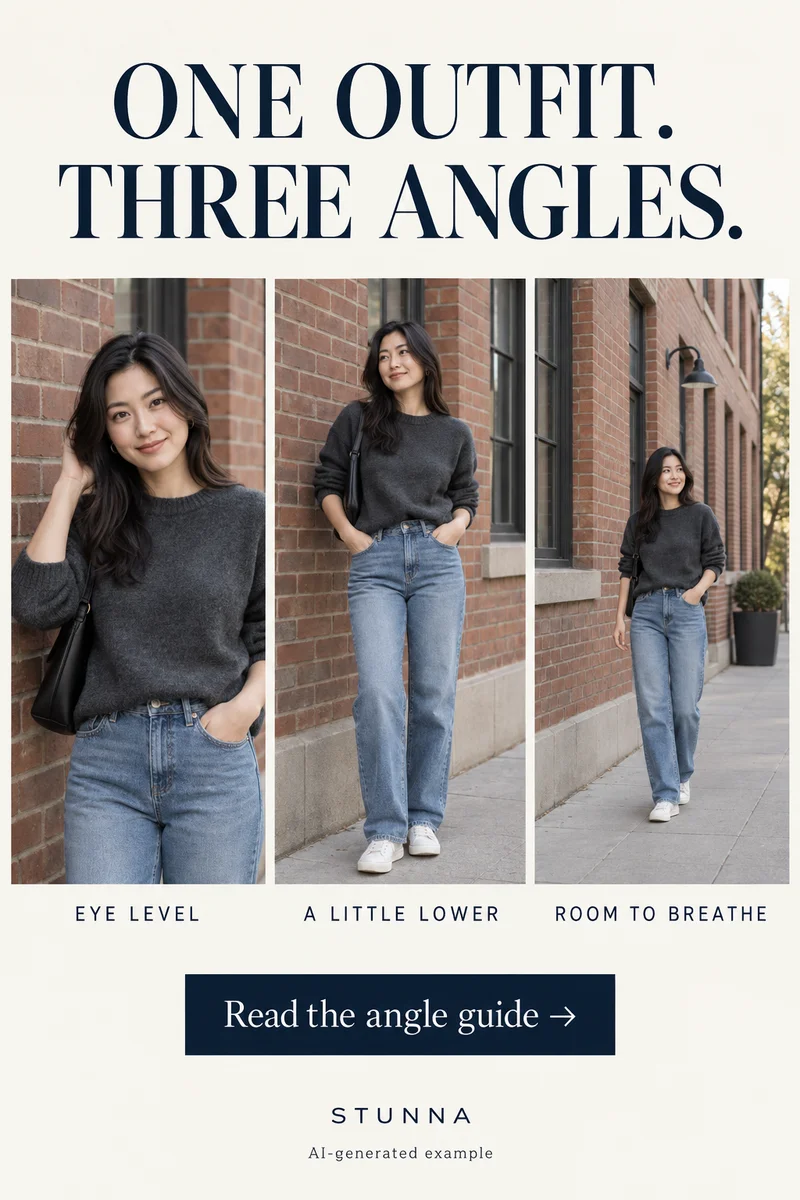
Make a complete outfit frame first, leaving space above the head and below the shoes. Keep the camera at a comfortable distance and try a modest change in height. The phone camera angle guide gives you three framing recipes to compare without promises about changing body proportions.
Make a closer frame of a jacket opening, cuff or fabric contrast. Give one hand a natural task, such as holding a strap. Leave a small gap between arm and torso when it helps the clothing read.
Handle shine and mixed light before editing
Satin, coated fabric and metal accessories may catch a bright reflection while a knit sleeve stays dark. Turn the shoulders slightly and compare. If the reflection becomes a white patch, use a different angle or a broader, gentler light instead of increasing contrast across the whole image.
Indoor lamps can give black clothing a warm cast, while daylight may look cooler. Pick the dominant light you like and check a neutral object in the scene as a reference. Do not force every surface to identical black; different materials can reflect light differently and still belong to the same outfit.
Edit with the fabric and person in view
Start with a small exposure or shadow adjustment while watching both the face and clothing. Leave enough depth for the outfit to feel black. If you raise shadows until noise or strange color becomes distracting, the photo may need a better capture rather than more adjustment.
After AI editing, compare seams, buttons, jewelry, hands and face shape with the original. AI can invent stitching or change a neckline. New texture does not prove recovery. Choose the version that shows the outfit you wore.
The free black and white filter offers another finishing option. Compare a monochrome finish while checking that dark fabric retains detail.
Plan the next frame
To build a five-shot story around a celebration, use the guide to birthday photo ideas. To balance a bright background with a readable face, use the guide to backlit portrait tips. To compare three viewpoints before choosing the frame, use the guide to phone camera angles. To give your hands a natural job in a quiet setting, use the guide to bookstore photo poses.
To check texture at full size and feed size, use the guide to film-grain photo editing. To ease into a relaxed gaze toward the lens, use the guide to looking at the camera naturally. To work with window light and details of the room, use the guide to hotel-room photo ideas. To review skin tone, texture and identity against the source, use the guide to natural-skin photo edits.
A few useful answers
Why does my black outfit look like one dark shape?+
The garments may receive too little light or blend with a dark background. Find soft side light, change the background and inspect a captured test photo for folds and seams.
Should I brighten the photo until the outfit looks gray?+
Only lift brightness enough to show the detail you need. Keep the fabric's dark character and check the face at the same time. Improve the lighting if a large adjustment adds noise or washes out the image.
Can AI restore the exact texture of a black jacket?+
It may generate plausible texture, but that does not prove the original weave or stitching was recovered. Compare with the source and use a clearly lit original when exact clothing detail matters.