THE BACKLIGHT PHOTO GUIDE
Backlit Phone Portraits: Four Face-First Checks
Keep the glow and your face with four backlight checks: open sky, gentle bright edges, face exposure and a small change of angle.
Try the idea on your own photo with Stunna.


Free to download. Pro options available.

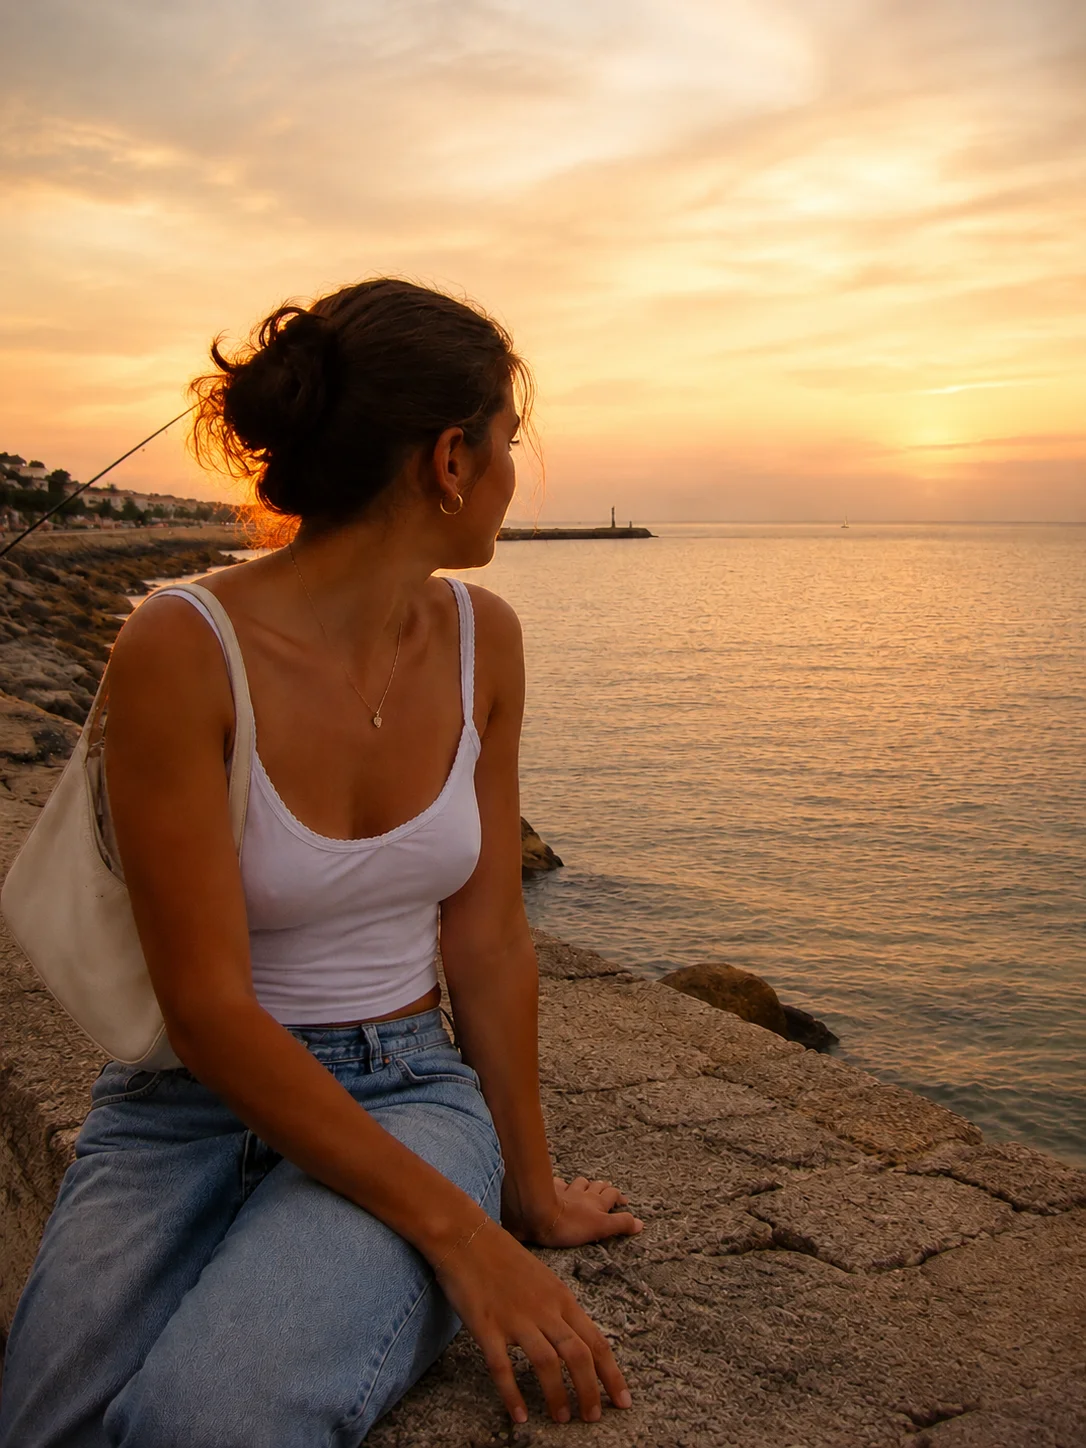
Backlight can give hair and shoulders a warm edge while leaving the face too dark. Begin with light reaching the face, then decide how much glow you want behind it. Use these four checks before editing. The comparisons are AI-generated illustrations, not a measured camera test or actual Stunna results.
Start with a face-first backlight setup
Backlight means the main light comes from behind the subject relative to the camera. [Canon's lighting glossary](https://www.canon.co.nz/get-inspired/glossary/front-light-back-light) notes that this can require an exposure adjustment to keep the subject from becoming too dark. For a phone portrait, choose your position around the face before you concentrate on the glowing background.
Place the bright sky, low sun or window behind one shoulder. Look for open sky or a pale wall in front of the person. Take a test photo before posing: both eyes and some shadow-side detail should be visible.
The backlight check: all four tips
Follow these checks in order, taking a frame after each change. Adjust for your phone, skin tone and sky.
- Face toward open sky: keep the face oriented toward a clear patch of sky or a bright opening in front of the subject. Avoid burying the person beneath a deep awning while the background stays bright.
- Keep bright edges gentle: inspect hair, shoulders and light clothing. If a large edge disappears into white, reduce the exposure slightly or move so the strongest light is partly screened by a wall or tree.
- Tap the face to check exposure: use the face as your focus and exposure reference, then inspect a test shot. Make a small brightness adjustment if the face is too dark and check the background again.
- Try a small angle change: shift a step sideways or turn the shoulders a little. A small move can change the amount of glow and flare while keeping the same setting and relaxed expression.
Use the exposure control without chasing a bright sky
On iPhone, tap where you want focus, then drag the adjacent exposure control to alter brightness; you can hold the focus area to lock the setting. [Apple documents those controls here](https://support.apple.com/guide/iphone/use-camera-tools-iph3dc593597/ios). Many Android cameras offer a similar slider, but its location and behavior depend on the device.
The face and sky may exceed what one photo can show cleanly. Choose a readable portrait rather than repeatedly darkening it to keep every cloud. If the face stays muddy, change position or add gentle reflected light. For a deliberate silhouette, keep the dark face as a creative choice and judge the outline instead.
Add gentle front light when the setting needs it
Try a pale wall nearby, or ask a friend to hold a white board off to the front and side where it can catch light. Watch the face while they move it: the useful position is the one that makes a real difference without making the person squint. [Canon's portrait tips](https://www.canon.com.au/get-inspired/portrait-photography-tips-greg-sullavan) describe using a reflector to fill shadows and add a catchlight.
Without equipment, move toward a bright doorway or rotate toward a lighter part of the scene. Keep the person comfortable while you test. The golden hour guide has more low-sun portrait ideas.
Keep flare, glasses and background edges under control
If the whole image looks hazy, clean the lens and move the phone slightly. A flare that looked atmospheric at first can cover the eyes or remove contrast from the portrait. You can keep some flare when it supports the photo, but compare a cleaner frame before choosing.
For glasses, try a small head turn and check reflections at full size. Shift your viewpoint if a branch, window edge or pole seems to grow from the head. Keep the rest of the portrait similar as you compare.
Edit for a readable portrait, then compare
Start with gentle changes to exposure and shadows. Keep some shadow so the face retains shape, and stop if skin starts to look gray or noisy. Reduce highlights when recoverable detail is present; an area captured as flat white may not contain real texture to bring back.
Compare at full size and phone size, checking skin tone, hair and glasses. A generated edit may invent details; a brighter face alone does not prove accuracy. Keep your source and the version that preserves the person.
The free flash filter offers another finishing option. Experiment with a finish after choosing a readable source; an edit cannot recover detail the camera never recorded.
Plan the next frame
To build a five-shot story around a celebration, use the guide to birthday photo ideas. To compare three viewpoints before choosing the frame, use the guide to phone camera angles. To keep dark fabric and layers readable, use the guide to all-black outfit photos. To ease into a relaxed gaze toward the lens, use the guide to looking at the camera naturally.
To work with window light and details of the room, use the guide to hotel-room photo ideas. To balance a portrait against a bright snowy background, use the guide to snow-day photo tips. To review skin tone, texture and identity against the source, use the guide to natural-skin photo edits. To soften color without washing out the person, use the guide to pastel photo editing.
A few useful answers
Why is my face dark in a backlit phone photo?+
The bright background can dominate the exposure while little light reaches the face. Turn toward open sky, find gentle front light and make a small exposure adjustment after checking a test shot.
Should I tap the face or the sky?+
For a recognizable portrait, start with the face. Inspect the sky afterward and change the position if you cannot balance both. A silhouette is a different creative goal.
Can an edit recover every dark face or white highlight?+
No. Gentle editing can reveal detail that is present, but severely lost areas may have little information. AI may generate plausible replacement details rather than recover the original scene.