THE SITTING POSES GUIDE
Sitting Poses for Photos: 6 Easy Ideas
Six easy sitting poses for steps, a low wall, a bench, a blanket, a tall stool and the floor, plus the slumped-to-relaxed fix and the one-knee-up step pose.
Try the idea on your own photo with Stunna.


Free to download. Pro options available.
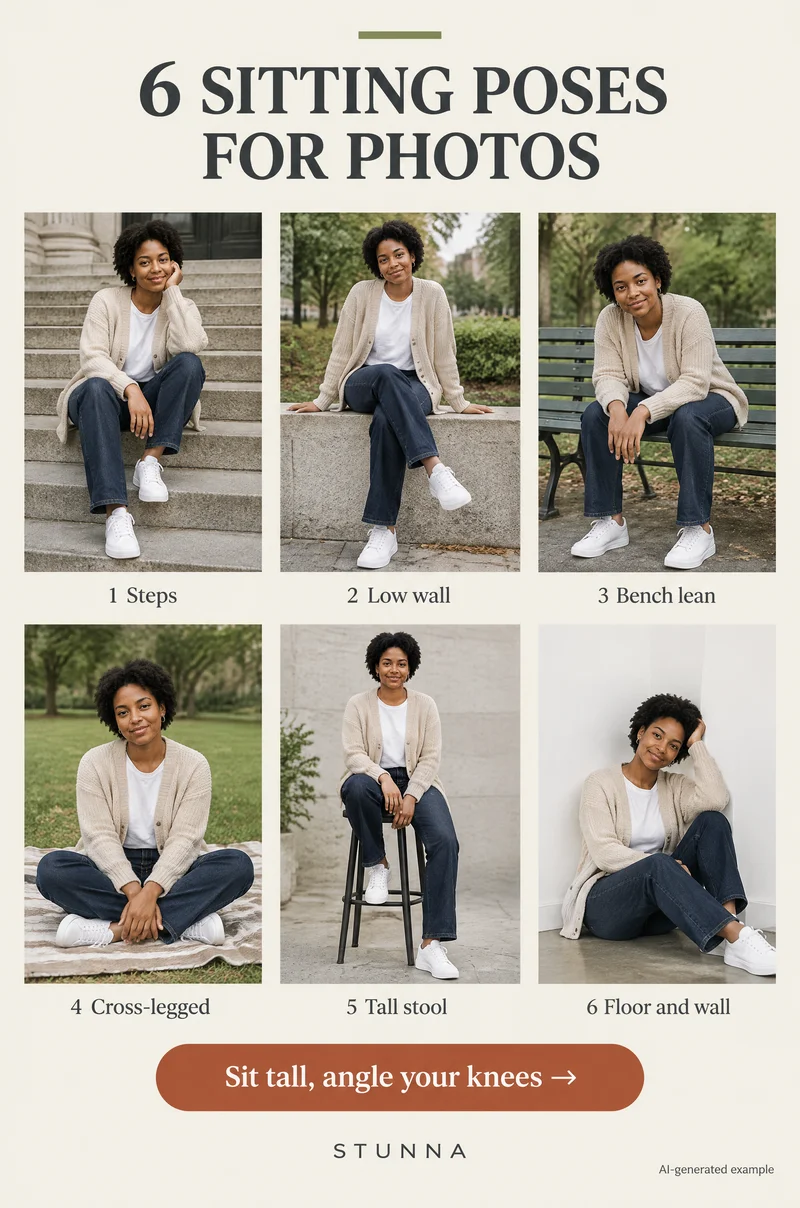
Sitting down should make a photo easier. You have something to lean on, your legs have somewhere to go and you feel less exposed than standing in the middle of a street. Yet sitting photos often come out slumped, with knees pointed at the lens and hands pressed flat on the seat. Three habits fix most of that: sit tall, angle your knees away from the camera and give your hands a job. Below are six sitting poses for steps, a low wall, a bench, a blanket, a tall stool and the floor, the quickest slumped-to-relaxed fix and where to hold the camera. The illustrations are AI-generated examples, not actual Stunna results.
Why sitting photos look stiff
Most stiff sitting photos share the same three problems. The back rounds as soon as you sit, so the shoulders drop and the neck pushes forward. The knees point straight at the camera, which makes the legs look short and blocky and pushes the knees toward the lens, where they look bigger than they are. And the hands sit flat on the thighs or the seat, which reads as waiting rather than relaxing.
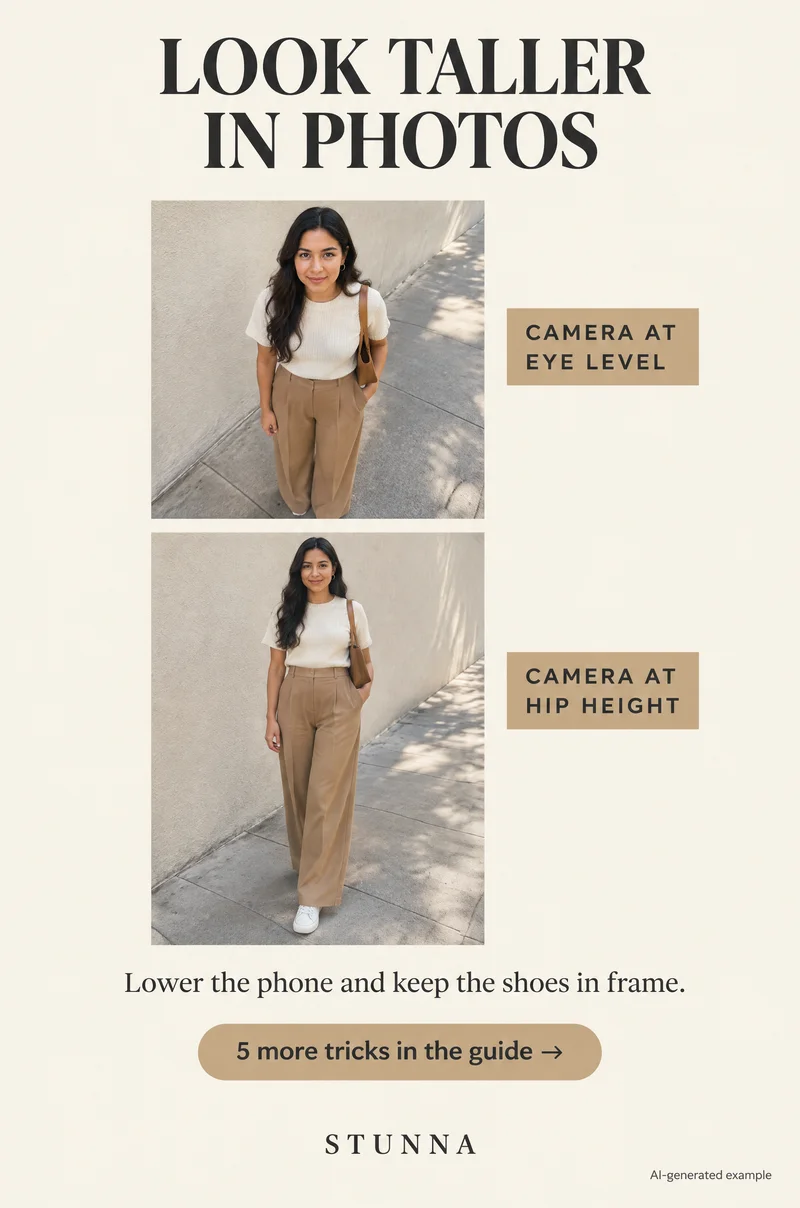
The camera adds a fourth problem. A friend standing over you and shooting down at a seated person shrinks the body and makes the head look large. Sitting poses look best when the camera comes down closer to your level, which is covered below.
Three rules for every sitting pose
Learn these three and every pose in this guide gets easier. They are the same rules printed on the Pin: sit tall, angle your knees, give your hands a job.
- Sit tall: sit toward the front edge of the seat rather than sinking back into it, and imagine a string lifting the top of your head. Lengthen through the spine, then let the shoulders drop and relax. Tall is not the same as rigid.
- Angle your knees: turn your knees and hips a little to one side of the camera, then bring your face back toward the lens. A diagonal line through the legs looks longer and more relaxed than knees pointed straight ahead.
- Give your hands a job: rest one hand on a knee, hold the edge of the seat, wrap both hands around a cup or rest an elbow lightly on a raised knee. Soft, slightly bent fingers look relaxed; flat palms and fists do not.
The 6 sitting poses
Save these six and try them on your next photo walk. Each one uses a surface you will find in most towns, and each one gives your legs and hands somewhere natural to go.
- Steps: sit on a wide stone step with one knee up and the other leg stretched down a step or two. Turn your body slightly and rest an elbow on the raised knee. Steps give you natural levels, which is why this is the easiest sitting pose of all; there is a full breakdown below.
- Low wall: perch on a low wall with your legs hanging down and cross them at the ankle. Put one hand on the wall beside your hip and lean very slightly toward it. Crossed ankles look neat and keep the knees together without effort.
- Bench lean: sit on a park bench and lean forward with your elbows resting on your knees, hands loosely linked or holding a cup. The forward lean feels conversational and works well for men and women. Keep the back long as you lean, so it reads as interested rather than tired.
- Cross-legged: sit cross-legged on a picnic blanket or grass with one hand resting on each knee or one hand propped behind you. Tilt your torso slightly to the side of the propped hand. It is a relaxed, low pose that suits picnics, beaches and parks.
- Tall stool: perch on the front of a tall stool or bar chair with one foot on the rung and the other leg reaching toward the floor. One straight leg and one bent leg create an easy shape. Rest one hand on your thigh and let the other hold the edge of the seat.
- Floor and wall: sit on the floor with your back against a plain wall and bend both knees, letting them fall to one side. Rest one hand on your knees and the other on the floor. It is the easiest pose indoors and works in any room with a clear stretch of wall.
The step pose, step by step
If you only learn one sitting pose, make it this one. Steps do the posing for you: they give each leg a different level, so the body falls into an angled, relaxed shape without much thought. Old stone steps, a wide stairway in a park or the front steps of a museum all work. Check that you are not blocking anyone's way before you sit.
- Sit on one step, slightly to the side of the camera rather than dead center.
- Bring one knee up toward your chest and place that foot flat on the same step or the one above.
- Stretch the other leg down a step or two, toe softly pointed rather than flexed.
- Angle your body so your raised knee is on the side away from the camera, rest an elbow lightly on that knee and look just off camera or at the lens. Shoot from just below your eye level.
Slumped vs relaxed: the quick fix
The slumped bench photo is the most common sitting mistake: back rounded, both knees aimed at the lens, hands in the lap. The relaxed version takes about five seconds to set up and works on any bench, chair or ledge.
Sit up first, then turn your body slightly away from the camera. Cross one ankle over the opposite knee, or cross at the ankles if that feels more comfortable, and rest one arm along the back of the bench. That arm opens the shoulders and gives the frame a strong line. Bring your face back toward the camera and breathe out before the shot.
Hands are usually the last thing to relax. Our guide on what to do with your hands in photos has six small jobs for them, including several that work while seated.
Where to put the camera
Camera height matters as much as the pose. Shooting down from standing height makes a seated person look smaller and pushes their head toward the lens. Ask your friend to lower the phone so it sits roughly between chest height and just below your eye level, and keep it fairly level rather than tilted sharply up or down.
For the step pose and the low wall, shooting from just below eye level makes the legs look longer and keeps the face clear. For floor poses, the photographer can crouch or sit too. For the tall stool, a camera around chest height shows the whole shape from head to the foot on the rung.
Use the main 1x camera and step back rather than moving closer with the ultra-wide lens. A wide lens up close enlarges whatever is nearest the lens, and in a sitting pose that is usually the knees or the feet. Our phone camera angle guide shows how small changes in height and distance change a frame.
Common sitting photo mistakes
These are the usual reasons a sitting photo falls flat, with a quick fix for each.
- Sinking into the seat: move to the front edge and sit tall before the shot.
- Knees aimed at the lens: turn the knees a little to one side and bring the face back to the camera.
- Feet pushed toward the camera: tuck them back or angle them away so they do not dominate the frame.
- Flat hands on the thighs: rest one on a knee, hold the seat edge or give the hands a cup.
- Camera too high: lower the phone to between chest height and eye level.
- Cropping at the knees or ankles: crop mid-thigh for a close frame, or include the feet in a full one.
How to direct a friend, or shoot alone
Give actions, not adjectives. Instead of saying look relaxed, say sit on the front of the step, bring your left knee up, now rest your elbow on it. One instruction at a time, and take a few frames during each change. The frame just after someone settles into a position often looks the most natural.
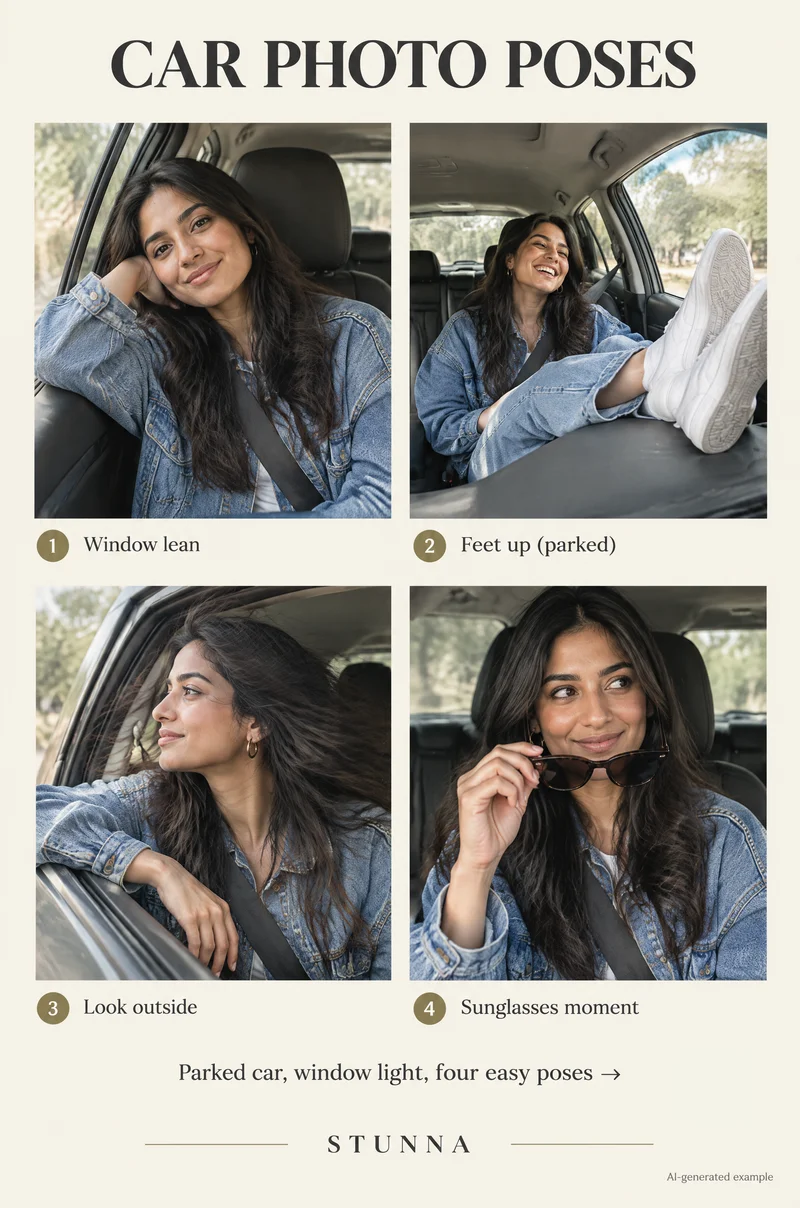
Shooting alone, prop your phone on a bag, a step or a small tripod at roughly chest height, set a timer or use burst, and move through two or three of the poses in a row. Sitting poses are good for self-timer shots because you are not walking into position each time. For cafe tables, our seated cafe photo poses cover a five-frame sequence, and the broader poses for pictures list mixes sitting with standing and walking. If you are seated in a parked car, our car photo poses cover that small space.
A few useful answers
How do I sit for a photo without looking stiff?+
Sit toward the front of the seat with a long back, angle your knees slightly away from the camera and give your hands a job, such as resting on a knee or holding the seat edge.
What is the easiest sitting pose for photos?+
The step pose: sit on a step with one knee up and the other leg stretched down a step, angle your body and rest an elbow lightly on the raised knee. Shoot from just below eye level.
Where should the camera be for sitting photos?+
Lower than most people expect, roughly between chest height and just below the seated person's eye level, with the phone held fairly level. Shooting down from standing height makes people look smaller.
Should my knees face the camera when sitting?+
Usually not. Knees pointed straight at the lens look blocky and close to the camera. Turn them a little to one side and bring your face back toward the lens.
What do I do with my hands in sitting photos?+
Rest one on your knee, hold the edge of the seat, wrap both around a cup or lay one arm along the back of a bench. Keep the fingers soft and slightly bent.