THE RED LIGHT PHOTO GUIDE
Red Light Photography: Moody Night Portraits
Light from one side, keep the background dark and check skin tones. Plus white flash vs red light and a one-lamp Halloween setup.
Try the idea on your own photo with Stunna.


Free to download. Pro options available.
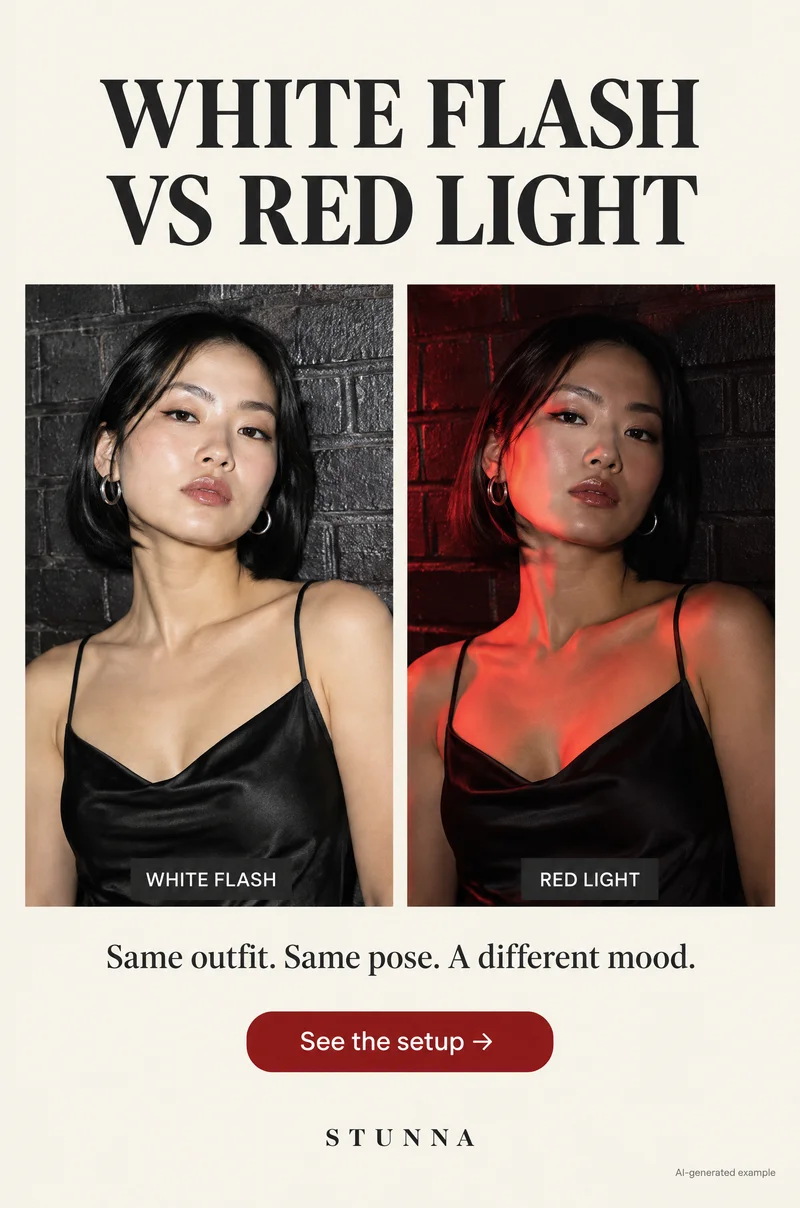
Red light turns an ordinary room into a mood: deep shadows, glowing edges and a face that seems to float out of the dark. It is also easy to get wrong. Too much red from every direction flattens the face, and a bright background pulls attention away from the person. This guide covers three simple rules, when plain white flash is the better choice, how to rig a red light from things you already own, and a one-lamp Halloween setup. The images on this page are AI-generated examples of the look, not actual Stunna results.
Red light, 3 rules
Most strong red light portraits share the same simple structure. Learn these three rules before you buy anything or move furniture.
- Light from one side: place the red source to the left or right of the face, roughly level with it or a little higher. Side light creates shape, so the nose, cheekbones and jaw read clearly even when everything is the same color.
- Keep the background dark: turn off other room lights and move the person away from walls so the red does not spill everywhere. A dark background makes the lit side of the face the brightest thing in the frame.
- Check the skin tones: zoom in on a test shot. If the skin looks like one flat red shape with no detail, move the light a little farther away, lower its brightness or add a small amount of neutral light.
Four easy ways to make red light at home
You do not need studio gear. Party lights with a red setting are the simplest option: many smart bulbs and LED strips can switch to a single red color. A red bulb in an ordinary table lamp gives a softer pool of light that works well for close portraits. A phone screen showing a full-screen red image is surprisingly useful for tight face shots, because a friend can hold it just out of frame and move it around.
A colored gel is the fourth option: a sheet of red lighting film held in front of a lamp or a second phone's flashlight. Hold it by hand or clip it to a non-heating part of the lamp. Whatever you use, keep bulbs and gels away from fabric, curtains, costumes and paper decorations, and never cover a hot bulb. LED sources run cooler, but still check that nothing is touching them.
If you like warm, glowing backgrounds more than full red, our string light photo guide covers fairy lights as a softer alternative. For outdoor fire and glow, the sparkler photo guide is a good companion read.
White flash vs red light: when each works
White flash freezes everything. It is the right choice when the moment matters more than the mood: people dancing, a toast, a messy group at a party, or anyone who moves fast. It keeps skin tones closer to normal and shows outfit colors honestly. The trade-off is that it can look flat and bright, which is the appeal of the G7X flash look.
Red light works when the scene is slower and you want atmosphere. It suits a single portrait, a couple leaning together, or a still costume shot. It hides background clutter and flattens color, so detailed outfits and makeup may not read as well. It also needs more care because a phone may struggle to focus and keep the image sharp in dim red rooms.
A practical habit is to shoot both. Take a few frames with white flash for a clear record of the night, then switch off the flash and use the red lamp for two or three slower portraits. Later, the white flash version is still useful for a dinner party photo set or a group album, while the red version becomes the cover.
Red light for Halloween night: one lamp setup
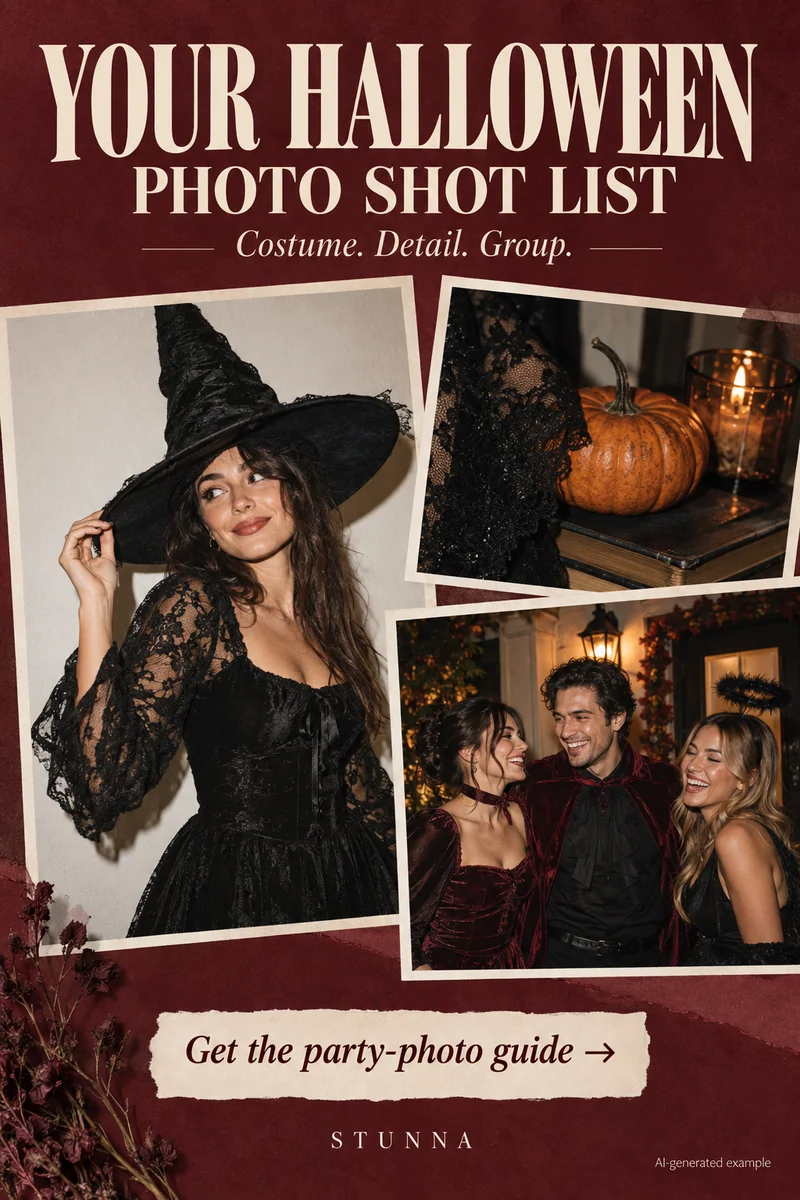
One lamp, one side, a dark background. Put a red bulb in a lamp on a side table, about an arm's length from where faces will be. Turn off overhead lights. Keep the group a few steps in front of a plain dark wall or an open doorway into a dark room. Check that capes, wigs and fake cobwebs stay well clear of the lamp. The broader Halloween photo ideas guide has flash-based shots for the rest of the night.
Use these three costume group poses with the lamp on one side:
- The staggered line: stand in a short diagonal line leading away from the lamp, with each person slightly behind the shoulder of the one in front. Everyone gets a lit edge and the shape reads well in a dark room.
- The huddle around the light: gather close with faces turned toward the lamp, as if telling a ghost story. The nearest faces glow and the back of the group fades into shadow. Keep at least a little light on every face you want to recognize.
- The one-step-forward hero: one person in the most dramatic costume steps closer to the lamp while the others stay a step back, still and serious. It makes a strong cover image and gives the costume the spotlight.
Keep skin readable under red light
Red light is unforgiving to faces. Skin, lips and cheeks are already reddish, so they can merge into one shape. Bring the light slightly in front of the person rather than fully to the side so the eyes catch some light. Ask people to look toward the light source between frames; a small catchlight in the eyes makes a portrait feel alive. Blinks are common in dim rooms, so check eyes with the blink photo guide in mind.
If skin still looks muddy, add a weak neutral light: a phone flashlight bounced off a white ceiling, or a lamp left on in the next room. It keeps a hint of natural skin tone under the red. Hold the phone steady, tap to focus on the face and take several frames, because low light makes blur more likely. Slow, deliberate movement helps; our walking photo poses are better saved for brighter places.
Editing red light photos without losing the face
Edit gently. Lower the highlights if the red side of the face is clipping, and lift the shadows a little only if detail is genuinely there. Pushing saturation higher usually makes skin worse, not better. If you shot a normal photo and want to try the look afterwards, the red light filter applies a red-light style to an existing picture, and the flash filter is the white-flash alternative.
When a photo has a bigger problem, such as a blur or a closed eye, our ChatGPT photo rescue prompts offer careful starting briefs. For a printed or framed version of your favorite red portrait, the Polaroid-style photo guide shows how to add a clean white border. Whatever you use, compare the edit with the original and keep the version where the person still looks like themselves.
A few useful answers
What is the easiest way to get red light for photos?+
A smart bulb or LED strip set to red is the simplest. A red bulb in a table lamp or a phone screen showing a red image also works for close portraits.
Should I use white flash or red light at a party?+
Use white flash for fast moments and group shots, and red light for slower portraits where mood matters. Shooting a few frames of each gives you options.
Why does skin look flat under red light?+
Red light makes skin, lips and cheeks a similar color. Light from one side, keep the eyes lit and add a weak neutral light if detail disappears.
Is it safe to put a red gel over a lamp?+
Only keep a gel away from the hot part of the light, and never cover a bulb. Keep all lamps clear of fabric, costumes and paper decorations.