THE POLAROID PHOTO GUIDE
Polaroid-Style Photos: How to Get the Look
White border, soft color, a little fade. A four-step instant-film style recipe, common mistakes and six shot ideas for a photo wall.
Try the idea on your own photo with Stunna.


Free to download. Pro options available.
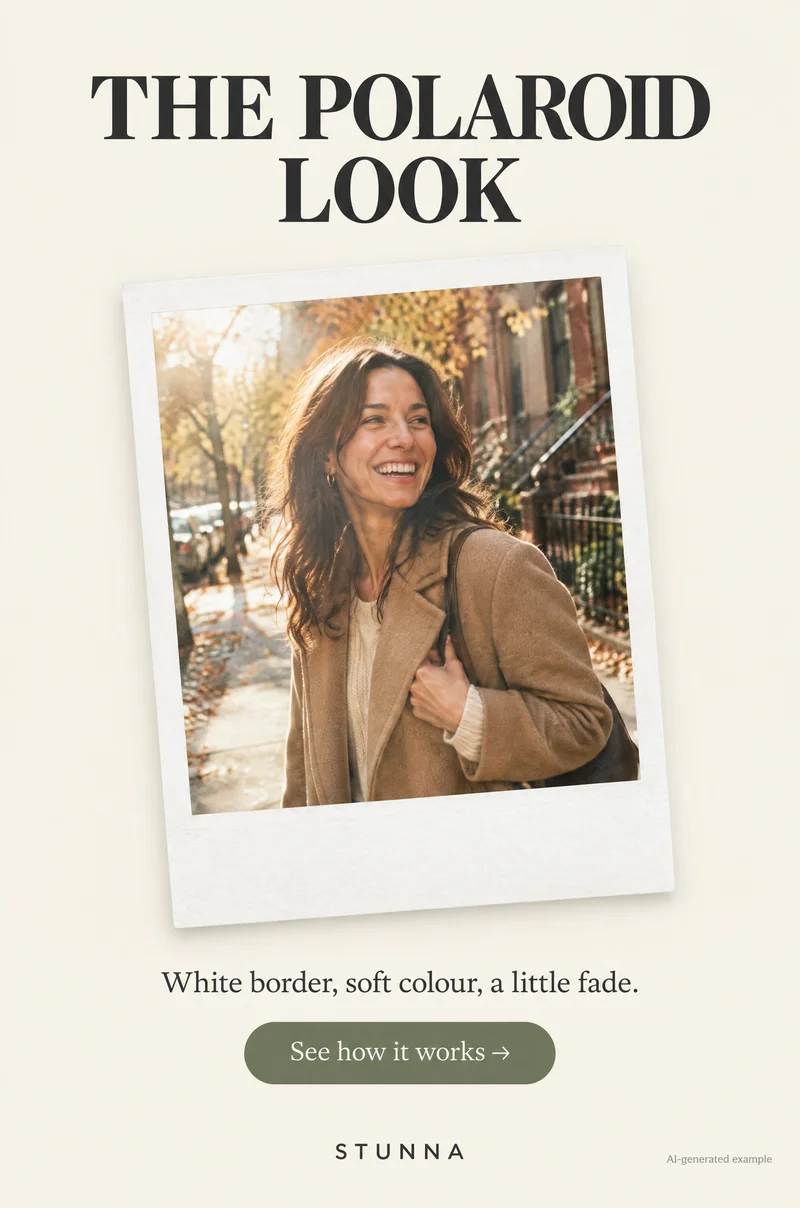
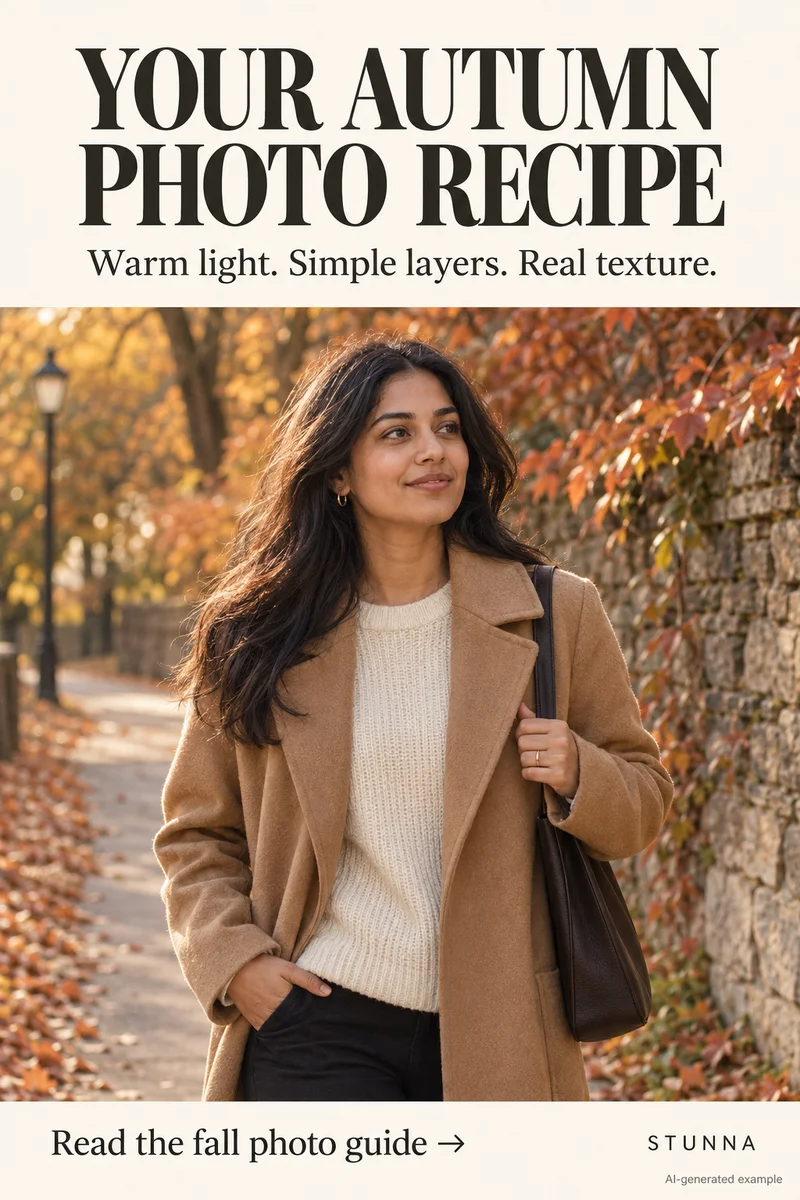
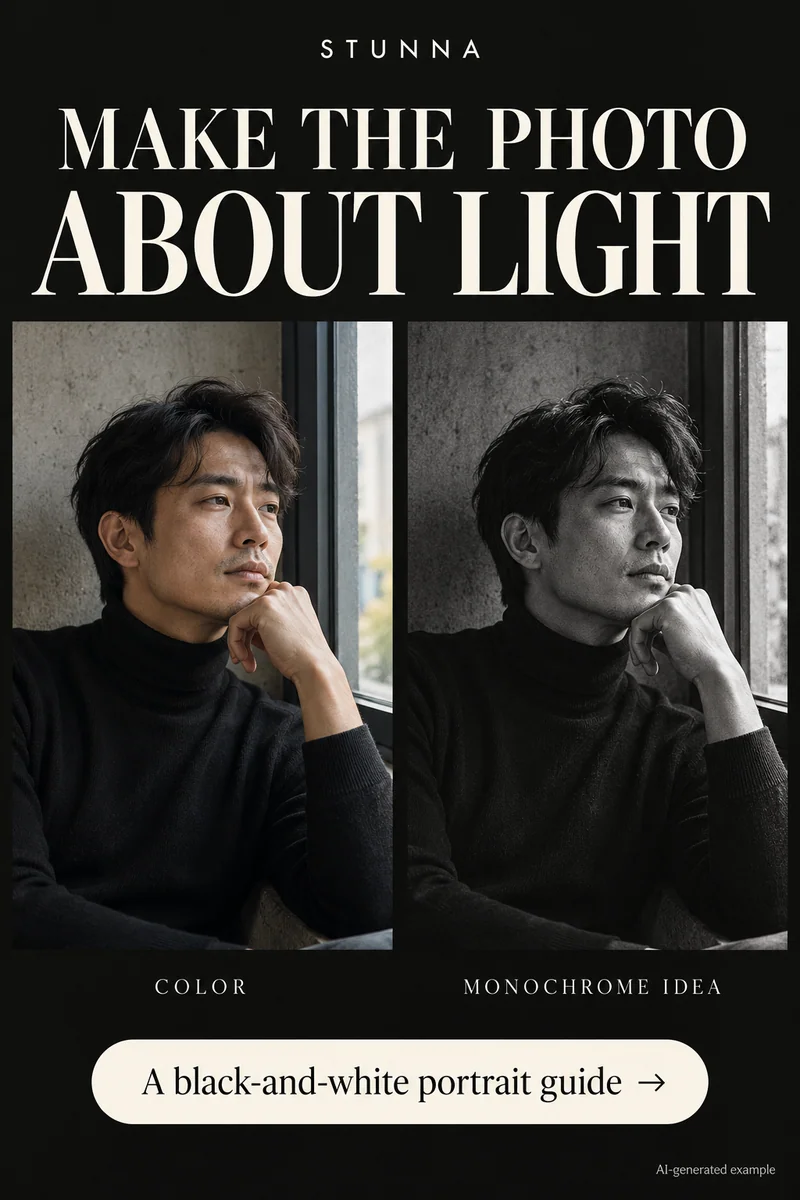
The Polaroid look is simple to describe: a white border, soft color and a little fade. It feels personal because instant photos were usually taken close, quickly and among friends. You can create a Polaroid-inspired, instant-film style version of your phone photos without special equipment. This guide is not affiliated with Polaroid; it explains the visual recipe, the common mistakes and six shot ideas that look good on a wall. Images on this page are AI-generated examples, not actual Stunna results.
What makes the instant-film look
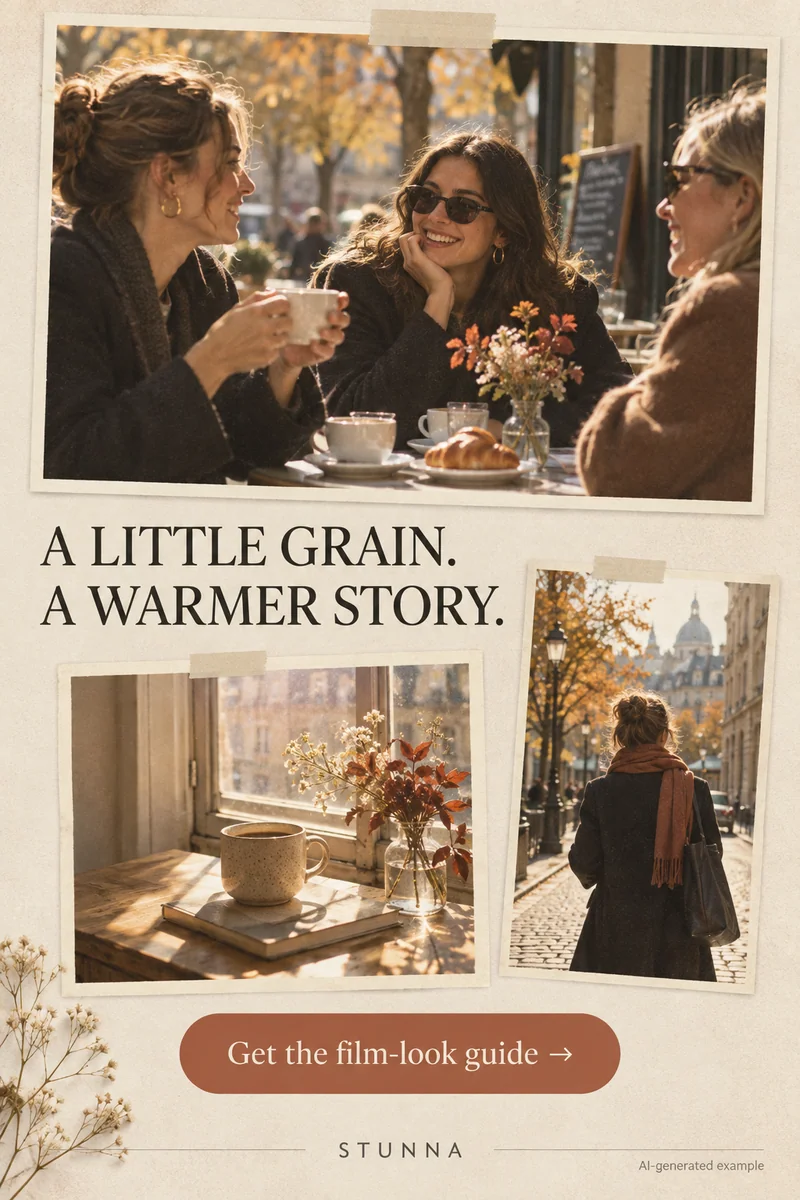
Three things carry most of the look. The white border frames the picture and instantly signals a print. The color is soft: highlights look creamy, shadows are lifted rather than pure black, and saturation is gentle. The fade adds age, as if the print has sat in daylight for a while.
Real instant prints also have a slightly wider border at the bottom than on the other three sides, which is where people traditionally write a date or a name. Copying that proportion makes a digital version feel more convincing. Small imperfections help as well, such as a little softness, a warm cast or a flash that falls off quickly into the background.
For light, the easiest starting points are a bright window or a cloudy afternoon; our window light photo guide covers simple indoor positions. For color, the warm film photo guide shows a gentle grade that sits close to this look. For the border itself, the add white border tool adds a clean frame to any photo in a few seconds.
Polaroid-style photo recipe
Follow these four steps in order. The first two happen when you take the photo; the last two happen in the edit.
- Soft daylight or one flash: shoot near a window, in open shade or on a cloudy day, or use a single direct flash at night. Avoid mixed lighting from several lamps, which makes color harder to soften.
- A square crop: instant prints are close to square, so frame with that in mind. Leave a little space around the subject, and keep the main face away from the very edge so the border does not crowd it.
- Warm, faded color: lower contrast slightly, lift the shadows, warm the white balance a touch and reduce saturation. Stop before the image turns muddy.
- A thick white border: add an even border on three sides and a wider one at the bottom.
Common mistakes with the Polaroid look
The most common mistake is too much fade. A few steps make a photo feel nostalgic; too many make it grey and lifeless. Watch skin especially: if it starts looking washed out or green, pull back the effect. The second mistake is a thin border. A narrow white line reads as a frame on a website, not a print, so make it generous.
Other mistakes are easier to fix. Heavy grain and scratches can look fake if overdone, so keep texture subtle; the disposable camera photo guide shows a grittier film style if that is what you want instead. Very busy, wide scenes also lose impact in a small square, so get closer than you would for a normal phone shot.
Keep a set of instant-film style photos consistent
A photo wall or carousel looks best when every image shares the same recipe. Use the same crop, the same border thickness and the same color edit on each photo. If one image is much brighter or bluer than the others, correct its exposure and white balance first, then apply the look. Mixing flash and daylight shots is fine as long as the final colors feel related.
Decide on a small rule and stick to it, such as only warm tones, or only people and pets. Shots from a city break, a dinner party or a night with sparklers can all sit together if the treatment matches. Candid movement from our walking photo poses works especially well because the look rewards relaxed moments.
6 Polaroid-style shot ideas for a photo wall
These subjects suit the square format and the soft, warm color. Mix close and wide frames so the wall has rhythm, and for the outfit shot our mirror selfie guide has setup tips. For a moodier night alternative to the flash shot, try the red light photo guide.
- A close-up laugh: get near enough that the face fills most of the square and catch a real laugh, not a posed smile.
- Hands holding mugs: two or three hands around warm drinks on a table. It is cozy, personal and does not need anyone to pose.
- A pet on the sofa: shoot at the pet's eye level near a window. Soft light and fur texture look lovely with a little fade.
- A sunset from a car window: let the window frame and some of the dashboard show. Only take it as a passenger, never while driving.
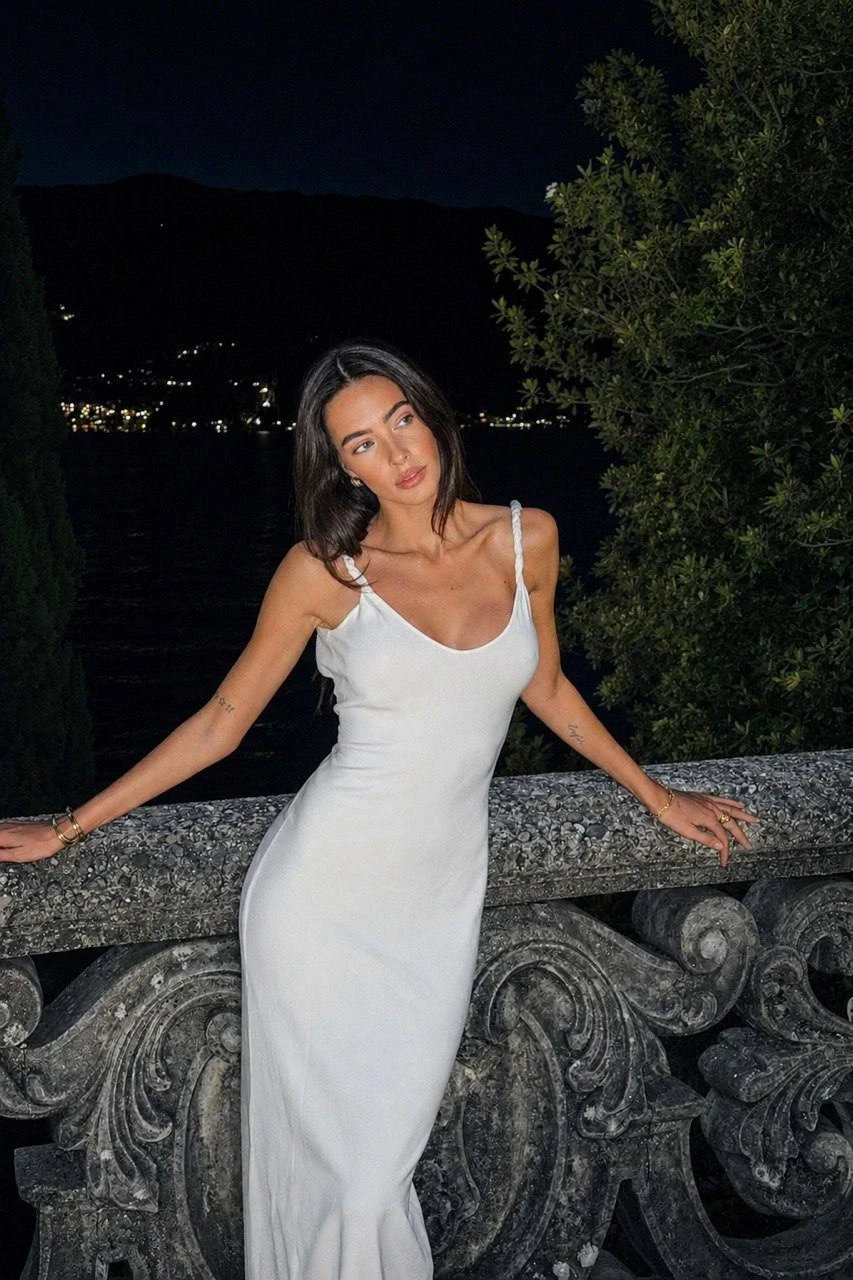
- A flash party shot: one direct flash, friends close together, dark background. The quick light falloff feels like a real instant print.
- An outfit mirror photo: a full-length mirror shot with the phone at chest height.
Print, share and fix the details
If you print the photos, choose a matte or soft finish and check that the border stays white rather than cream after printing. For sharing online, a square post with the border included works in most feeds. Keep the original unedited photo too, so you can redo the look later.
If a favorite shot has a problem, such as a closed eye or a stranger in the background, fix it before adding the border. Our ChatGPT photo rescue prompts and the vintage filter are useful starting points. Review the final image against the original so faces still look natural.
A few useful answers
How do I make a phone photo look like a Polaroid?+
Use soft light or a single flash, crop to a square, soften and warm the color slightly, and add a thick white border with a wider bottom edge.
Why is the bottom border wider on instant photos?+
Real instant prints have a wider bottom edge. Copying that proportion makes a digital Polaroid-style photo look more like a print.
How do I keep a photo wall consistent?+
Use the same crop, border size and color edit on every photo. Correct very bright or blue images first, then apply the same look.