THE NOSTALGIC PHOTO GUIDE
Disposable Camera Photos: How to Get That Film Look
Shoot candid frames, keep the flash close, and add restrained texture for a nostalgic photo dump.
Try the idea on your own photo with Stunna.


Free to download. Pro options available.
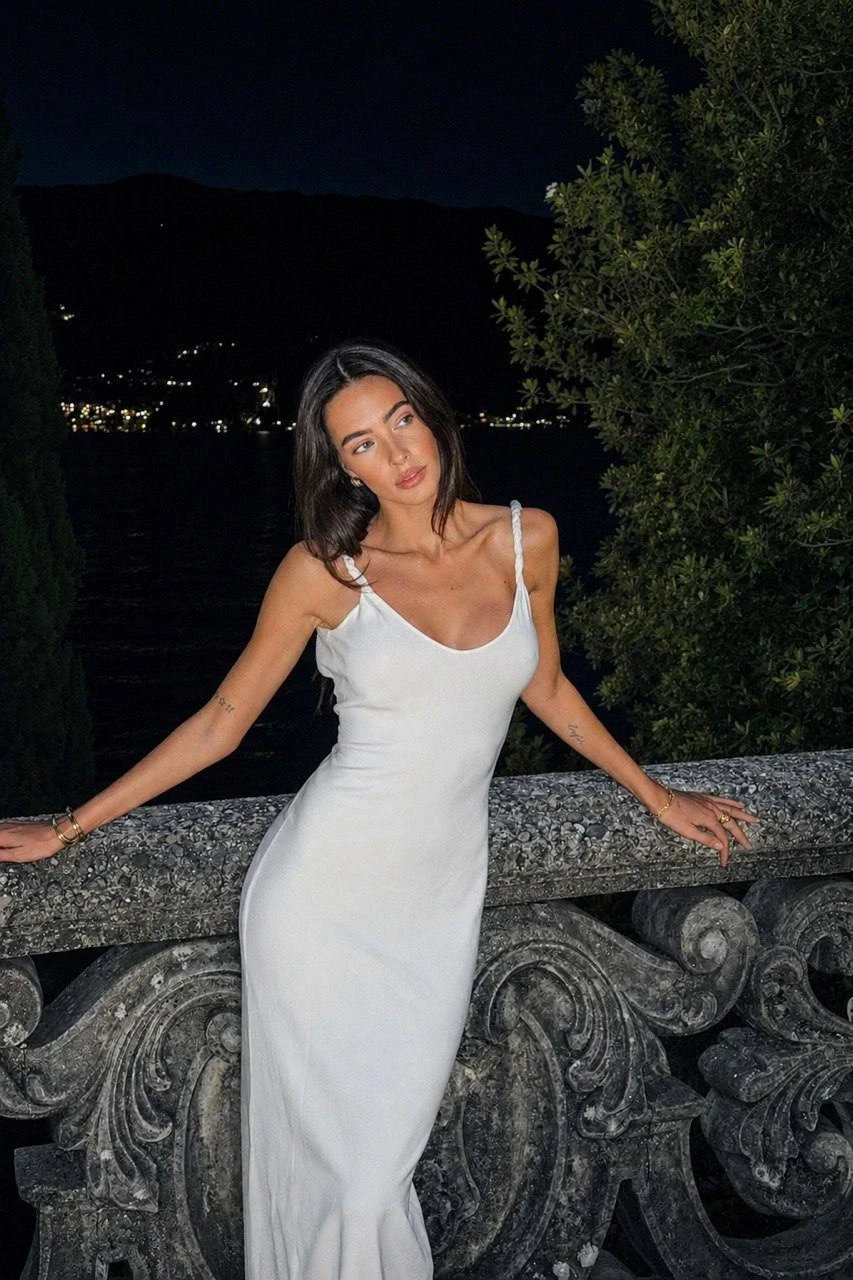
A disposable-camera mood is more than a grain slider. It combines straightforward framing, limited light, candid moments, and imperfect texture. You can borrow those ideas with a phone, then choose a restrained creative edit. The aim here is a nostalgic visual interpretation; it is not a claim to reproduce a specific film stock, single-use camera, or scan. AI-generated visual examples illustrate the look; they are not measured Stunna outputs.
Capture the moment before adding the texture
Photograph something that is already happening: a friend arriving, a table before dinner, a laugh, or shoes by the door. Ask for a pause when you need a sharp portrait, but keep the scene familiar. A technically perfect pose with dramatic fake scratches may feel less like a snapshot than an ordinary picture with a good expression.
Keep the phone camera simple. Start with its main lens, choose the distance with your feet, and leave enough room to show where you are. Look for a background detail that explains the moment without overwhelming the subject. You can include a little mess and still avoid a lamp or sign crossing the face.
Try this six-frame candid sequence
Use a short sequence rather than asking everyone to perform the same expression repeatedly. In a dim setting, test the flash while people are nearby. A small built-in flash has limited reach; it will not evenly light a person close to the camera and a distant room.
- Photograph the setting before the portrait: the table, doorway, or view. This gives the later pictures context.
- Take one still portrait with the flash if the scene is dim. Keep the subject close enough for your phone’s light to reach, then check the actual exposure.
- Capture a look away or a conversation. Ask the subject to repeat a small natural action if the first frame is blurred.
- Take a detail that belongs to the evening: a bag on a chair, hands holding a drink, or a jacket catching the flash.
- Make a two-person frame with both people at a similar distance from the phone, so one does not become much brighter than the other.
- Finish with one spontaneous moment and one still backup. Keep both until you decide which belongs in the set.
Build a restrained edit in this order
For a manual treatment, correct exposure first. Then decide whether you want warmer color, softer contrast, or more pronounced flash separation. Add texture last so you can tell whether the underlying photograph still works. A grain overlay cannot rescue a crop that cuts off the expression or a face that is entirely out of focus.
- Keep skin brightness readable and retain detail in pale clothes. Leave enough shadow depth for the scene to feel dimensional.
- Make a small color adjustment. Choose warmth or a gentle faded mood based on the image, rather than pushing every color toward brown. For a warmer analog grade, see our guide to the warm film look.
- Add fine grain and inspect it at the size people will actually view. It should support the photograph without covering eyes and facial detail. Our free tool to add grain to a photo runs in your browser.
- Ease excessive digital sharpening if your editor allows it. Keep the subject clear; softening everything into blur loses the moment.
- Compare with the original and remove any effect that distracts. A prominent scratch, date stamp, or light leak is optional styling, not proof of an authentic film photograph. If you want one, the free timestamp camera adds a date stamp.
Choose between Disposable and 35mm Film
Stunna’s Disposable is designed around harsh single-use flash, grain, and candid energy. 35mm Film is a broader analog-inspired look with grain, soft halation, and organic color. Faded Film is a color-grade option for a muted, retro mood. Your source photo and the kind of nostalgia you want determine which is a useful starting point. For a quick browser option, try the free disposable camera filter or vintage filter, then compare with the original.
Inspect an AI edit for changes to faces, fingers, patterns, and objects. Save the original beside the result. If the texture looks convincing but the person no longer looks right, choose a subtler version or keep the original. The memory matters more than the strength of the effect.
Make the set feel collected
Mix the portrait, wider scene, and detail instead of placing six nearly identical flash faces together. Keep a shared color direction, but let daytime and evening photographs have their own brightness. Consistency comes from thoughtful selection as much as from applying the same treatment.
A few useful answers
Is a disposable-camera edit the same as shooting on film?+
No. A digital edit borrows visual cues. Real film photographs depend on the camera, film, exposure, processing, and scan. This guide makes no calibrated film-emulation promise.
Should every picture have a light leak or timestamp?+
Only if you like that styling. A few restrained choices usually keep attention on the moment. A timestamp or light leak does not establish that an image came from a real disposable camera.
Can I use the look for daylight photos?+
Yes. Keep the original daytime light believable and use texture and color to create the mood. You do not have to turn every photograph into a dark flash scene.