Judge at full size
Grain looks stronger on a small screen than in a print or a full-resolution post. Compare the preview at the size your audience will see it.
FREE ONLINE PHOTO TOOL
Add film grain or digital noise to any photo. Pick a grain type, then set the amount, size and color noise. Download a free JPG; your photo never leaves your device.
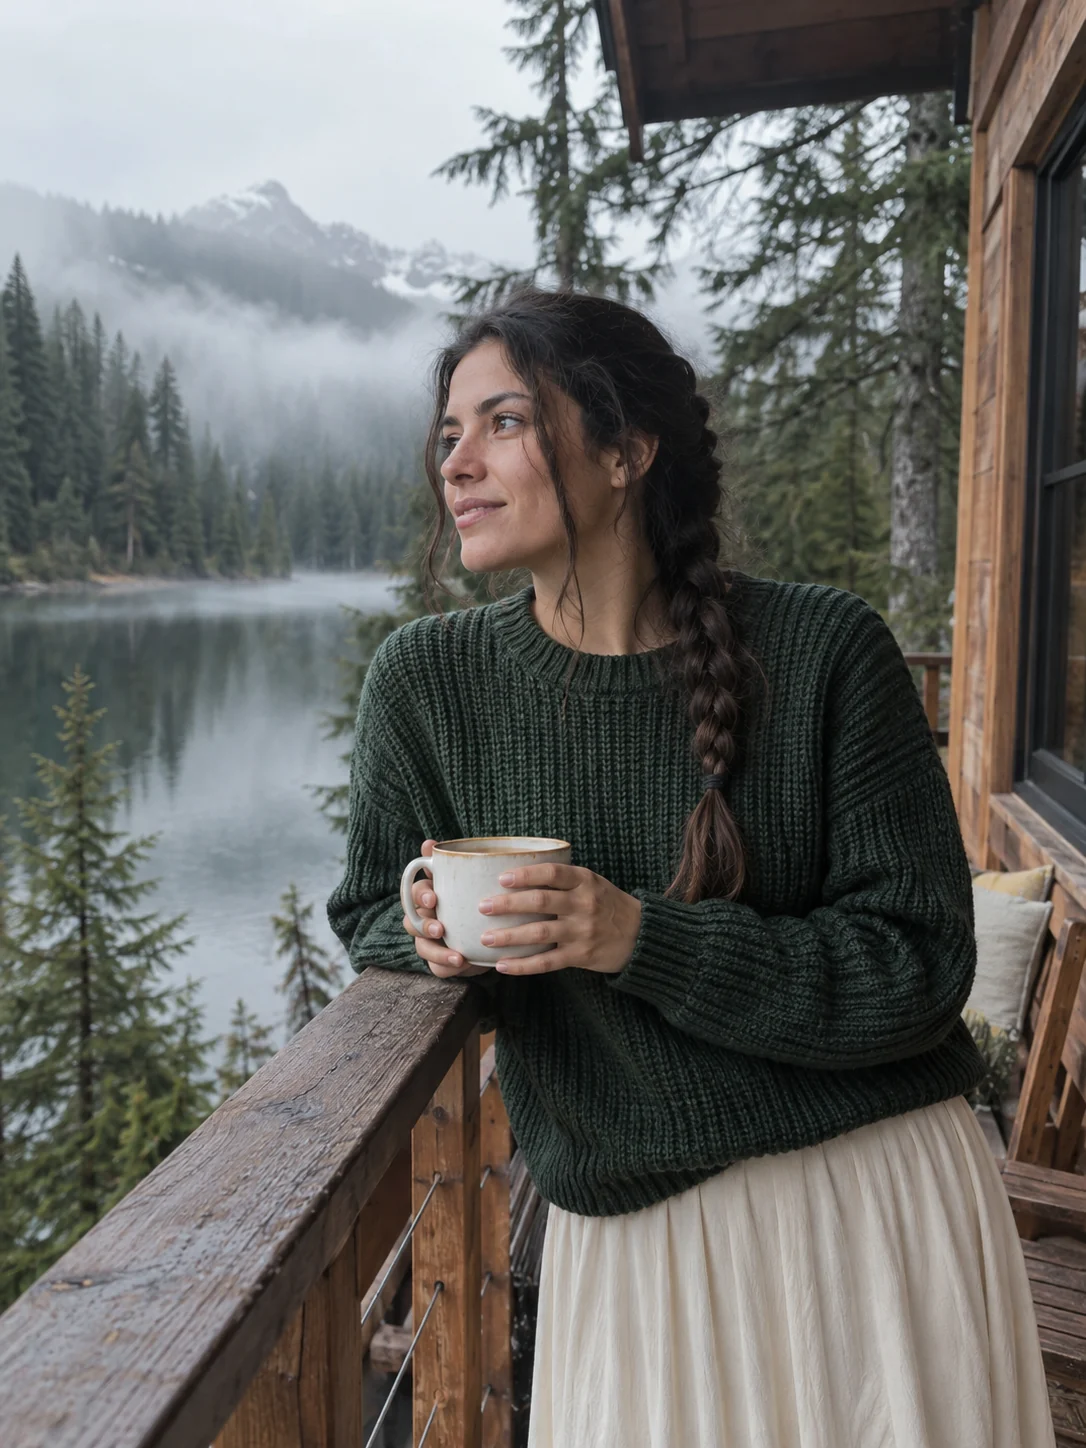
Fine 35mm · Sample photo; the effect is rendered live above.
Pick a grain type, then set amount, size and color.
or drop it here · JPG, PNG, WebP · up to 20 MB
Free. No signup. No watermark. Up to 3000 px.
Get the full look in Stunna
The 35mm Film preset in the Stunna app adds analog grain, soft halation and organic color with AI.
Try 35mm Film in StunnaTry the sample or choose your own photo.
Pick a JPG, PNG or WebP. Smooth subjects such as skin, sky and walls show grain most clearly, so they make good test shots.
Fine 35mm is a tight, even texture, Coarse 400 ISO is bigger and more visible, and Digital noise adds colored speckle like a phone sensor in low light.
Amount controls how strong the grain is, Size how large each speck is, and Color noise how much of it is colored instead of grey. Download a watermark-free JPG when it looks right.
Film grain comes from the tiny silver crystals or dye clouds that make up a photograph on film. Faster films use bigger crystals, so a 400-speed roll looks rougher than a slow one. Digital noise is different: it is random electrical variation on a sensor, and it tends to show up as colored speckle in dark areas. Adding either to a clean digital photo gives it a hand-made, less sterile feel.
This tool adds grain to your photo and nothing else. It does not shift the colors, fade the blacks or change the contrast, so it fits as the last step after you have finished your other edits. Three controls shape the texture. Amount sets how strong it is. Size sets how large each grain is relative to the picture, which is why a coarse setting looks the same on a small preview and a full-size export. Color noise blends from neutral grey grain, like black and white film, toward the multicolored speckle of a digital sensor.
Grain cannot add real detail or rescue a blurry photo. At a small size it may seem to sharpen a soft image, but it is simply texture. If you want a full film look with color, fade and flash, pair it with the vintage filter, the disposable camera filter or the matching Stunna preset.
Try the free toolA lakeside cabin portrait with Fine 35mm grain: subtle film texture across the knitwear, timber and misty trees. Switch to Coarse 400 ISO or Digital noise to compare.
Try it on your photo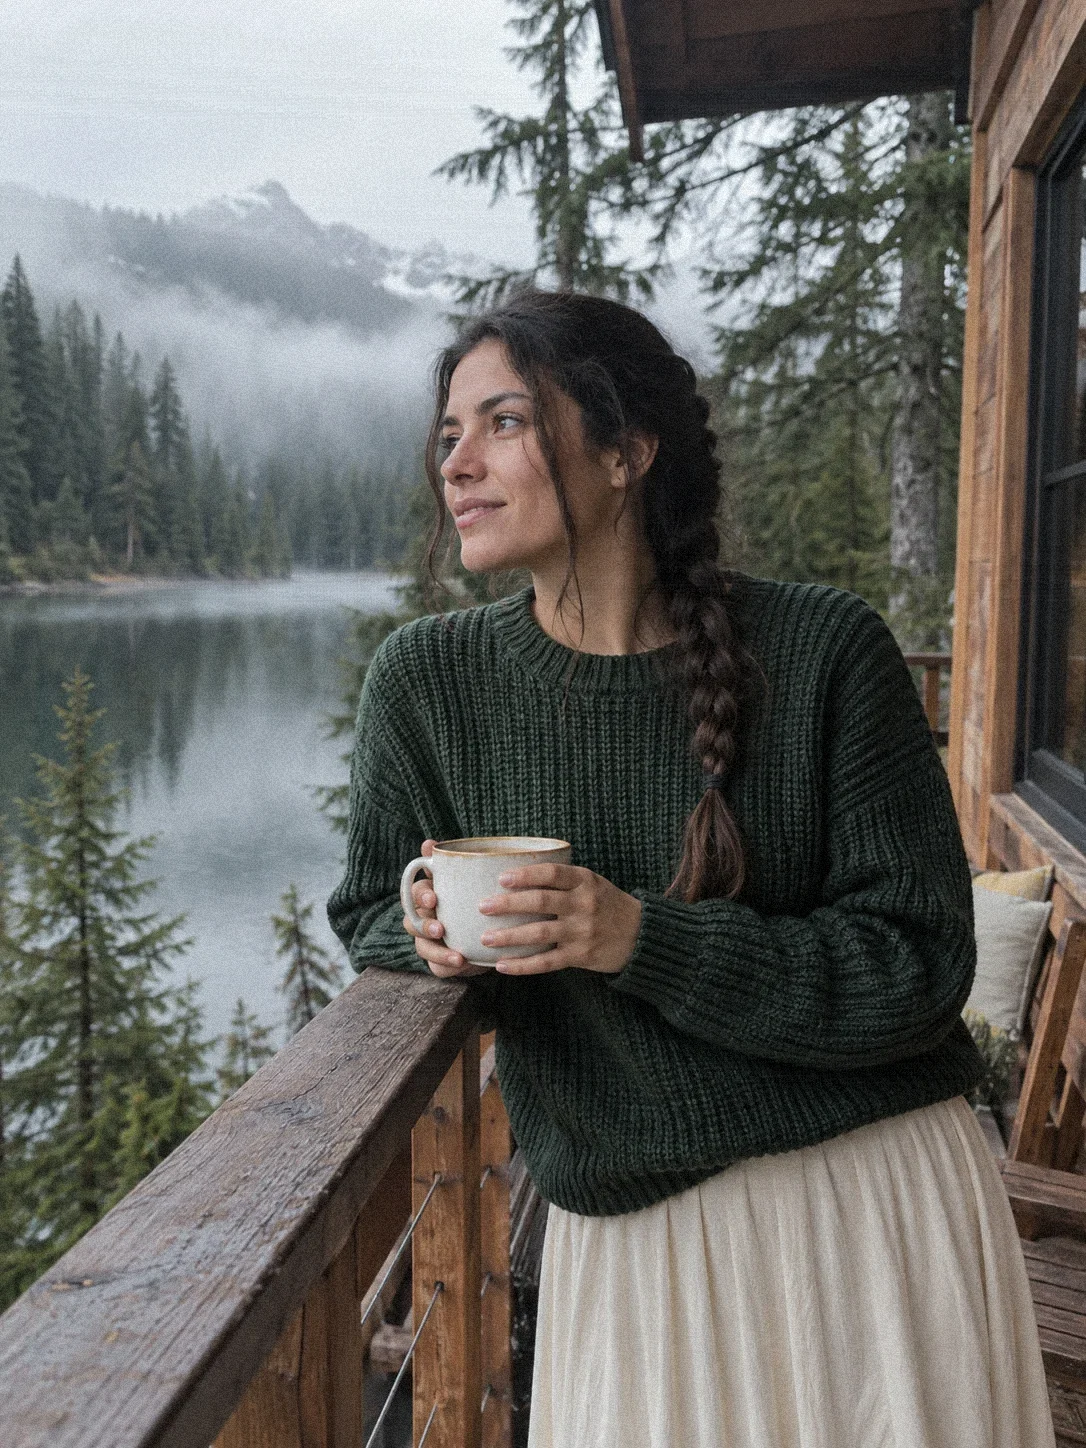
Grain looks stronger on a small screen than in a print or a full-resolution post. Compare the preview at the size your audience will see it.
Fine grain flatters portraits. Larger grain suits landscapes, street shots and anything with strong shapes.
Colored noise can leave green and magenta flecks on faces. Use it on dark backgrounds, or keep it under 30% on portraits.
If you also use a color filter or the black and white filter, finish that first, then add grain. Grain added before a blur or sharpen step can look smeared.

The free tool adds texture to the photo you took. The 35mm Film preset in Stunna goes further with AI: analog grain, soft halation and organic color that read as shot on film. Free to download, with optional Pro features.


Free to download. Optional Pro features. AI results vary.
Explore Stunna’s AI looks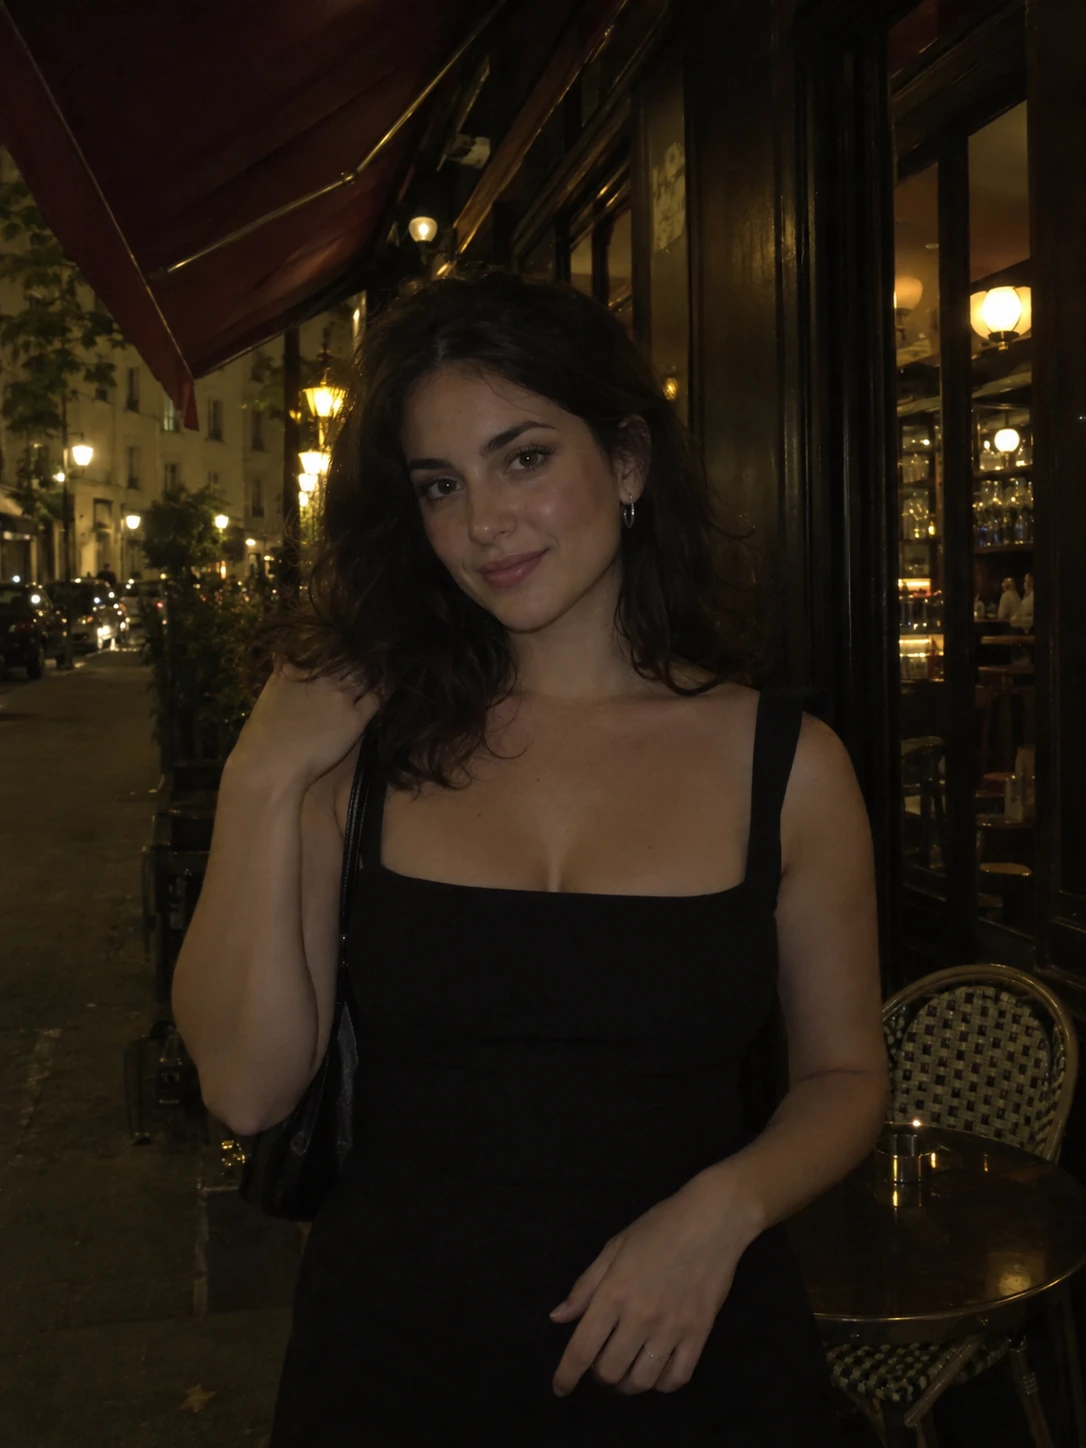
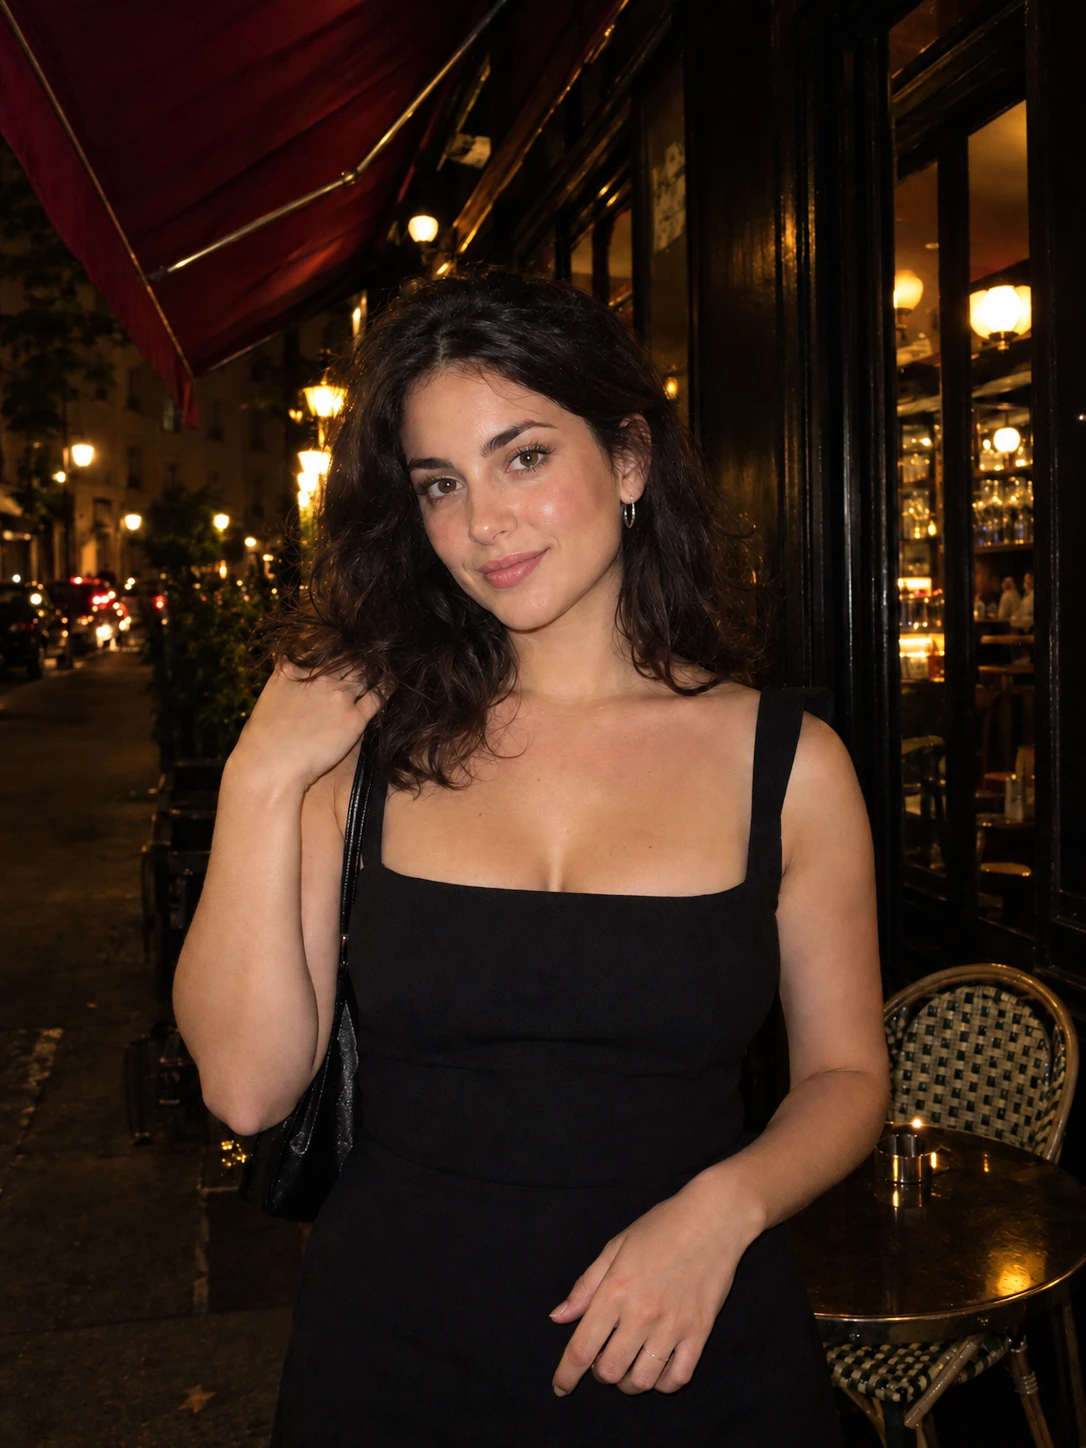
Choose your photo, pick Fine 35mm, Coarse 400 ISO or Digital noise, then adjust the amount, size and color noise. Download the JPG when you like the texture.
Yes. Edit and download as many photos as you like with no account and no watermark. Downloads are JPG files up to 3000 px on the long edge.
Film grain is monochrome-looking texture from the film itself. Digital noise comes from a sensor and is usually colored. The Color noise slider lets you move between them.
It can seem to, because it adds fine detail, but it does not recover lost sharpness. For a soft photo, grain just adds texture on top.
No. The grain is generated in your browser, so the photo stays on your device. Closing the tab clears the session.
No. The free tool only adds grain. The 35mm Film preset in the Stunna app uses AI to add grain, halation and organic color together. Results vary.
Photo tips and ideas that pair well with this tool.