THE PHONE CAMERA ANGLE GUIDE
Phone Camera Angles: 6 Angles and 3 Portrait Recipes
Photograph one outfit three ways, then check distance, frame edges, outfit space and the final small-size view.
Try the idea on your own photo with Stunna.


Free to download. Pro options available.
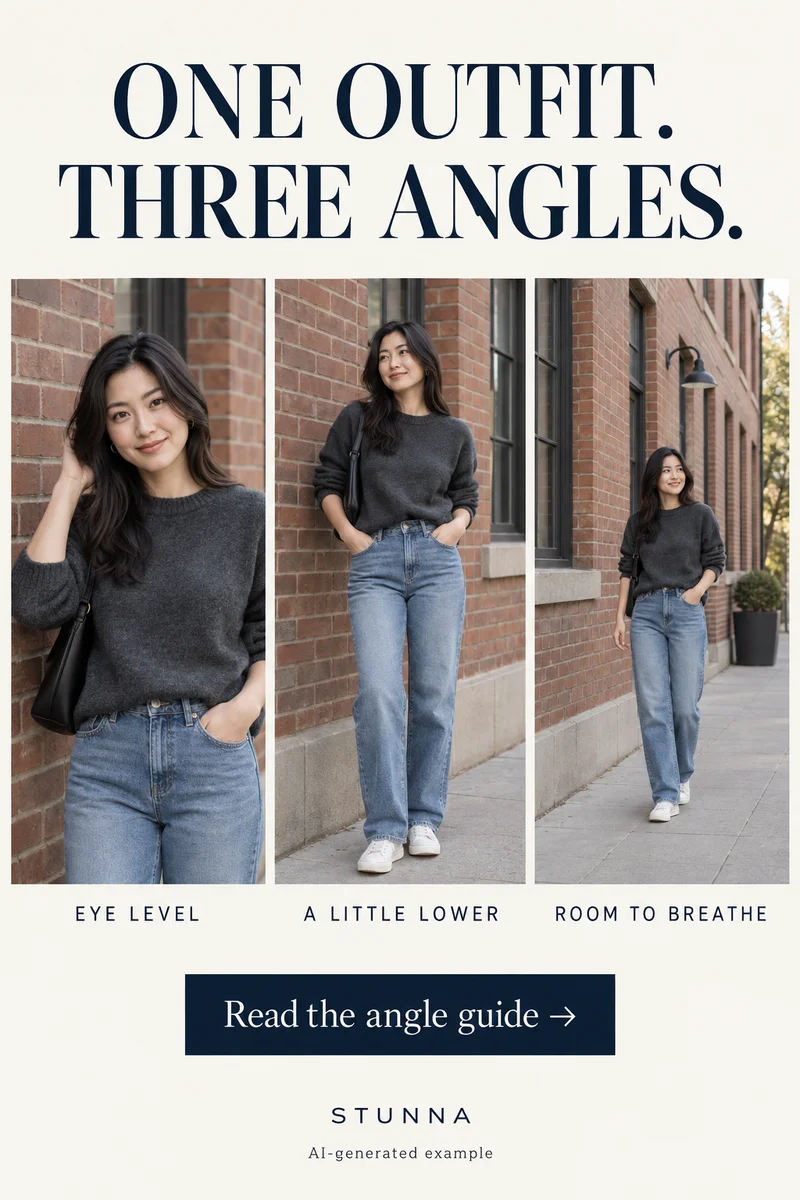
The best phone camera angles for most portraits are eye level, slightly low and a wider frame from farther back. Photograph one outfit at eye level, lower the phone a little, then step back to give the scene room. Compare what each version says about the moment rather than seeking an angle that changes your body. The images are AI-generated composition examples, not camera measurements or actual Stunna results.
Keep one starting point for all three versions
Choose comfortable light and room for your photographer to move. Keep one person, outfit, background and relaxed pose similar while you change the camera. That makes the comparison useful.
Begin with the standard camera view. If the face feels unfamiliar, step back before changing the pose. Viewpoint and distance matter as well as lens choice. Find a frame you like without ranking bodies or assuming one height always works.
One outfit, three angle recipes
Take a few frames at each position. Repeat a simple movement, such as shifting weight or holding a bag. Our guide on how to look taller in photos builds on the lower position, with the phone at hip height and shoes in frame.
- Eye level: keep the phone around the subject's eye height for an upper-body portrait. Leave room above the head and use the eyes as the focus reference. This gives you a straightforward version to compare with the others.
- A little lower: lower the phone modestly for a fuller outfit frame and keep it close to level. Take one frame, then check the face, vertical lines and how the foreground feels. Avoid going so close or so low that the nearest shoe or hand takes over the picture.
- Room to breathe: step back until you can include the outfit and a useful part of the location. Let a wall, doorway or stretch of street explain the setting. A wider composition can come from more distance; it does not require an ultra-wide lens.
Check the angle: four framing checks
Make these four checks before choosing a favorite. Treat framing as the problem, not someone's appearance.
- Step back first: create more space between the phone and person if the closest hand, shoe or face looks disproportionately prominent. Reframe from the new position and compare.
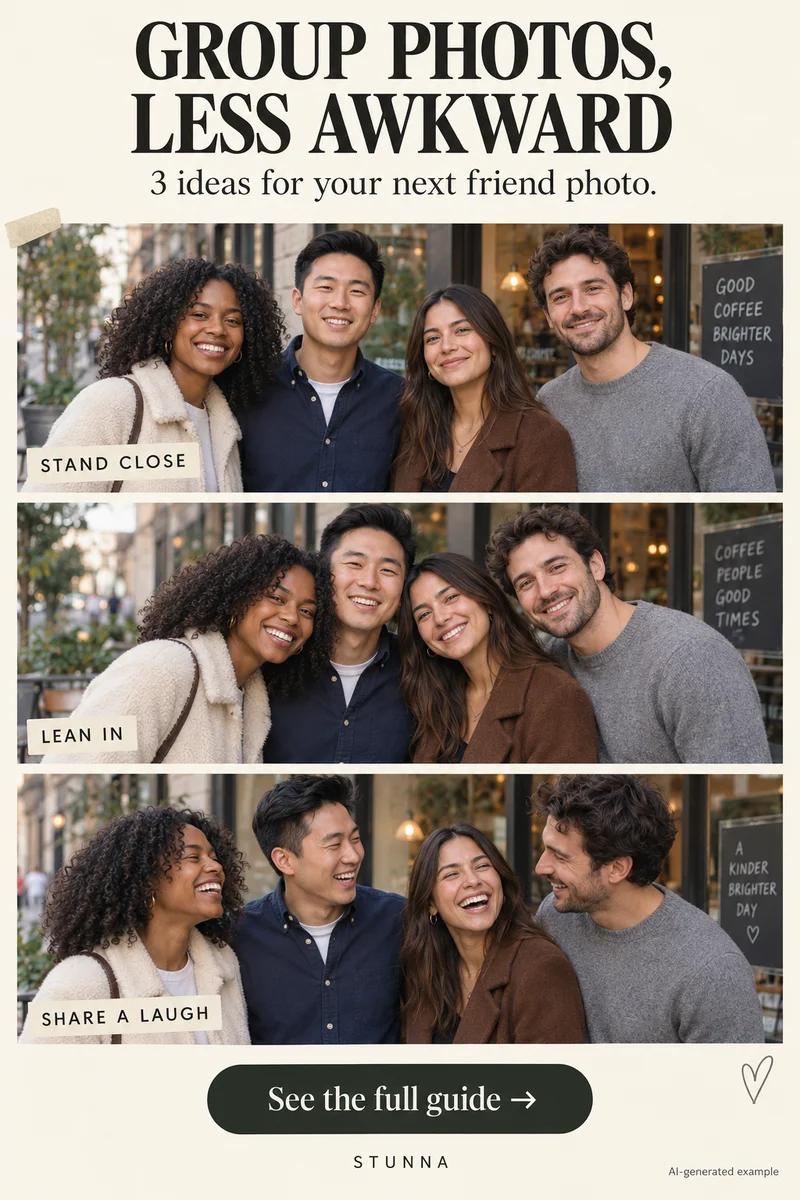
- Keep faces from frame edges: leave important facial features away from the outer edge, especially when using a wide view. Check everyone in a group rather than only the person in the middle.
- Leave room for the outfit: include the clothing details that matter to the photo. Give shoes and sleeves breathing room, and move distracting foreground objects before you change lenses.
- Compare at small size: view the three frames at the size you will share them. Choose the one where the person, outfit and setting still read clearly without zooming.
Six phone camera angles and when to use each
Most phone portraits use one of six camera angles. Try them in this order and keep the one that matches the picture you want, not the one that is most dramatic. The high angle is also the base of the 2007 profile picture, and our MySpace photo aesthetic guide shows how to pair it with chin down, eyes up and hard flash.
- Eye level: the phone at the eyes of the person in the photo. Neutral and honest, the reference for every other angle.
- Slightly low: the phone around chest or waist height, tilted up a little. Gives an outfit more length and the person more presence. Keep it level enough that the chin does not lead.
- High angle: the phone above eye height, tilted down. Softer and more intimate, good for seated shots and close selfies, but it shortens the body in full-length photos.
- Overhead: the phone straight above, looking down. Best for flat lays, people lying on grass or a blanket, and table scenes. Hold the phone parallel to the ground so edges stay square.
- Tilted: the phone rotated 10 to 20 degrees. Adds energy to street, party and walking shots. Use it on purpose for one frame, not for the whole set.
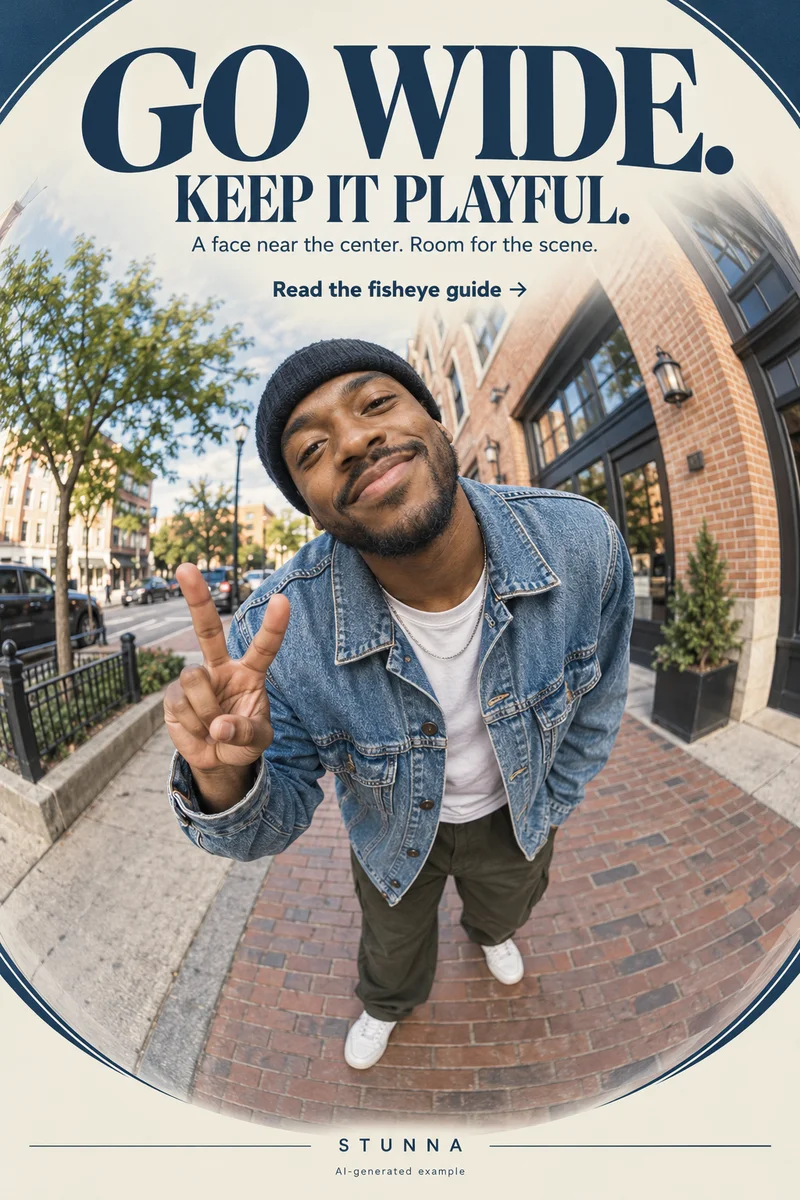
- Wide (0.5x or stepping back): the ultra-wide lens or more distance. Shows the place, but anything near the edges stretches. For an exaggerated wide look after the fact, the free fisheye filter bends the frame from the center out, and the walking poses guide uses a slightly low, wide angle for movement shots.
Use a wide view with an intention
A wide camera can include more of a small room or bring a group into the frame. It can also make the outer edges look different. [Sony's wide-angle guidance](https://www.sony.com/electronics/support/cameras-camcorders/articles/00014667) notes that edge distortion can occur depending on the subject. Keep the main face closer to the center when a recognizable portrait is the priority.
If a playful stretched edge is part of the idea, choose it deliberately. Give hands and feet enough space to look intentional and take a standard-view frame as well. A 0.5 setting is not available on every phone, and a creative AI wide-angle look is not a new physical camera lens. In tight spaces such as a parked car, the main camera usually keeps faces more natural; the car photo poses guide has angles for that. For selfies on the 0.5x lens, these tips for a 0.5 selfie that looks good cover the low tilt-up angle, group positions and why to take ten frames.
Give the hands and background a small job
Instead of changing everything between frames, give one hand an ordinary task: hold a tote, touch a jacket seam or rest lightly on a pocket. Let the other hand stay comfortable. Check that a sleeve, strap or hand does not cover the outfit detail you wanted to show.
Check the corners for signs, bins and partial people, then shift your viewpoint if needed. The outfit photo guide has more ideas for framing a look from head to shoe.
Choose the framing before the finish
Pick a composition while the pictures are still unedited. Check face shape, hands and proportions against the source rather than using a finish to hide a framing problem. Crop carefully if it improves the picture, but leave enough space that the result still feels deliberate.
Try a restrained finish and review the result beside the original, including bags, seams and shoes. Keep the source if AI changes the person or clothing. An eye-level profile photo and a wider weekend memory can serve different purposes.
The free online photo booth offers another finishing option. Use its four-frame capture to compare expressions after choosing your camera position.
Plan the next frame
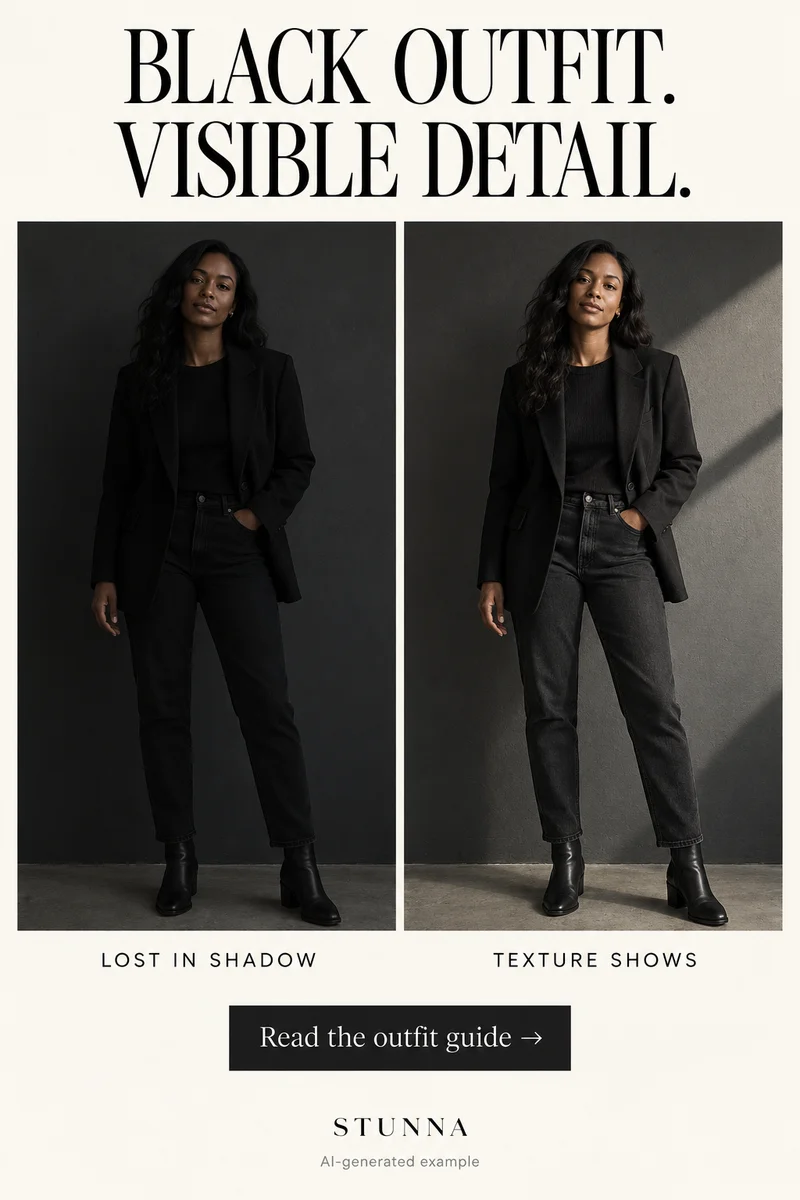
To build a five-shot story around a celebration, use the guide to birthday photo ideas. To balance a bright background with a readable face, use the guide to backlit portrait tips. To give your hands a natural job in a quiet setting, use the guide to bookstore photo poses. To keep dark fabric and layers readable, use the guide to all-black outfit photos.
To ease into a relaxed gaze toward the lens, use the guide to looking at the camera naturally. To work with window light and details of the room, use the guide to hotel-room photo ideas. To balance a portrait against a bright snowy background, use the guide to snow-day photo tips. To add movement while keeping the face readable, use the guide to creative motion photos. To request a specific background change and inspect what stays, use the guide to ChatGPT background-edit prompts. To give the face and hands space away from distorted edges, use the guide to fisheye photo framing.
A few useful answers
Which phone camera angle should I try first?+
Start with an eye-level portrait as a reference, then try a slightly lower camera and a wider composition from farther back. Choose the version that suits the picture you want.
Does a low camera angle always improve an outfit photo?+
No. Camera distance, tilt, background and the nearest foreground object all affect the frame. Take a small comparison set and judge the whole photo rather than relying on one rule.
Is Stunna's 0.5 Bestie a phone lens control?+
No. It is an AI template for an ultra-wide group-selfie look. Use your phone's camera controls for capture and review any generated result against the original.
What are the main phone camera angles?+
The six to know are eye level, slightly low, high angle, overhead, tilted and wide. Eye level is the neutral reference, slightly low adds length to an outfit, high and overhead suit seated, lying and table scenes, a tilt adds energy and wide shows the place.
What phone camera angle is most flattering?+
For most people it is eye level or slightly below, with the phone held level and at least an arm away. Very low or very close angles enlarge whatever is nearest the lens, so check hands, shoes and the chin before you keep the frame.